
Contentstack End User Training (EUT)
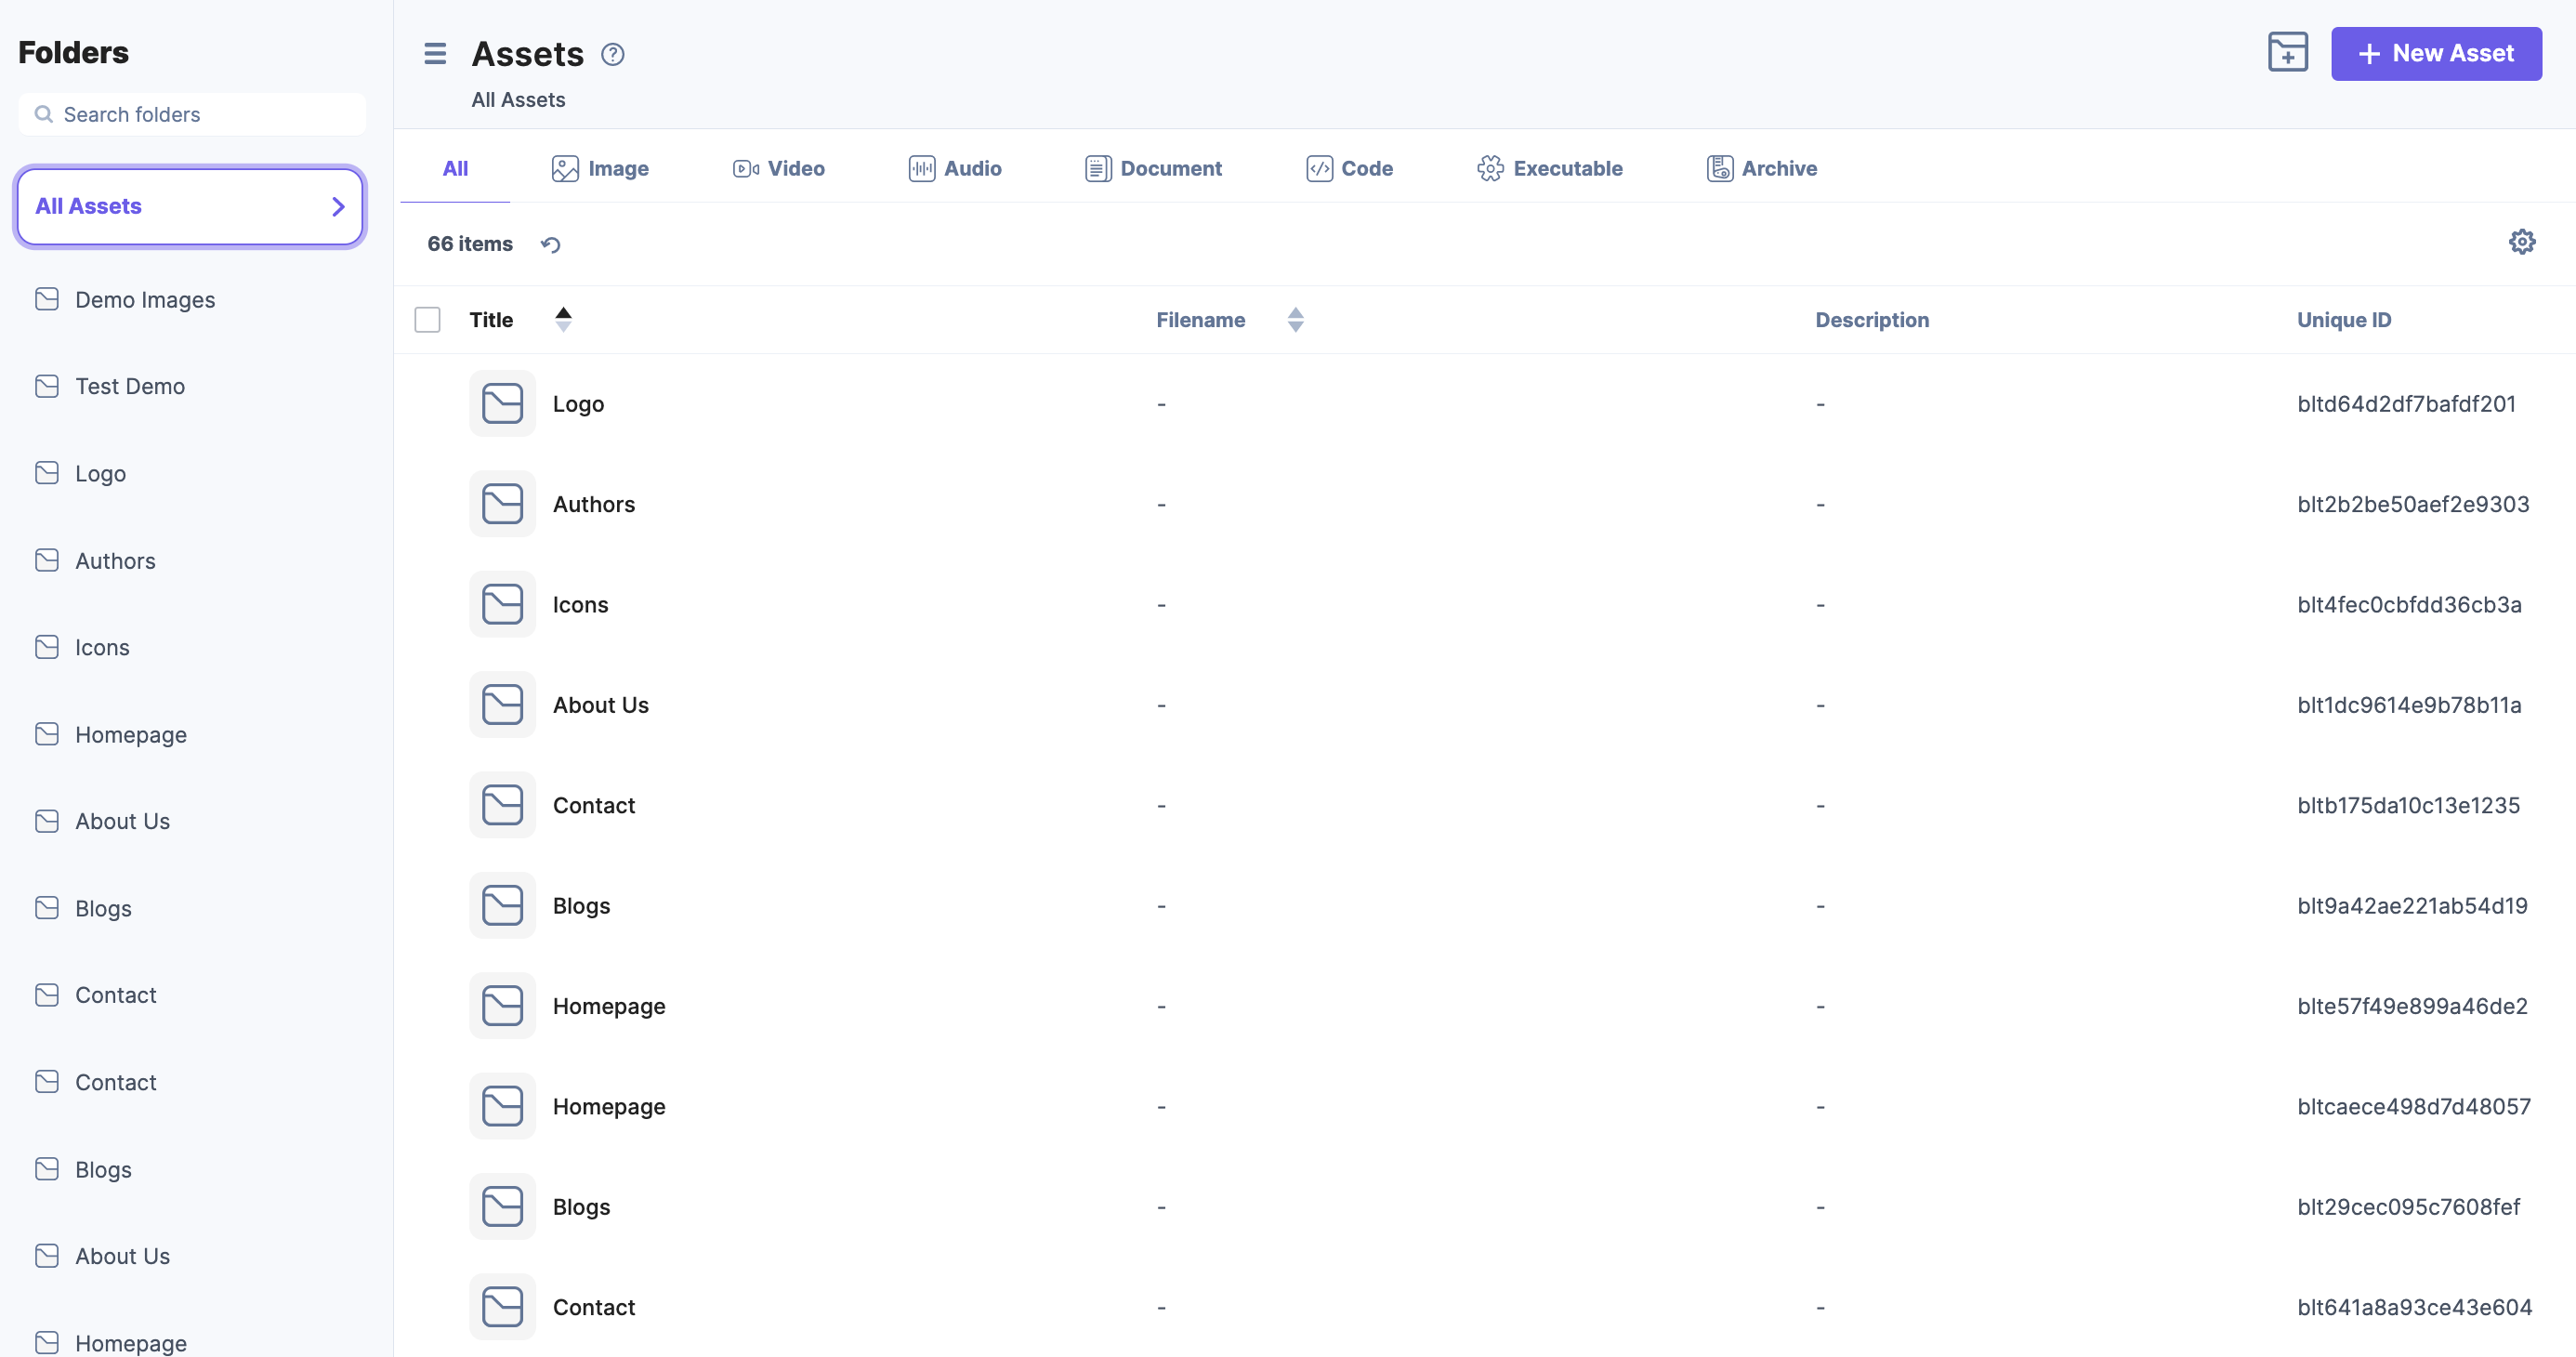
Assets
In Contentstack, any files (images, videos, PDFs, audio files, and so on) that you upload get stored in your repository for future use. This repository of uploaded files is called Assets.
Video: How to Use Assets in Contentstack
The following video shows how to manage assets in Contentstack.
Exercise 3 Video
Follow along with the video to practice using Assets.
Understanding with an example
If you want to upload an Author's Image for a Blog post, you can upload the image in the assets. You can then use or reference the asset in any entries with a field for assets.
You can perform the following actions on assets:
Upload assets to your stack.
Update asset details.
Delete assets permanently from your stack.
Publish assets to a specific environment(s) and locale(s).
Unpublish assets from the particular environment(s) and locale(s).
Locate assets easily using filters.
An asset has the following metadata associated with it:
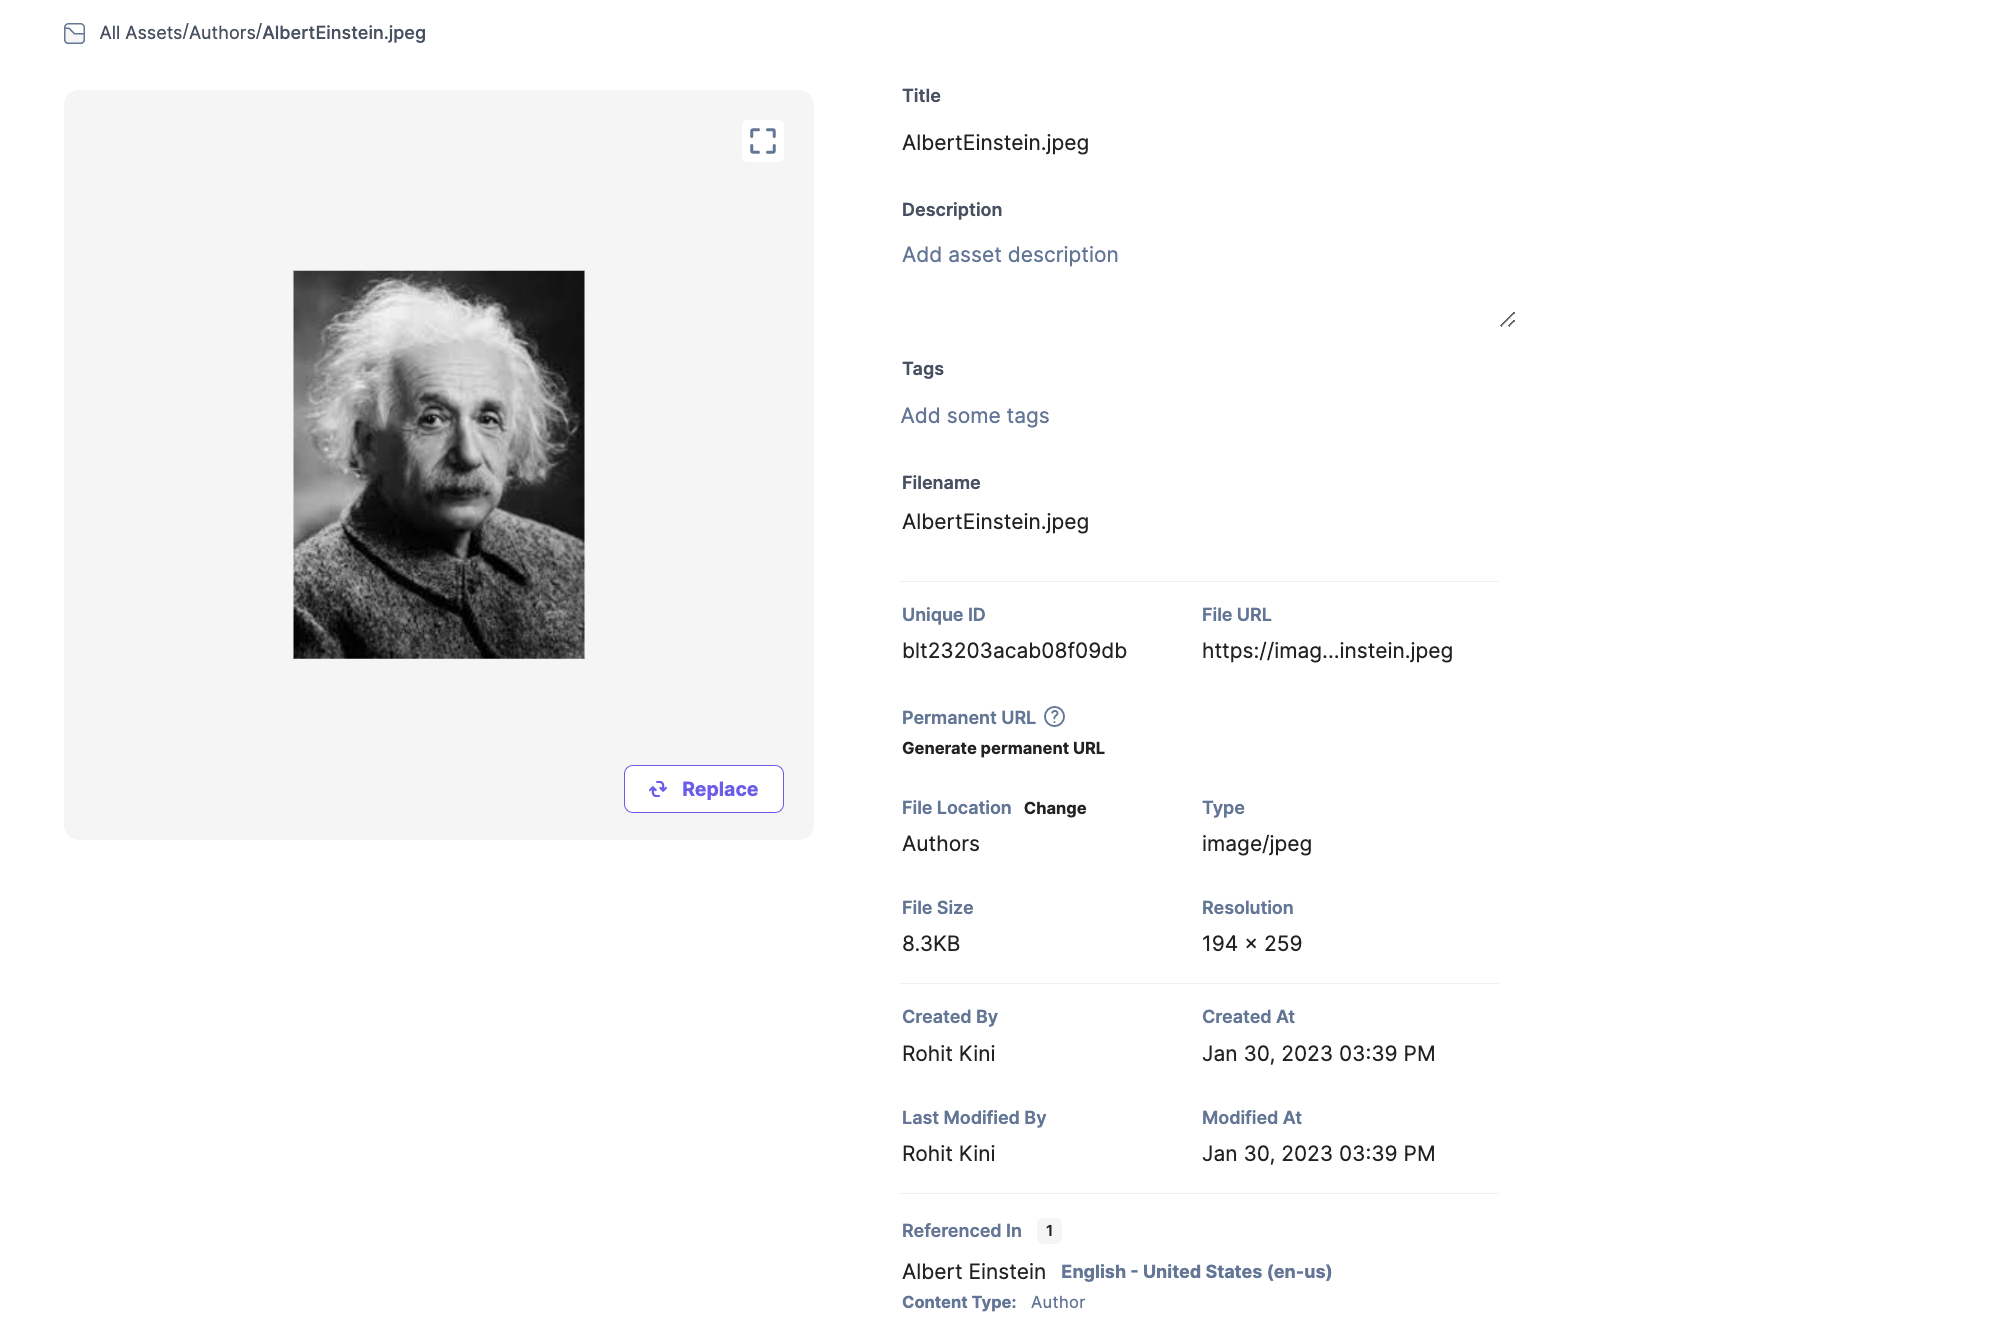
Title - Defines the Title for the image and will initially be the file's name that gets uploaded. You do have the option to change the Title.
Description and Tags - Both of these fields are optional. You can provide a basic description of the image while adding tags helps to search/filter the image based on tag names.
Filename - Defines the name of the file that gets uploaded to the assets.
Unique ID - Defines the unique identifier for the image.
File URL - Defines the URL of the image stored in assets and can be used to serve the image on your website. Clicking on the URL copy's the URL text, which you can use to open the image.
Permanent URL - Create a permanent URL by specifying a custom name for the image name in the URL.
File Location - Change the location of an image in the assets by clicking on the 'Change' option.
Type, File Size, Resolution, Created By, Created At, Last Modified By, Modified At - These are the basic properties that define the metadata of an image.
Referenced In - Provides information about which Content-Type and Locale the image are referenced.
Real World Use Cases
Contentstack provides a digital asset management feature with the Asset module to help manage assets and easily reference them on web pages.
Editors can organize assets in folders and filter based on the type of assets.
For ease of management a folder can have default max of 500 asset.
And a multi level hierarchy of 5 levels.