Build an ecommerce website using Snipcart and Contentstack
This example ecommerce website is built using Snipcart’s ecommerce solution and Contentstack. It uses Contentstack to store and deliver the content of the website.
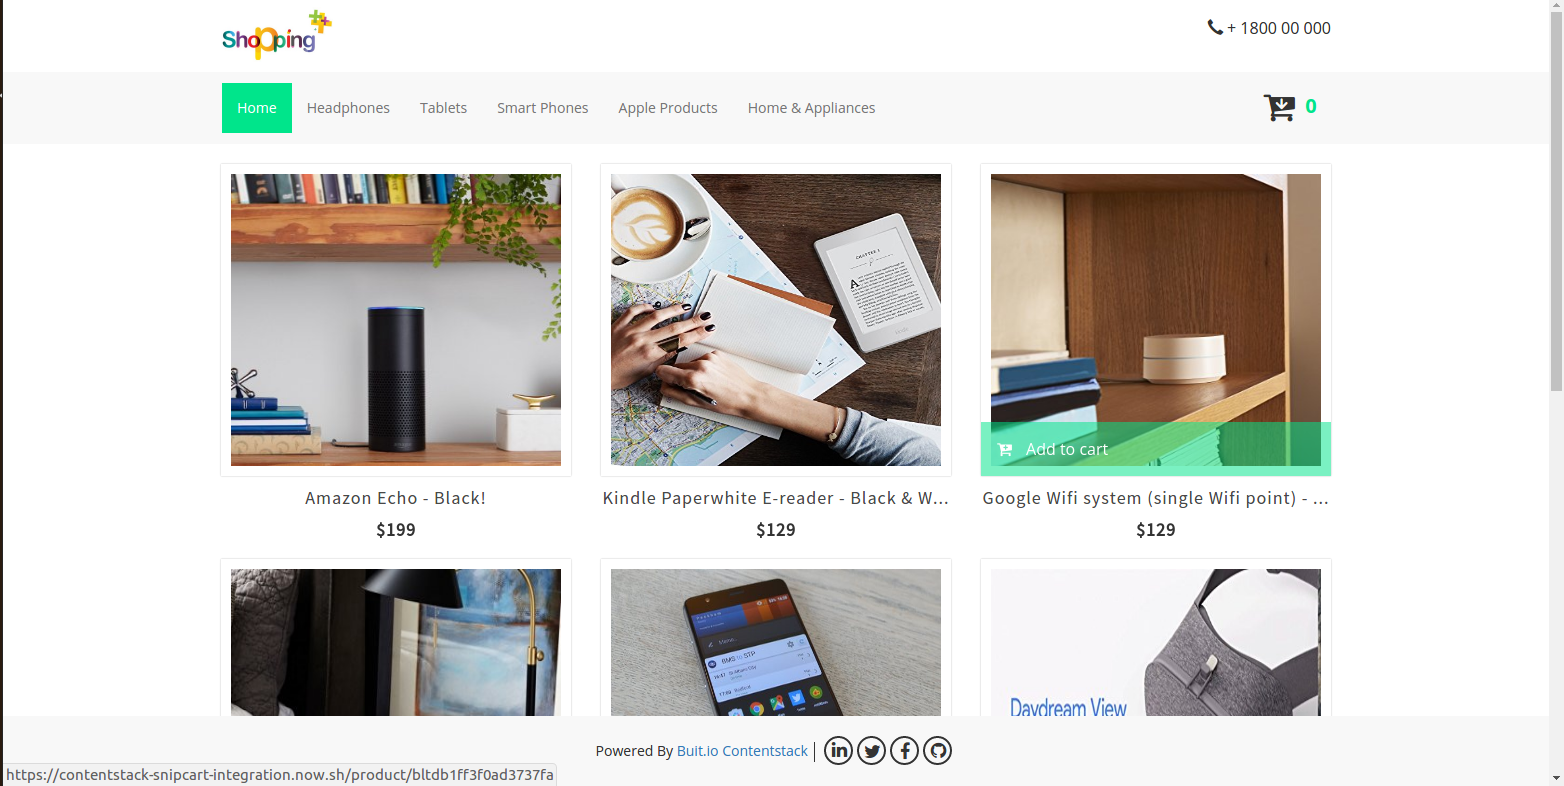
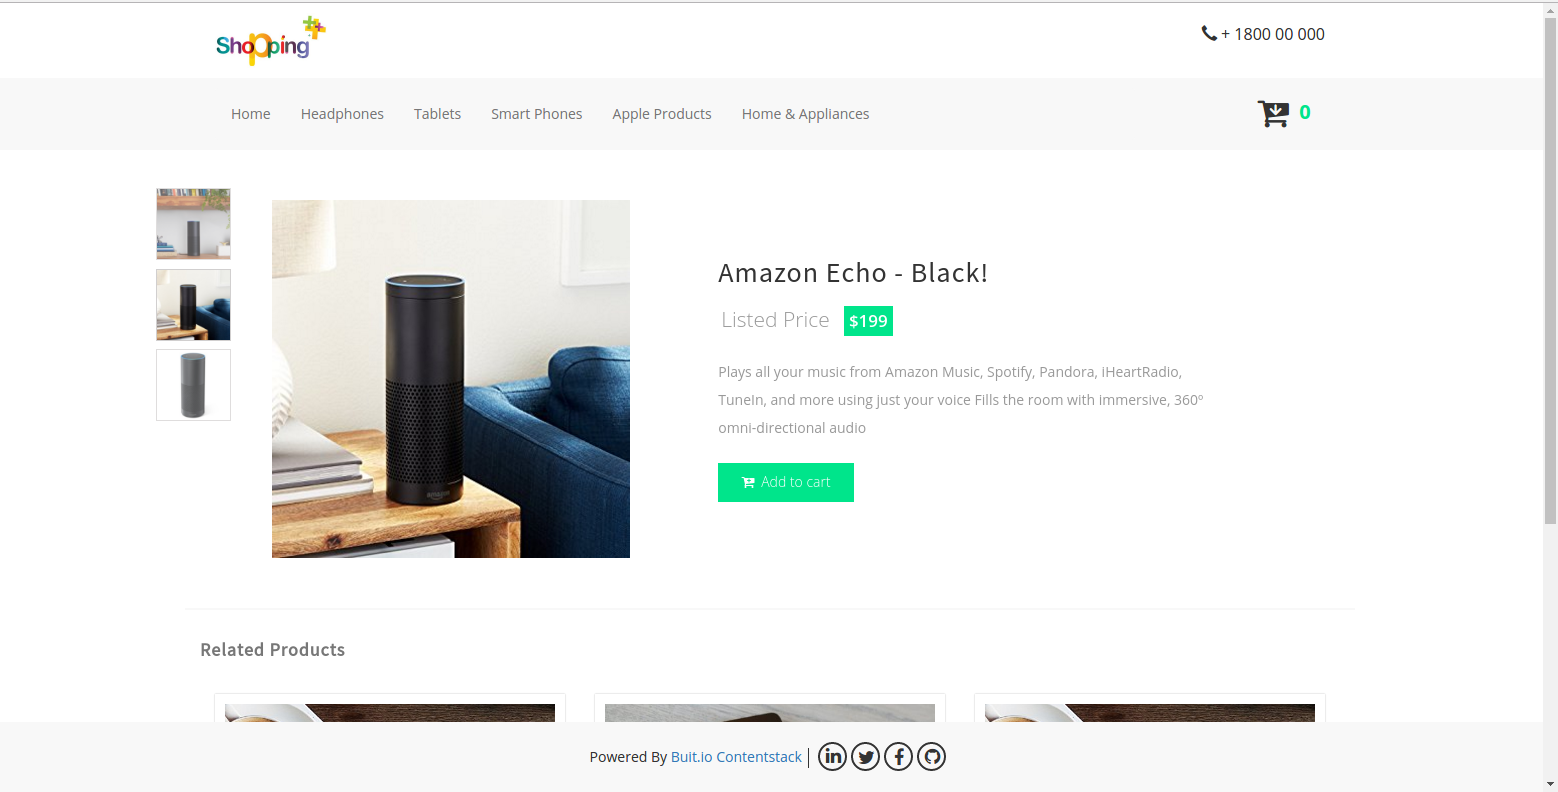
Screenshots
Quickstart
Here’s a quick guide on how to create an ecommerce website using Snipcart’s ecommerce solution and Contentstack.
Prerequisites
Note: For this tutorial, we have assumed that you are familiar with Contentstack and Snipcart. If not, then please refer to the docs (Contentstack docs and Snipcart docs) for more details.
Set Up Your App
Here is an overview of the steps involved in creating our app:
- Create a Stack
- Add a Publishing Environment
- Import Content Types
- Adding Content
- Setup Snipcart Account
- Build and Configure Website
- Go Live
- Connecting to Snipcart
-
Create a stack
A stack holds all the data (entries and assets) that you would need to create a website. Log in to your Contentstack account, and create a new stack.
-
Add a publishing environment
To add an environment in Contentstack, navigate to Settings -> Environment, and click on the + New Environment tab. Provide a suitable name for your environment, say ‘staging’. Specify the base URL (e.g., http://YourDomainName.com), and select the language (e.g., English - United States). Then, click on Save. Read more about environments.
-
Import content types
A content type is like the structure or blueprint of a page or a section of your web or mobile property. Read more about Content Types.
For this e-commerce website example, four basic content types are required: Header, Footer, Category, and Product. For quick integration, we have already created these content types. You simply need to import them to your stack. Refer to our Create a Content Type documentation to learn how to create your own content types.
To import the content types, first, save the zipped folder of the JSON files given below on your local machine. Extract the files from the folder. Then, go to your stack in Contentstack. The next screen prompts you to either create a new content type or import one into your stack. Click the Import link, and select the JSON file saved on your machine.
Note: Import JSON files in the sequence: category, footer, header, and product.
Here’s a brief overview of all the content types required for this project.
- Header: This content type lets you add content for the header section of the site.
- Footer: The Footer content type enables you to add content for the footer section of your site.
- Category: This content type lets you create the various categories of the products of your e-commerce website. The fields of this content type include name and URL.
- Product: This content type will help you create the product entries of your e-commerce site. The fields include name, URL, category, price, image, and so on.
Now that all the content types are ready, let’s add some content for your e-commerce website.
-
Adding content
Create entries for the Category and Products content type. Add a few entries each for the Category and Products content type. Save and publish these entries. Learn how to create and publish entries.
Create entries for the Header and Footer content types. Using the header content type, add the name and other details of your site. Similarly, add footer content using the footer content type.
With this step, you have created sample data for your e-commerce site. Now, it’s time to set up your Snipcart account and initiate Contentstack app.
-
Setup Snipcart account
If you do not have an account, you can register for a new Snipcart account. When signing up, leave the field asking for website URL blank or enter a random value. This can be updated later.
-
Build and configure website
To get your app up and running quickly, we have created a sample e-commerce web app (using Node.JS) for this project. You simply need to download it and change the configuration.
Note: The website uses the Content Delivery API (which has in-built CDN support) to deliver content to the e-commerce website. Read more about our CDN-enabled content delivery system.
Once you have downloaded the project, add your Snipcart key, Contentstack API Key, and Delivery Token to the project. (Learn how to find your Stack's API Key and Delivery Token.)
The config/all.js file would look something like this:
{
    port: 4000,
    // Contentstack Config
    contentstack: {
        api_key: 'Stack_API_Key',
        access_token: 'Delivery_token'
    },
    // Snipcart Key
    snipcart_key: ''
}
Fire up your terminal (command prompt or similar on Windows or Linux), point it to your project location and run the following:
$ npm install
$ npm start
This will initiate your project. However, if you want to set up an environment (for e.g., production) and build your project there, you need to create a config/production.js config file and add the following code:
{
    port: 4000,
    // Contentstack Config
    contentstack: {
        api_key: 'Stack_API_Key',
        access_token: 'Delivery_token',
        environment: 'Environment_Name'
    },
    // Snipcart Key
    snipcart_key: ''
}
Then, fire up your terminal (command prompt or similar on Windows or Linux), point it to your project location and run the following:
$ npm install
Then set the environment using the following:
- For Linux: $ export NODE_ENV=production
- For Windows: $ set NODE_ENV=production
Finally, run the following command:
$ npm start
This will initiate your project in the production environment. However, you will not be able to fully use the checkout process until the project is live on a domain.
-
Go live
The easiest and quickest way to deploy your website to production is by using Contentstack Launch, Contentstack’s web hosting platform. For more details, refer to the Contentstack Launch documentation.
Alternatively, you can host your website on other platforms such as Vercel. To use Vercel, you’ll need an active Vercel account before deploying. In this tutorial, we have used Vercel.Run ‘now' to deploy. Every time you run Now, you get a new deployment!
$ now
The first time you run Now, it will ask for your email address for verification. Simply click on the email you have received, and you will be logged in automatically.
Once the deployment has started, you will get a link (copied to your clipboard) that you can share immediately with your peers, even before the upload and startup completes!
-
Connecting to Snipcart
The last step is to update your Snipcart settings to point to your new Now site online.
Go to your Snipcart dashboard, click on Account, and then Domains & URLs. Enter your now website URL under Default Website Domain and save your settings.
Your e-commerce site should now be up and running! Try viewing your categories, adding items to your cart, and checking out. While your Snipcart account is in test mode, no purchases will actually be made.
Additional Resource: If you're looking to try your hands on building e-Commerce products, we have other examples that you can refer to, such as, Building a Product Catalog using Ruby on Rails and Contentstack and Building an E-commerce Website Using Contentstack DataSync.


.svg?format=pjpg&auto=webp)
.svg?format=pjpg&auto=webp)
.png?format=pjpg&auto=webp)


.png?format=pjpg&auto=webp)

