
.svg?format=pjpg&auto=webp)
.svg?format=pjpg&auto=webp)
.png?format=pjpg&auto=webp)


.png?format=pjpg&auto=webp)
Edit an Audience
Contentstack Personalize empowers you to create tailored content for specific audiences. But as your user base evolves, so should your targeting. Regularly editing your audiences ensures that your content reaches the right people at the right time, maximizing the impact of your personalization efforts.
This guide provides a step-by-step walkthrough for editing audiences in Contentstack Personalize. Whether you're refining existing segments or adapting to new user behaviors, you'll learn how to keep your targeting strategies effective.
Prerequisites
- Contentstack account
- Access to the Contentstack Organization that has Personalize enabled
- Access to a project in Personalize
- Audience created in your Personalize project
Note: Users with Owner and Member access to a Personalize project can edit existing audiences.
Steps for Execution
Note: For this guide, we have assumed that you have already created a Personalize project. If not, please follow this guide and create a project in Personalize.
To edit an existing audience, log in to your Contentstack account and perform the following steps:
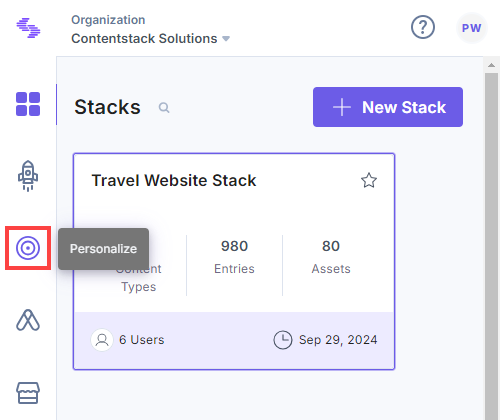
- In the left navigation panel, click the Personalize icon.
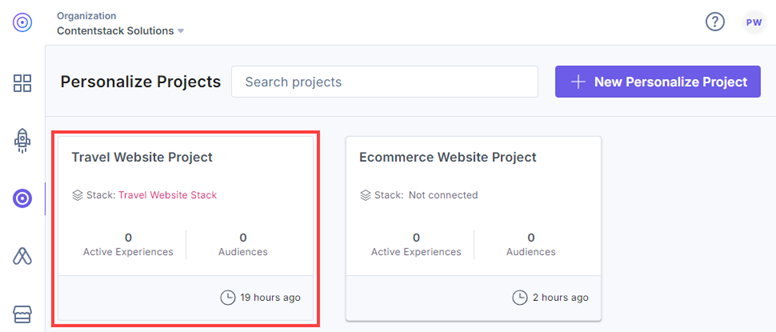
- You will be redirected to the Personalize Projects landing page. Click the project for which you want to edit an audience.
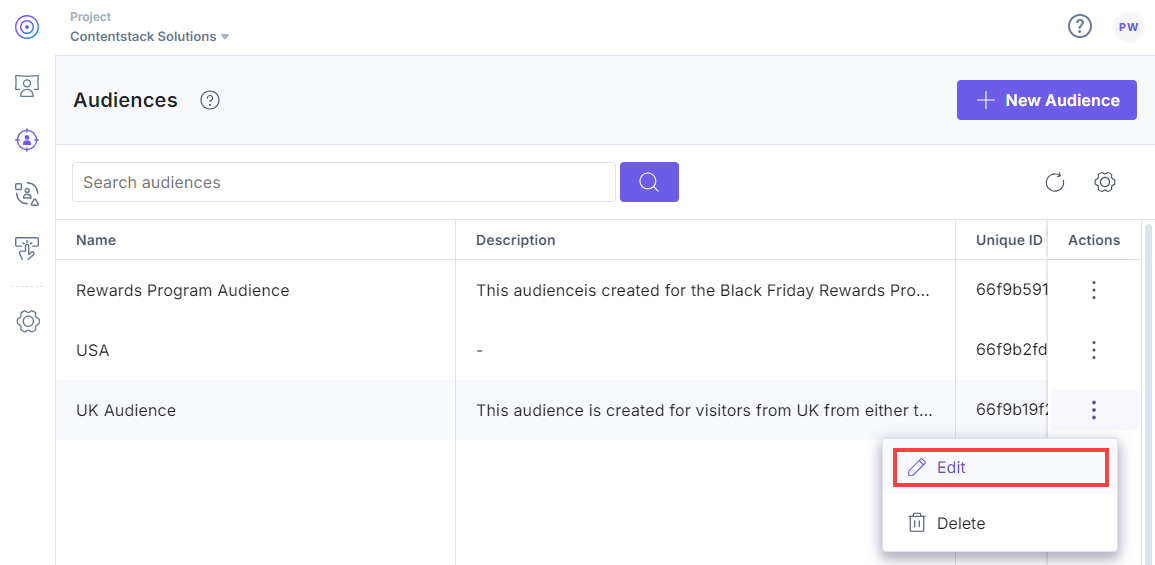
- Click the Audiences tab in the left navigation panel.
- You can edit an existing audience by clicking your audience to open it or by clicking the corresponding vertical ellipses under Actions and selecting Edit.
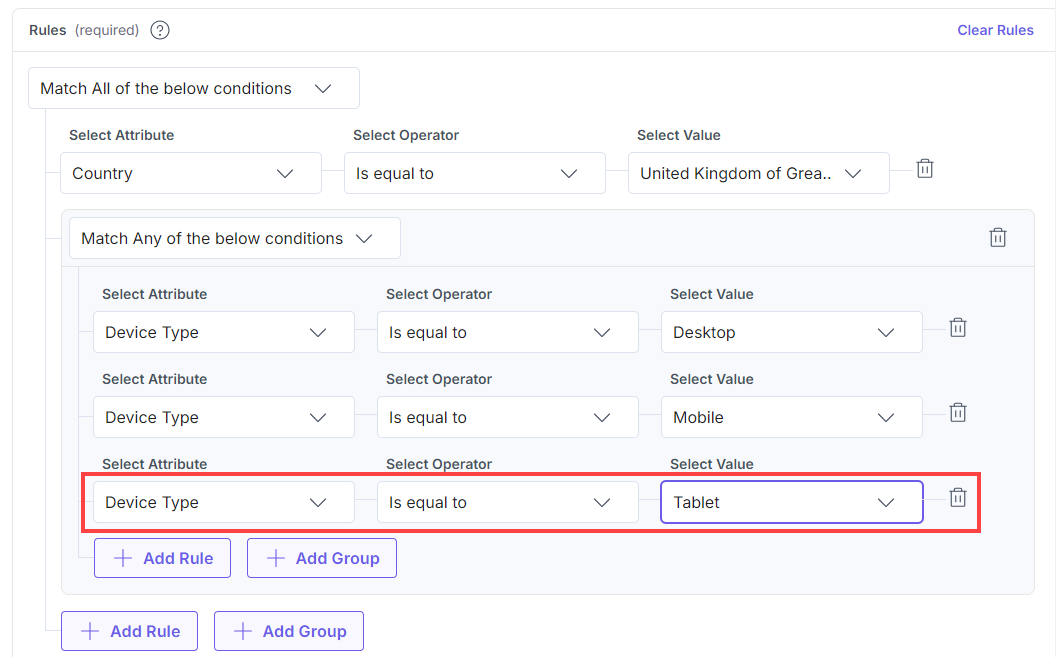
- On the Audience page, make the necessary changes to the Name, Description, Rules or Groups.
- Once you have done that, click the Save button to apply the changes.
Warning: Editing an audience that is referenced in an experience might affect your active segmentation, A/B tests, and analytics. Ensure you update any references to the modified audience accordingly.
You will get a success message after the audience has been successfully updated.
Additional Resource: You can use the Personalize Management API to create, edit, delete, and retrieve all existing audiences.
More articles in "Working with Audiences"
