Asana
The Asana action connector lets you create a task, fetch tasks details from a project, get user information, and update a task in the Asana dashboard.
Set up Asana
- Click Configure Action Step from the left navigation panel.
- Click Action Step to configure third-party services.
- Within the Configure Action Step, click the Asana connector.
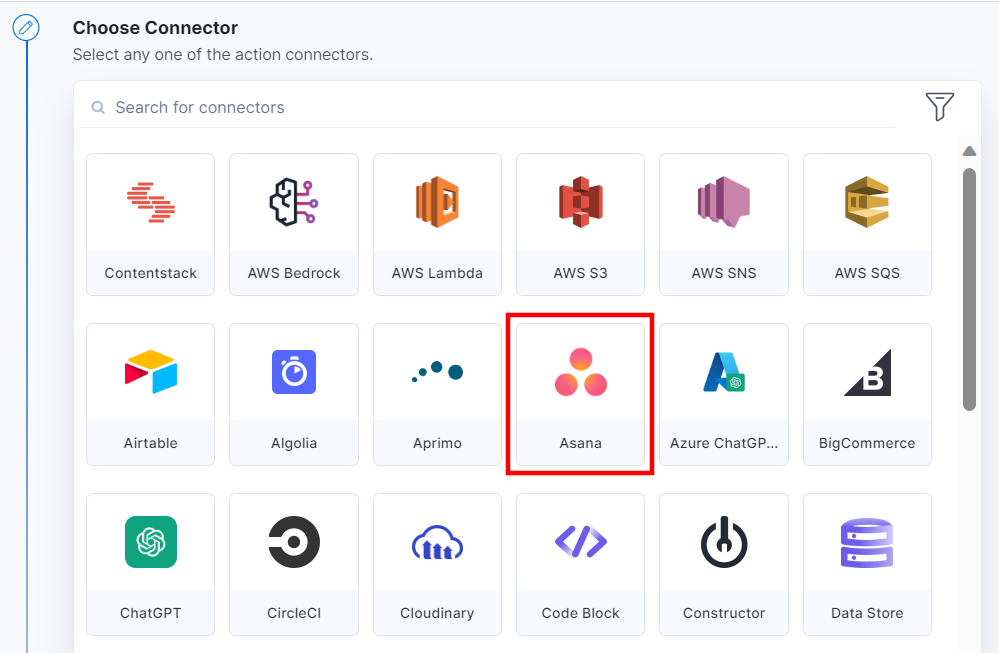
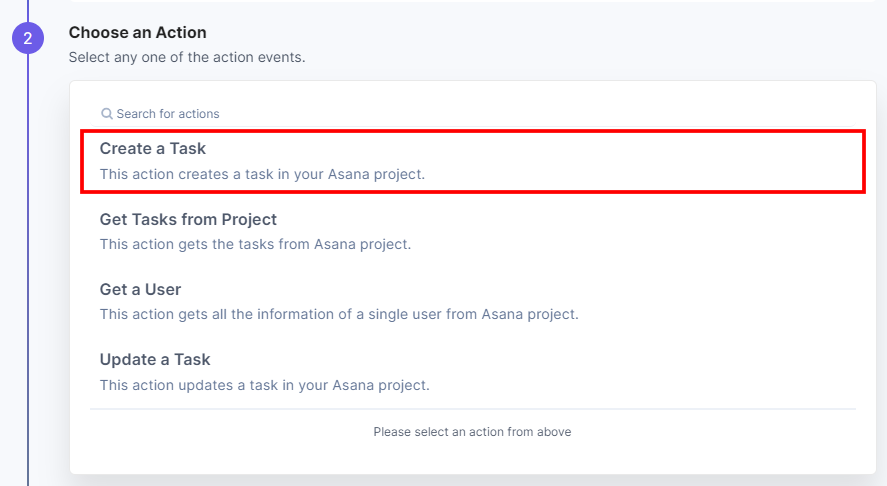
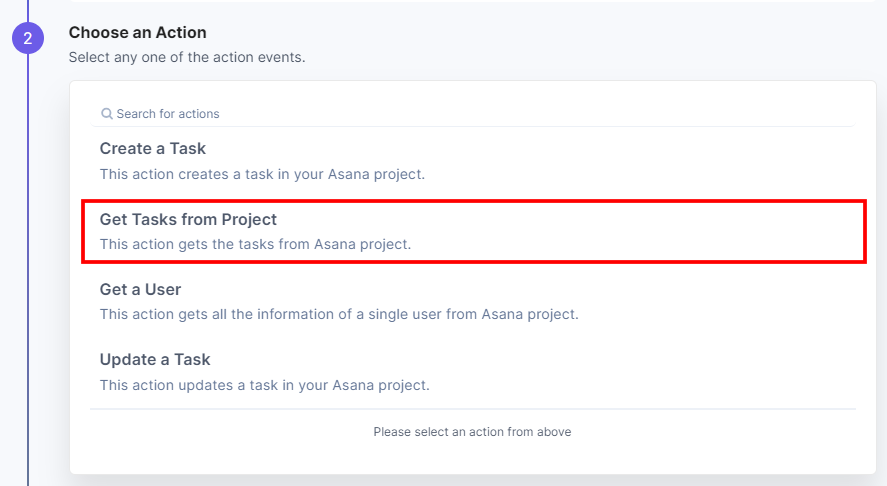
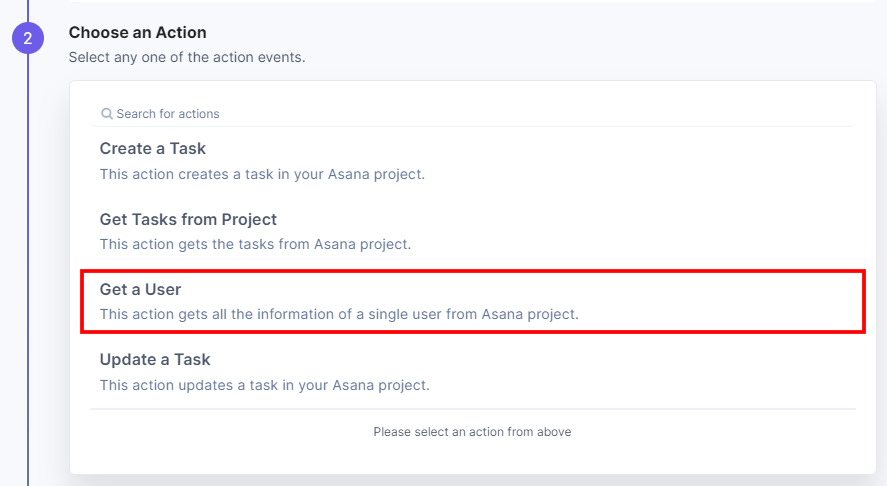
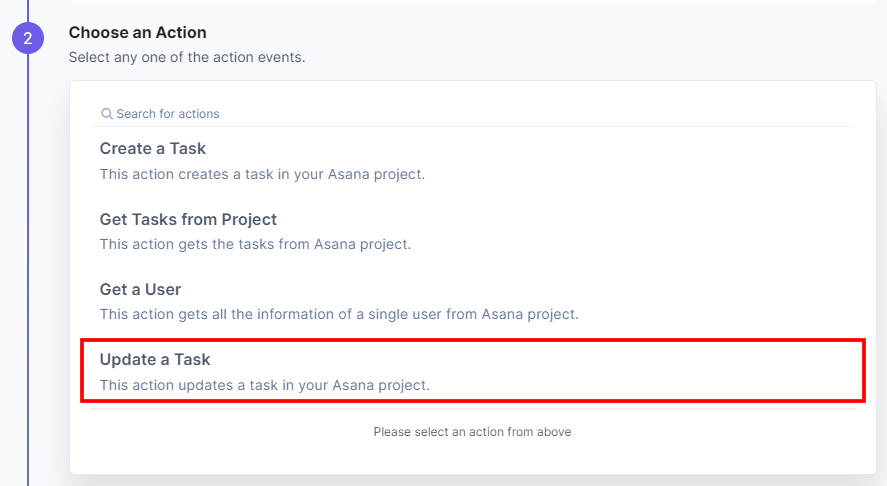
- Under Choose an Action tab, you will see four actions:
- Create a Task (creating a task in Asana)
- Get Tasks from Project (fetching tasks from Asana project)
- Get a User (getting user information from Asana)
- Update a Task (updating a task in Asana)
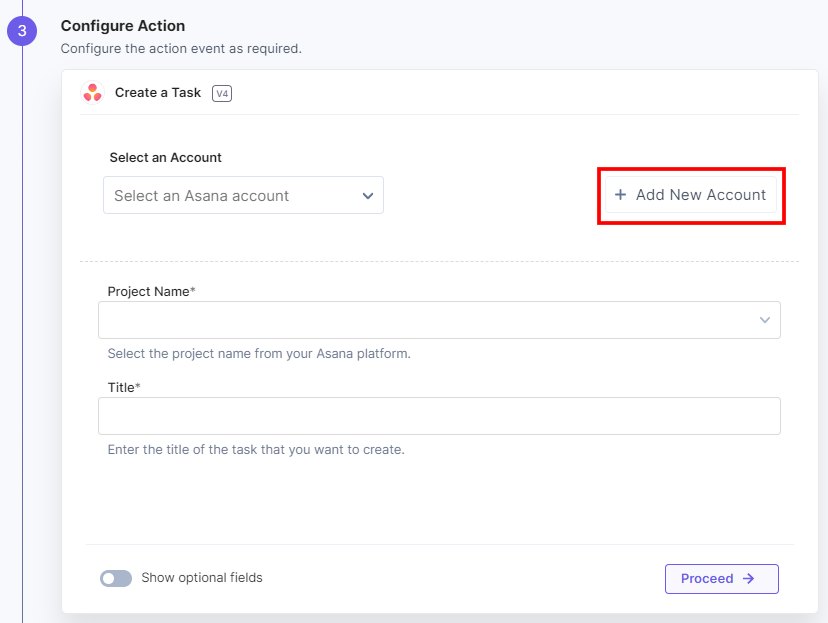
- Click the + Add New Account button to add your Asana account (see screenshot in next step).
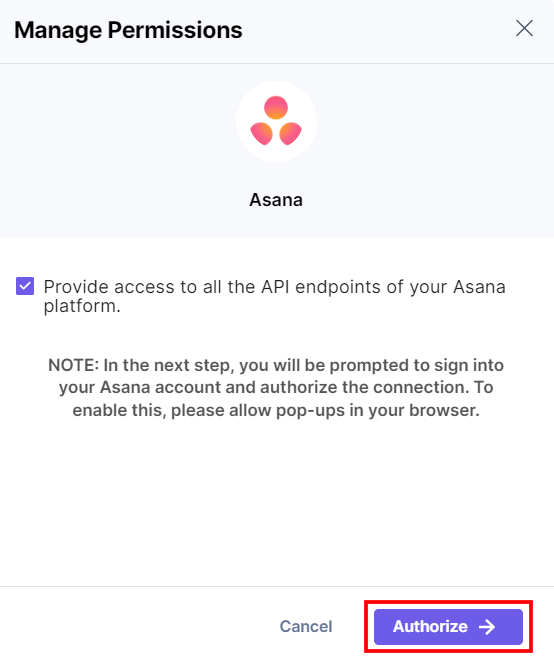
- In the Manage Permissions modal, click the Checkbox and click Authorize.
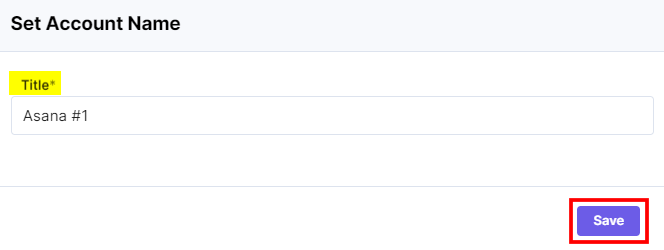
- In the Set Account Name modal, enter the Title and click Save to add your Asana account.
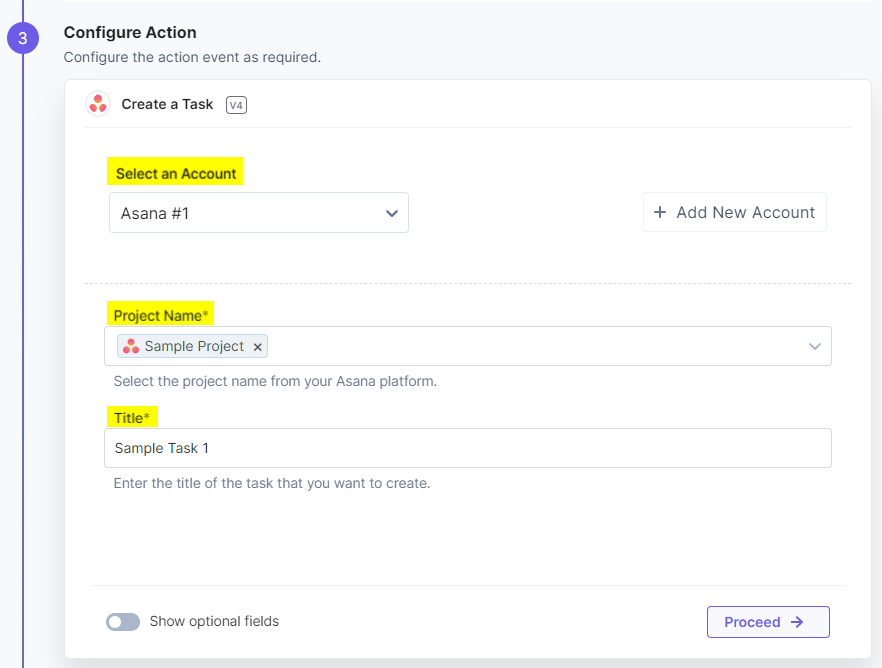
- On the Create a Task - Configure Action page, enter the details given below:
- Select the Project Name from the lookup values to create a task.
- Enter an appropriate Title to the task.
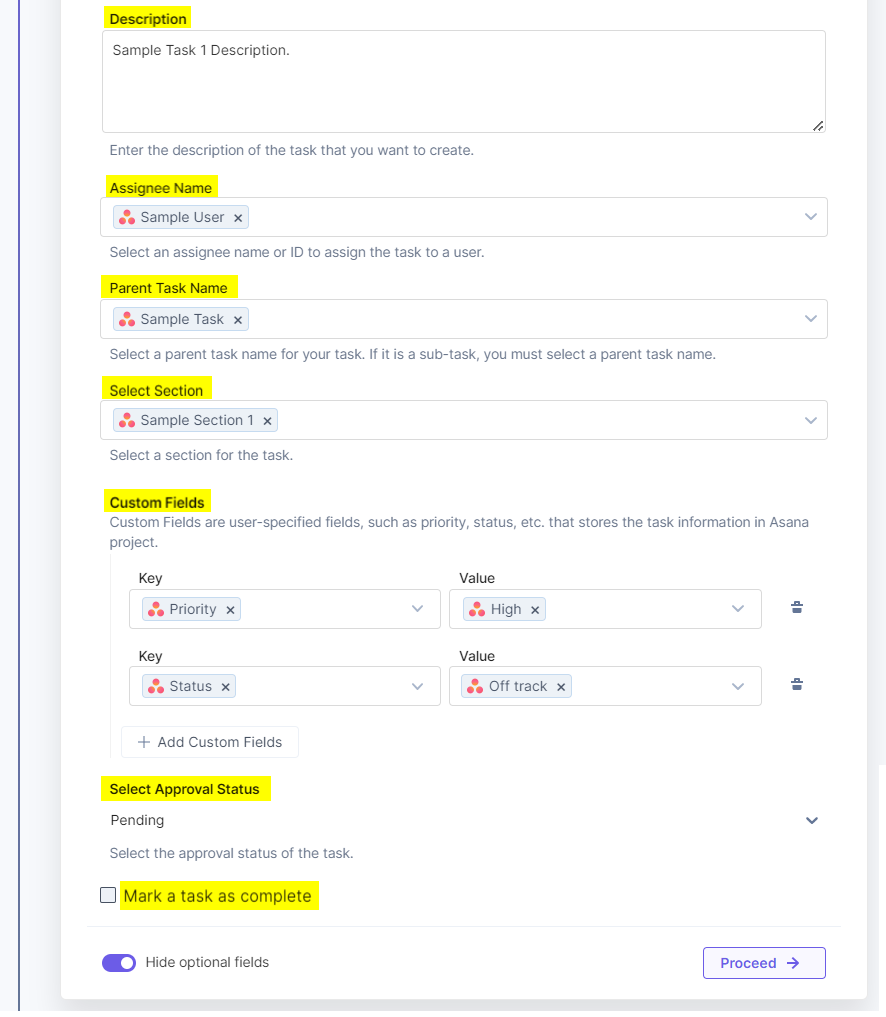
- Click the Show optional fields toggle button to use the optional fields.
- Enter the Description for the task.
- Select the Assignee Name from the lookup values to whom you want to assign this task.
- Select the Parent Task Name from the lookup list if creating a sub-task.
- Choose the section from the Select Section dropdown where you want to place the task.
- Custom Fields are the user-specified fields that store the task information in the Asana project—for example, Priority, Status, etc. You can add a Custom Field as a key-value pair from the lookup data.
- Choose the value from the Select Approval Status dropdown to set the approval status. The status can be Pending, Approved, Rejected, and Changes Requested.
- Check the Mark a task as complete checkbox to set the task status as complete.
Note: When you want to change the section, the task must be assigned to a user.
- Click Proceed.
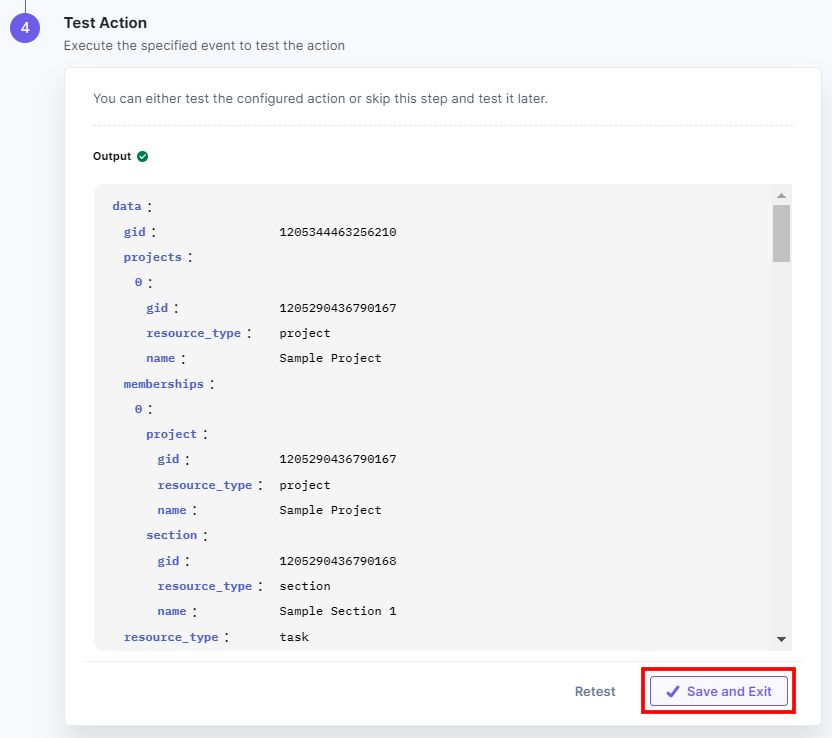
- Click Test Action to test the configured action.

- You will get the response. Once set, click Save and Exit.
- Navigate to your Asana Project. You should see that the task has been created successfully.
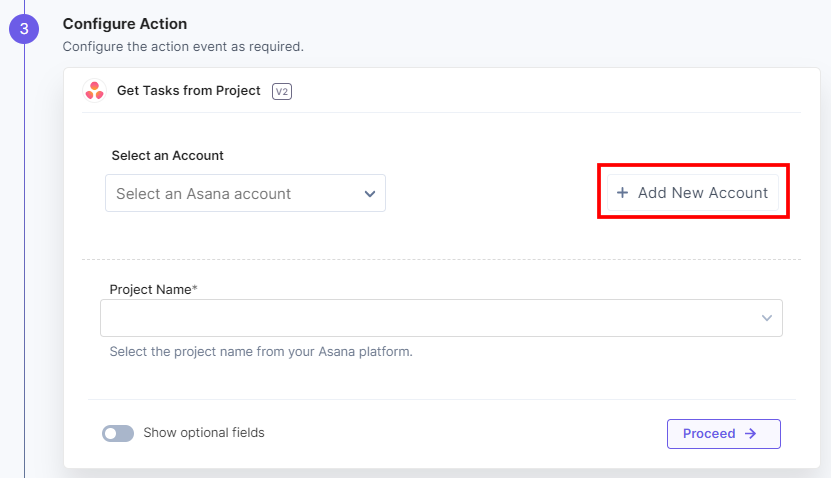
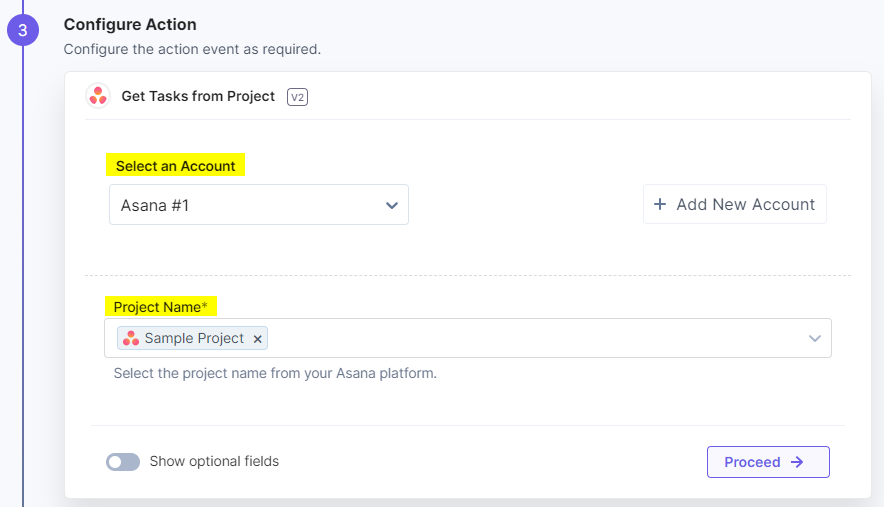
- Click the + Add New Account button to add your Asana account (see screenshot in next step).
- In the Manage Permissions modal, click the Checkbox and click Authorize.

- In the Set Account Name modal, enter the Title and click Save to add your Asana account.

- On the Get Tasks from Project - Configure Action page, enter the details given below:
- Select Project Name from the lookup List to fetch the tasks.
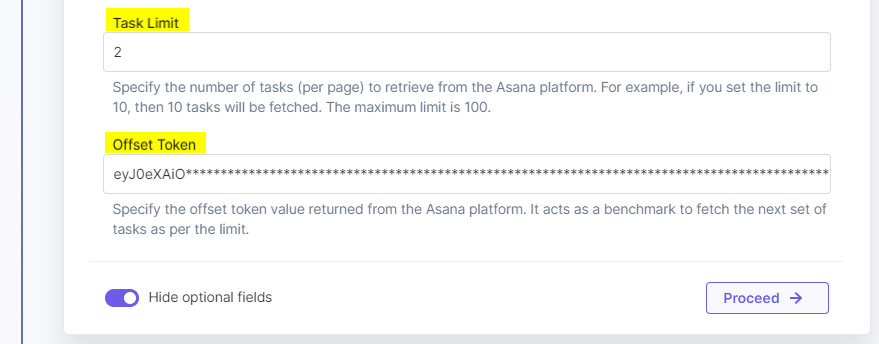
- Click the Show optional fields toggle button to use the optional fields.
- Provide the value to set the Task Limit to retrieve the tasks. For example, if you set the limit to 10, 10 tasks will be fetched.
- Provide the Offset Token value returned from the Asana platform. It acts as a benchmark to fetch the next set of tasks as per the limit.
- Click Proceed.
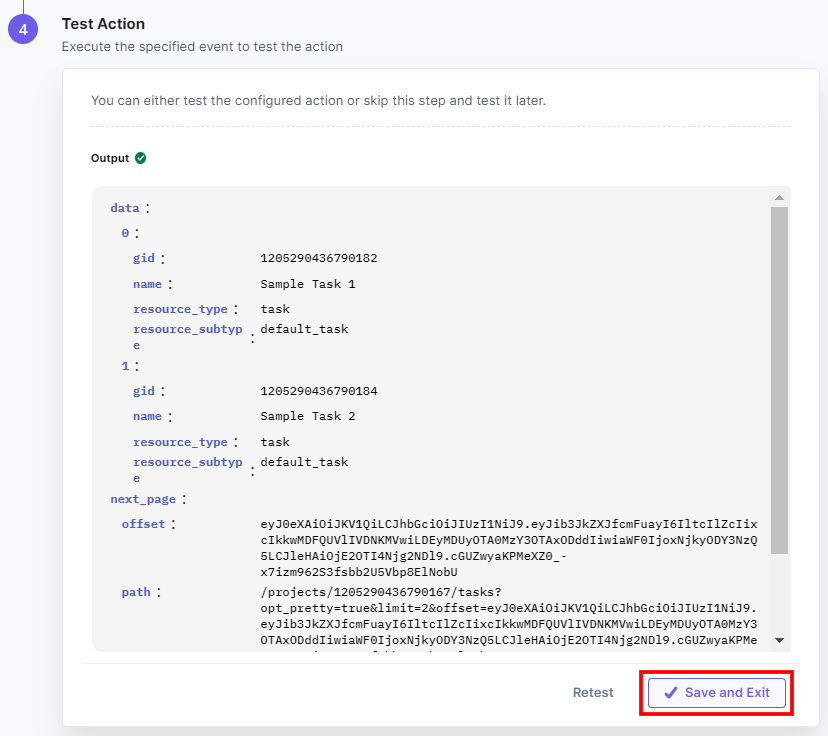
- Click Test Action to test the configured action.

- You will get the response. Once set, click Save and Exit.
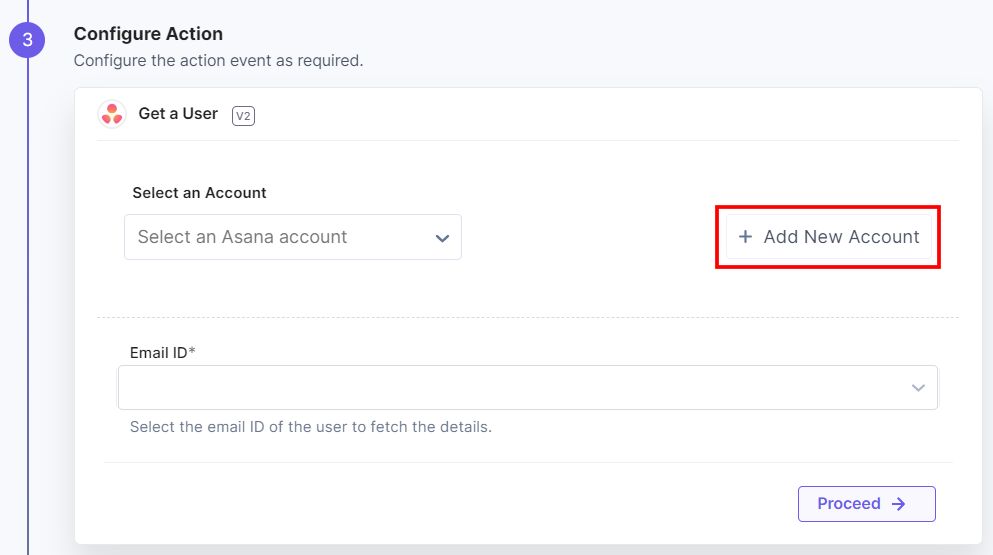
- Click the + Add New Account button to add your Asana account (see screenshot in next step).
- In the Manage Permissions modal, click the Checkbox and click Authorize.

- In the Set Account Name modal, enter the Title and click Save to add your Asana account.

- On the Get a User - Configure Action page, select the User Name or Email ID from the lookup values to retrieve the user details.
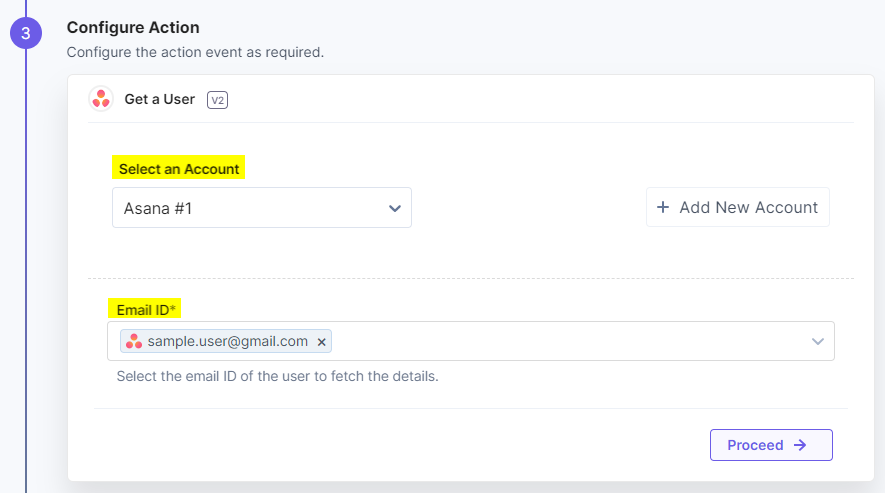
- Click Proceed.
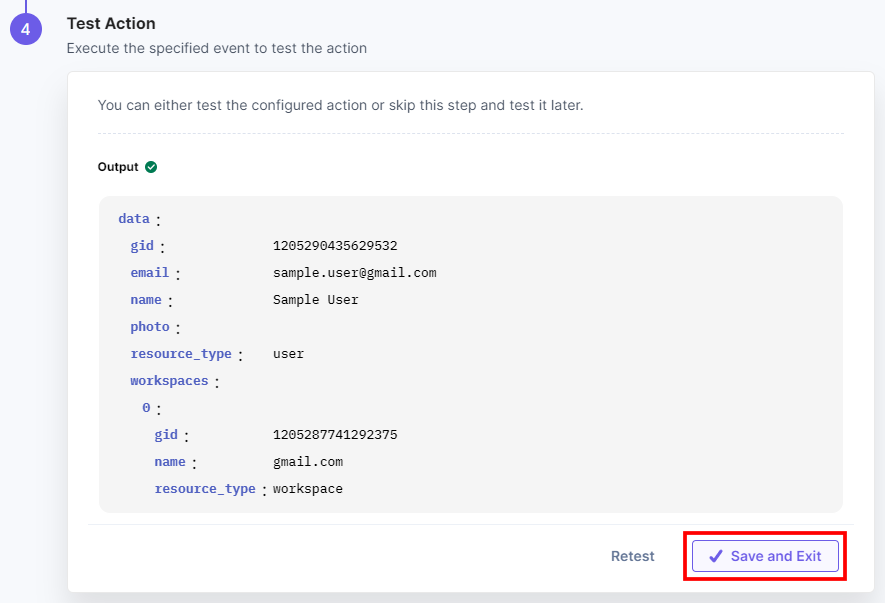
- Click Test Action to test the configured action.

- You will get the response. Once set, click Save and Exit.
- Click the + Add New Account button to add your Asana account (see screenshot in next step).
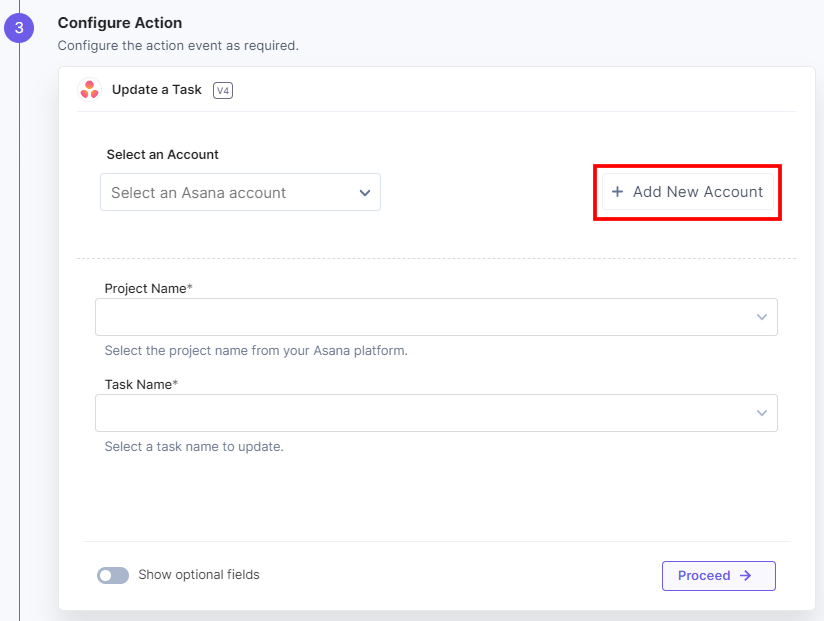
- In the Manage Permissions modal, click the Checkbox and click Authorize.

- In the Set Account Name modal, enter the Title and click Save to add your Asana account.

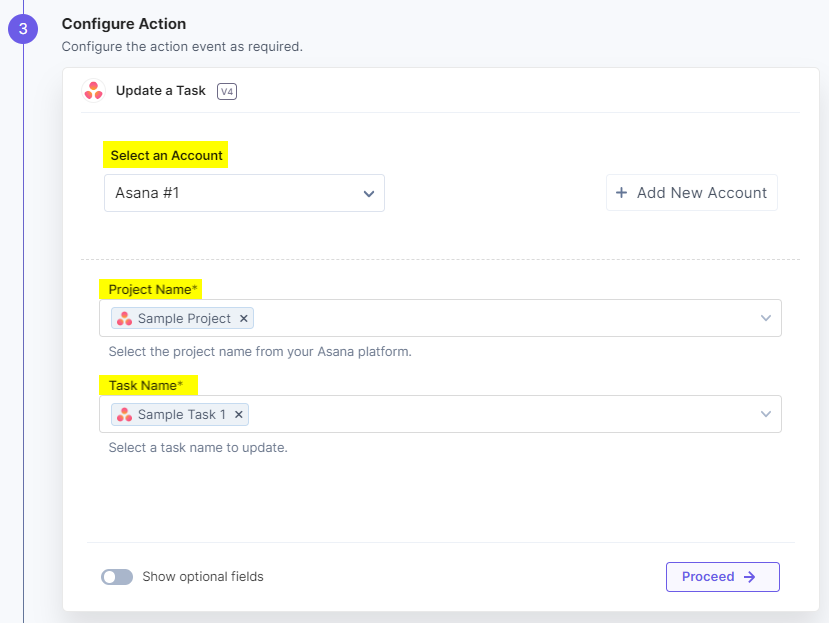
- On the Update a Task - Configure Action page, enter the details given below:
- Select the Project Name from the lookup values to update a task.
- Select the Task Name which you want to update.
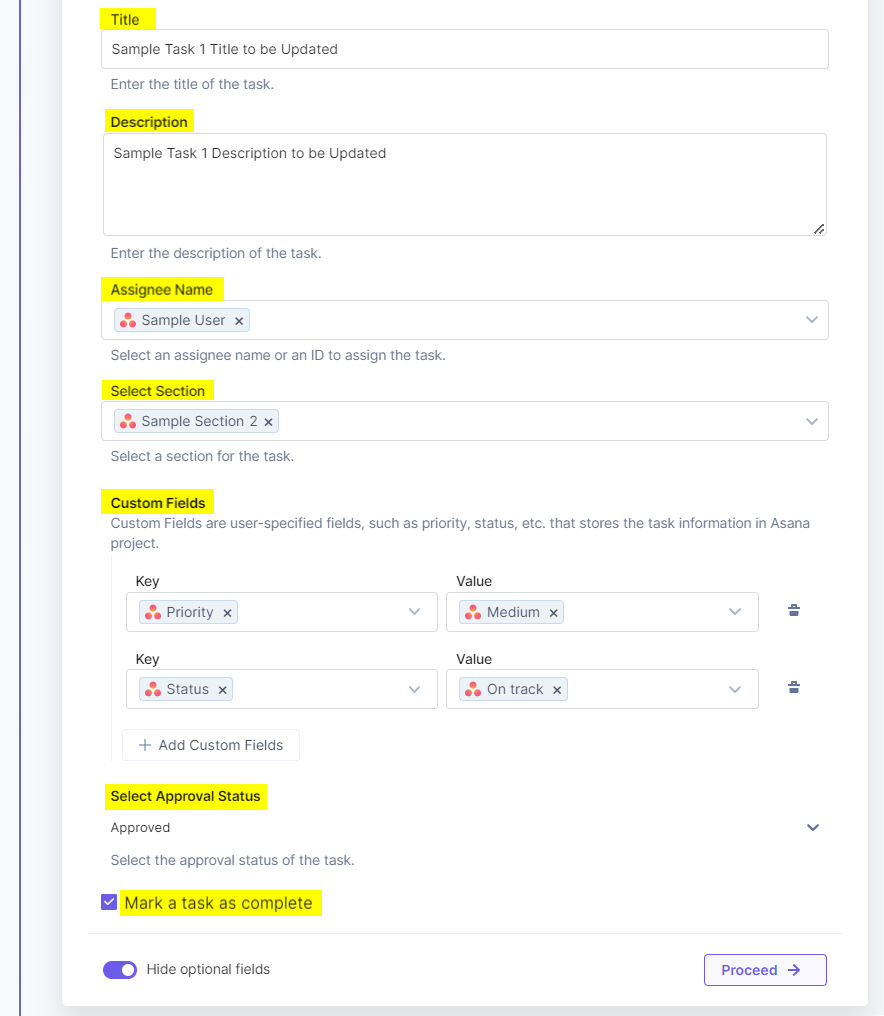
- Click the Show optional fields toggle button to use the optional fields.
- Enter the suitable Title to update the title of the task.
- Enter the Description to update the task description.
- Select the Assignee Name from the lookup values to whom you want to assign this task.
- Choose the section from the Select Section dropdown where you want to place the task.
- Custom Fields are the user-specified fields that store the task information in the Asana project—for example, Priority, Status, etc. You can add a Custom Field as a key-value pair from the lookup data.
- Choose the value from the Select Approval Status dropdown to set the approval status. The status can be Pending, Approved, Rejected, and Changes Requested.
- Check the Mark a task as complete checkbox to set the task status as complete.
Note: When you want to change the section, the task must be assigned to a user.
- Click Proceed.
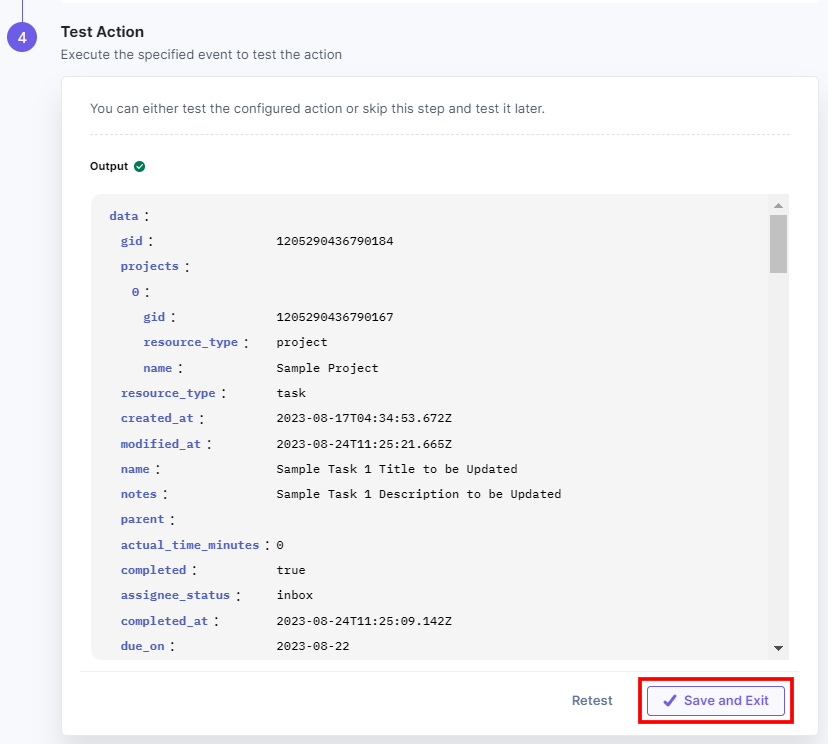
- Click Test Action to test the configured action.

- You will get the response. Once set, click Save and Exit.
- Navigate to your Asana Project. You should see that the task has been updated successfully.
Let’s look at each of them in detail.
Action 1: Select the Create a Task action
Action 2: Select the Get Tasks from Project action
Note: The maximum task limit is 100.
Additional Resource: For more information, please refer to the Get tasks from a project API Reference documentation.
Action 3: Select the Get a User action
Action 4: Select the Update a Task action
This sets the Asana action connector.


.svg?format=pjpg&auto=webp)
.svg?format=pjpg&auto=webp)
.png?format=pjpg&auto=webp)


.png?format=pjpg&auto=webp)