
.svg?format=pjpg&auto=webp)
.svg?format=pjpg&auto=webp)
.png?format=pjpg&auto=webp)


.png?format=pjpg&auto=webp)
Adding a New Page to Your Sample Website
After learning how to build an app from scratch in the Get Started Building a Website guide, let’s learn how to integrate a new page into your website using Contentstack.
This guide specifically covers the step-by-step process of adding a “Menu” page, including content creation, code changes, and deployment.
Steps to Follow
To add the Menu page within your application, you need to perform the following steps:
- Create Entries for the Menu Page
- Add the Code of Menu page Within the Website
- Deploy New Changes Using Launch
Create Entries for the Menu Page
In this section, you will build the Menu page.
Note: Before proceeding with the steps below, ensure that you have imported the “Dishes” and the “Page” content types. Refer to the Import Content Types section.
Let’s start creating the entries for the “Dishes” and the “Page” content types which you have already added previously.
Creating Entries for the Dishes Content Type
You need to create one entry each for the courses: “APPETIZERS,” “MAIN DISHES,” “DESSERTS,” and “BEVERAGES.”
Perform the steps below to create a new entry for the “Dishes” content type and enter the following values.
Within the Entry Editor page, enter/select the following content against the respective fields:
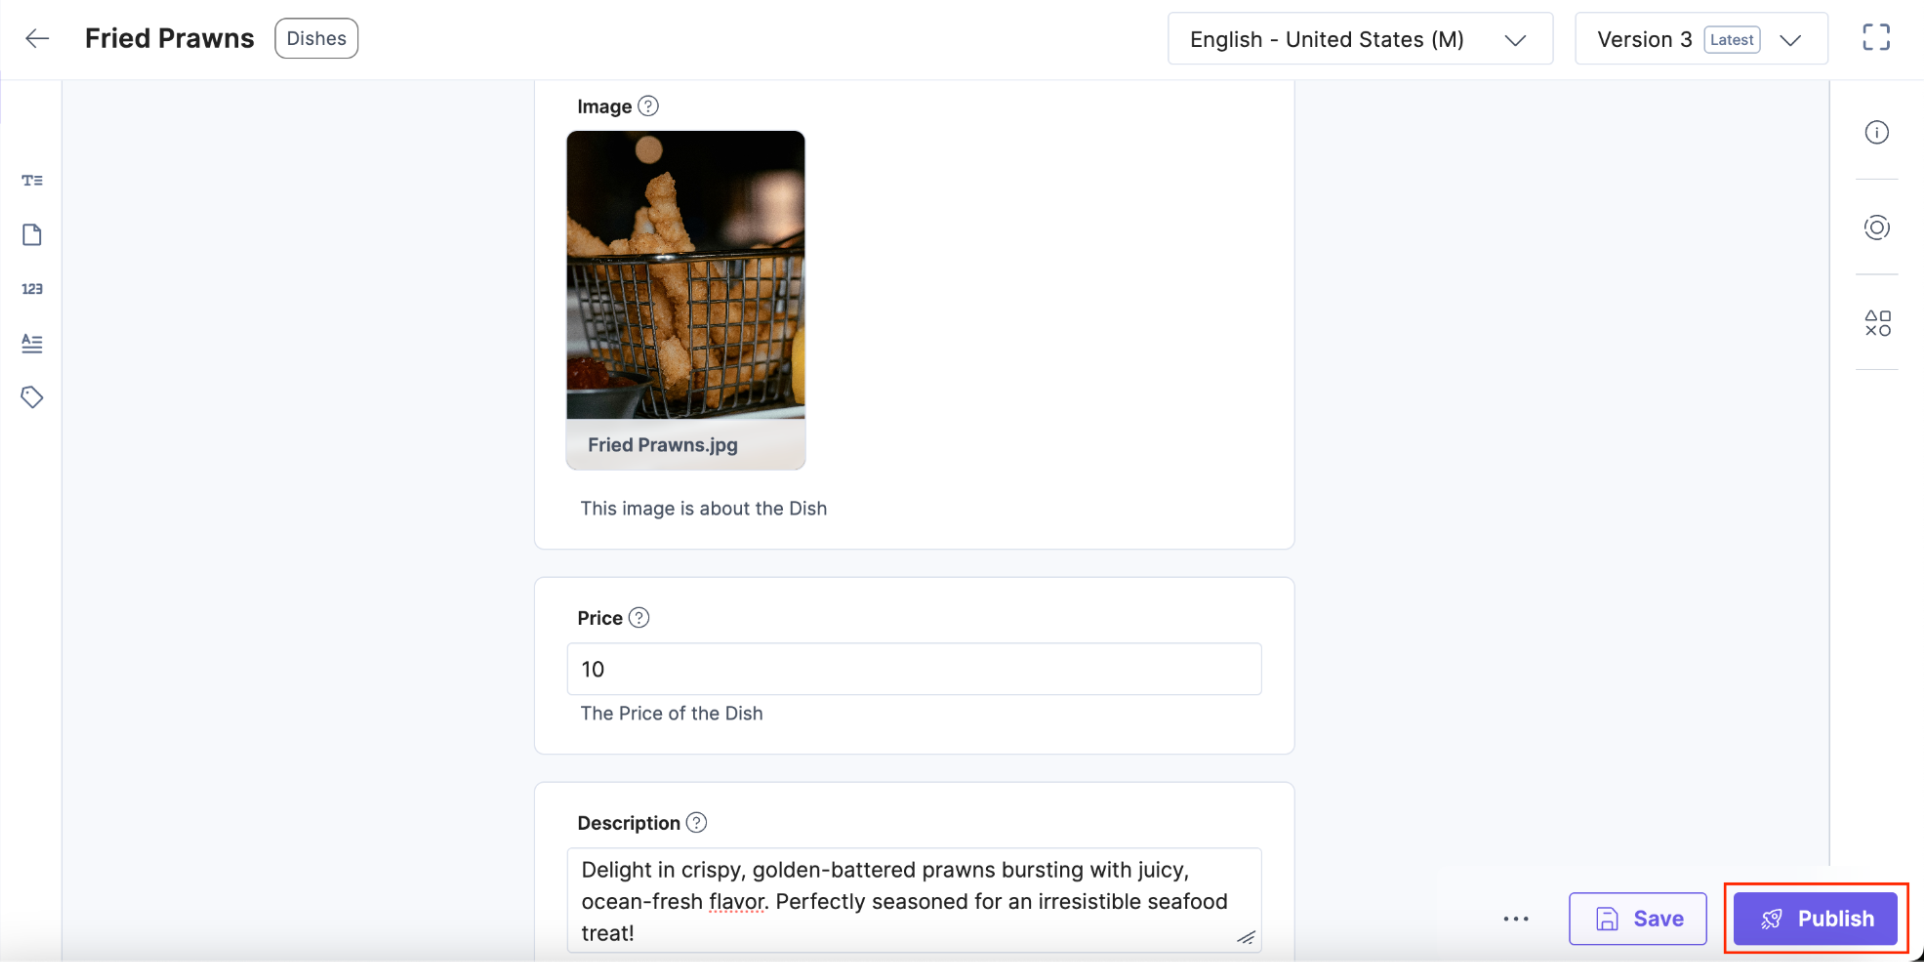
Let's create an entry for the “APPETIZERS” Course
- Title: Enter “Fried Prawns”
Note: Make sure to keep the title of all dishes similar to the respective asset/image name.
- Image: To upload the logo, perform the following set of actions (refer About File Field):
- Click on Upload a new file.
- Click on Choose files and select the desired asset file (in our case, select the Assets/Page - Menu /APPETIZERS/Fried Prawns.jpg), then click on Open.
- Price: Enter “10”
- Description: Enter “Delight in crispy, golden-battered prawns bursting with juicy, ocean-fresh flavor. Perfectly seasoned for an irresistible seafood treat!”
Here’s how your entry will look like:
Next, create an entry for the “MAIN DISHES” Course
- Title: Enter “Fresh Seafood Stew”
- Image:To upload the logo, click on Upload a new file >Choose files, select Assets/Page - Menu /MAIN DISHES/Fresh Seafood Stew.jpeg, and click on Open.
- Price: Enter “15”
- Description: Enter “Dive into a hearty bowl brimming with a succulent mix of ocean treasures, simmered to perfection in a savory broth. A comforting taste of the sea, served fresh!”
Now, add the entry details for the “DESSERTS” Course
- Title: Enter “Brownie Vanilla Cake”
- Image:To upload the logo, click on Upload a new file >Choose files, select Assets/Page - Menu /DESSERTS/Brownie Vanilla Cake.jpg, and click on Open.
- Price: Enter “13”
- Description: Enter “Indulge in a decadent fusion of rich chocolate brownie and velvety vanilla cake layers, creating a harmonious blend of flavors and textures. A delightful treat that satisfies every sweet craving!”
Finally, create an entry for the “BEVERAGES” Course
- Title: Enter “Coconut Milkshake”
- Image:To upload the logo, click on Upload a new file >Choose files, select Assets/Page - Menu /BEVERAGES/Coconut Milkshake.jpg), then click on Open.
- Price: Enter “10”
- Description: Enter “Enjoy the creamy blend of rich coconut milk and velvety ice cream, topped with a sprinkle of toasted coconut flakes. A tropical treat that's smooth and refreshing!”
Click on Publish and select the development environment for all respectively.
Note: Similarly, add the Entries for the Remaining Assets in the Page - Menu Folder.
Create Entries for the Page Content Type
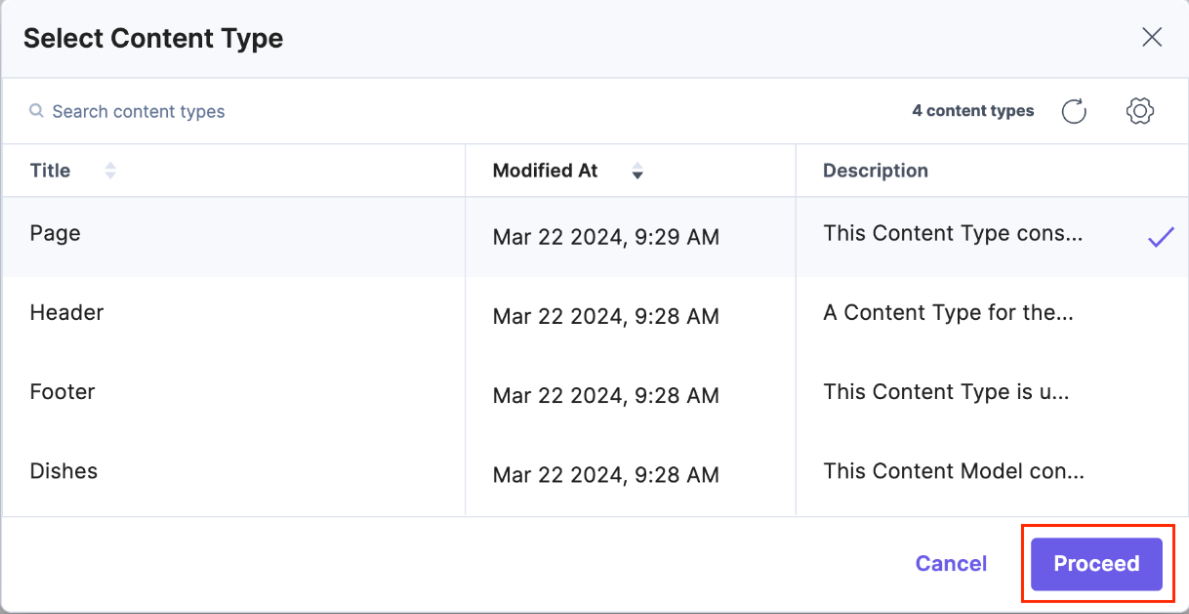
- To create an entry, navigate back to the Entries section, click on the + New Entry button on the top, select the content type (in our case, Page), and click on Proceed.
- Within the Entry Editor page, enter/select the following content against the respective fields:
- Title: Enter “Menu.”
- URL: Enter “/menu”
- Menu: Add a Menu section by clicking “+ Menu”.
- Expand the Course group by clicking on the down arrow.
You will need to add multiple instances for this field with the values mentioned below.
Note: If an entry field is designated as “Multiple,” you will see the Add “+” icon located beside the existing instance.
Here are the instances you need to add:
- Instance 1:
- Course Name: APPETIZERS
- Dishes: To select an option, perform the following steps:
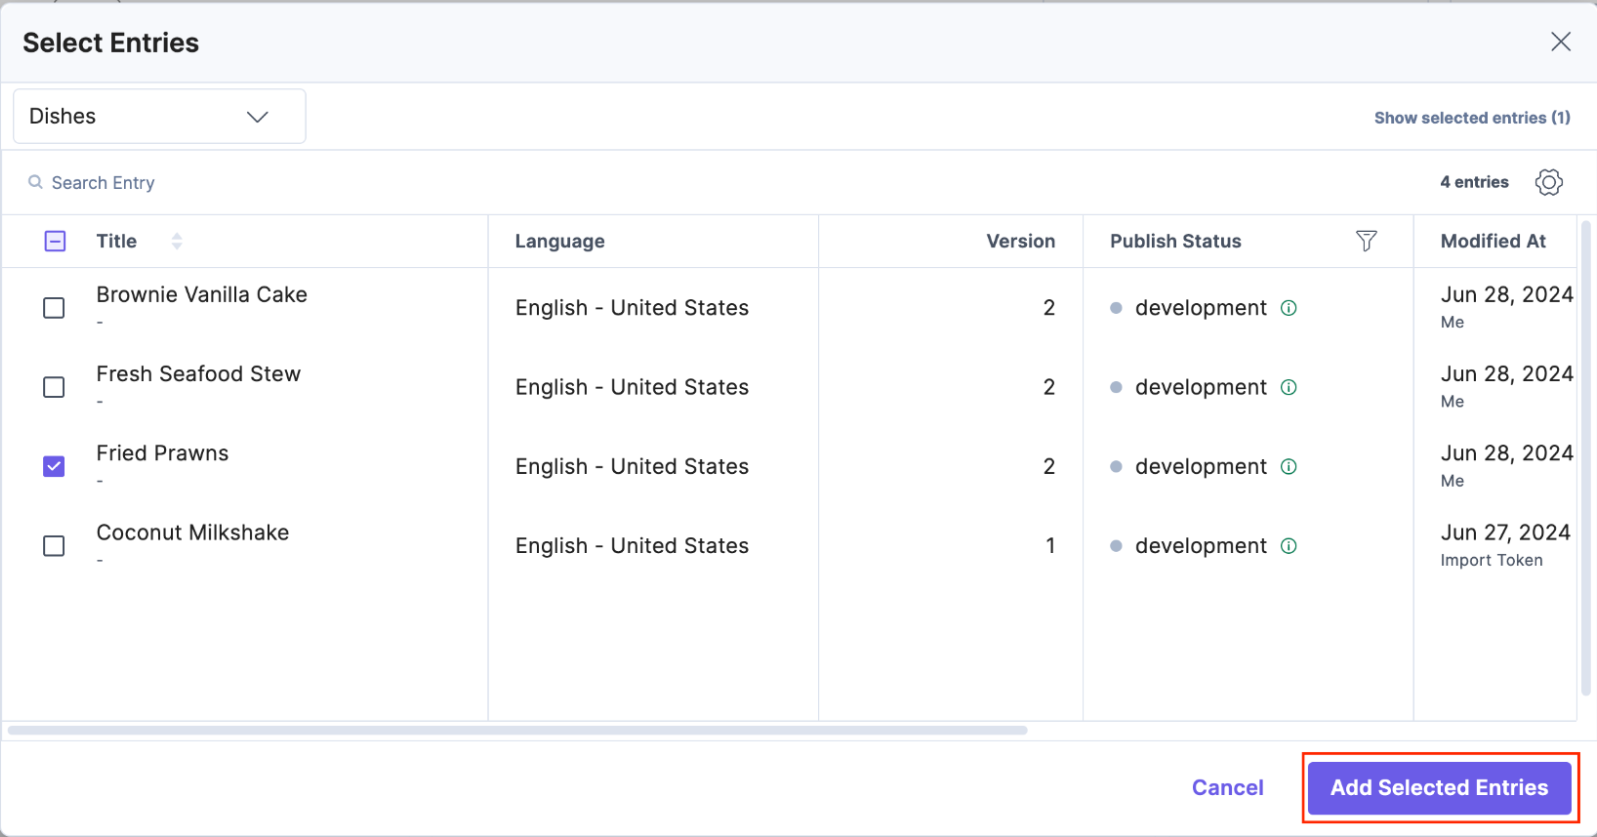
- Click on Choose existing entry to browse a list of related entries.
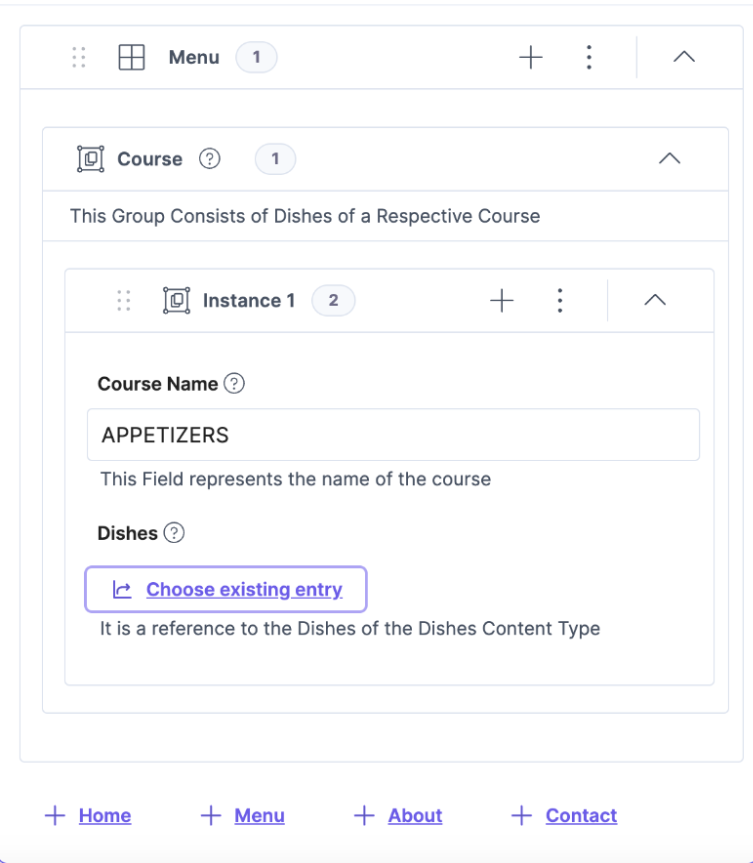
- Select the entry, Fried Prawns, of the referred Content type, Dishes, and click on Add Selected Entries.
- Click on Choose existing entry to browse a list of related entries.
Note: You can similarly add the other dishes for the next three instances.
- Instance 2:
- Course Name: MAIN DISHES
- Dishes: Fresh Seafood Stew
- Instance 3:
- Course Name: DESSERTS
- Dishes: Brownie Vanilla Cake
- Instance 4:
- Course Name: BEVERAGES
- Dishes: Coconut Milkshake
- Instance 1:
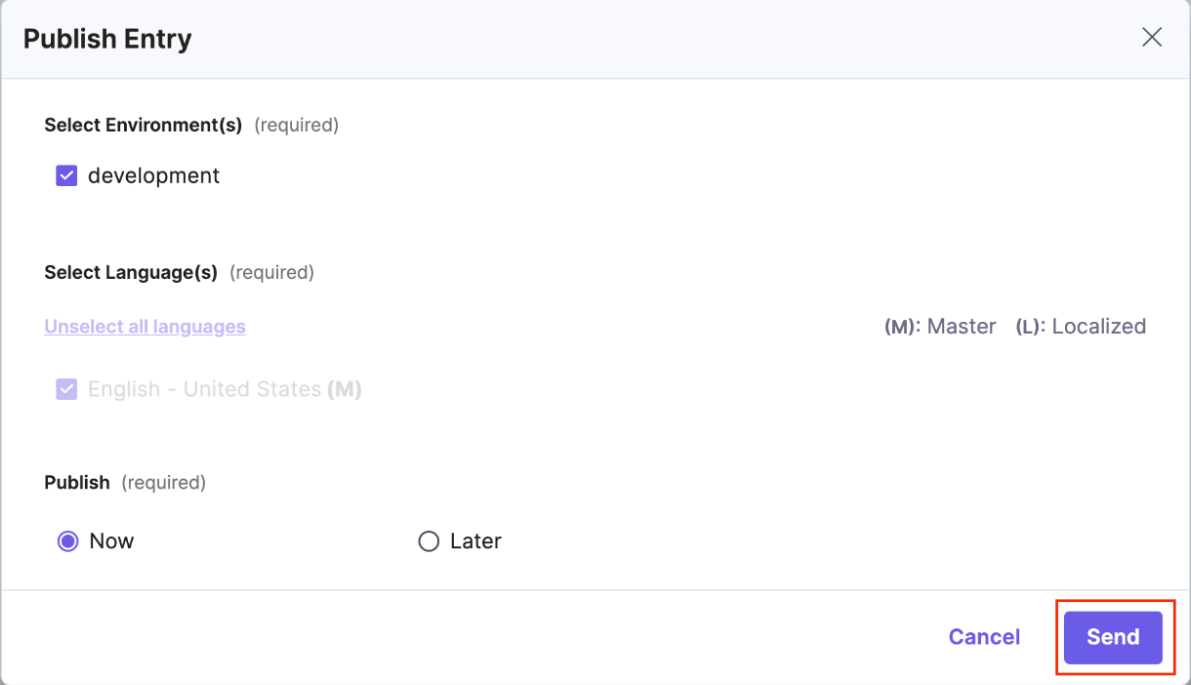
- After successfully entering the details of the entry, click on Publish. And, in the Publish Entry modal, select the development environment, and click on Send.
Now, let’s do the code changes.
Add the Code of Menu page Within the Website
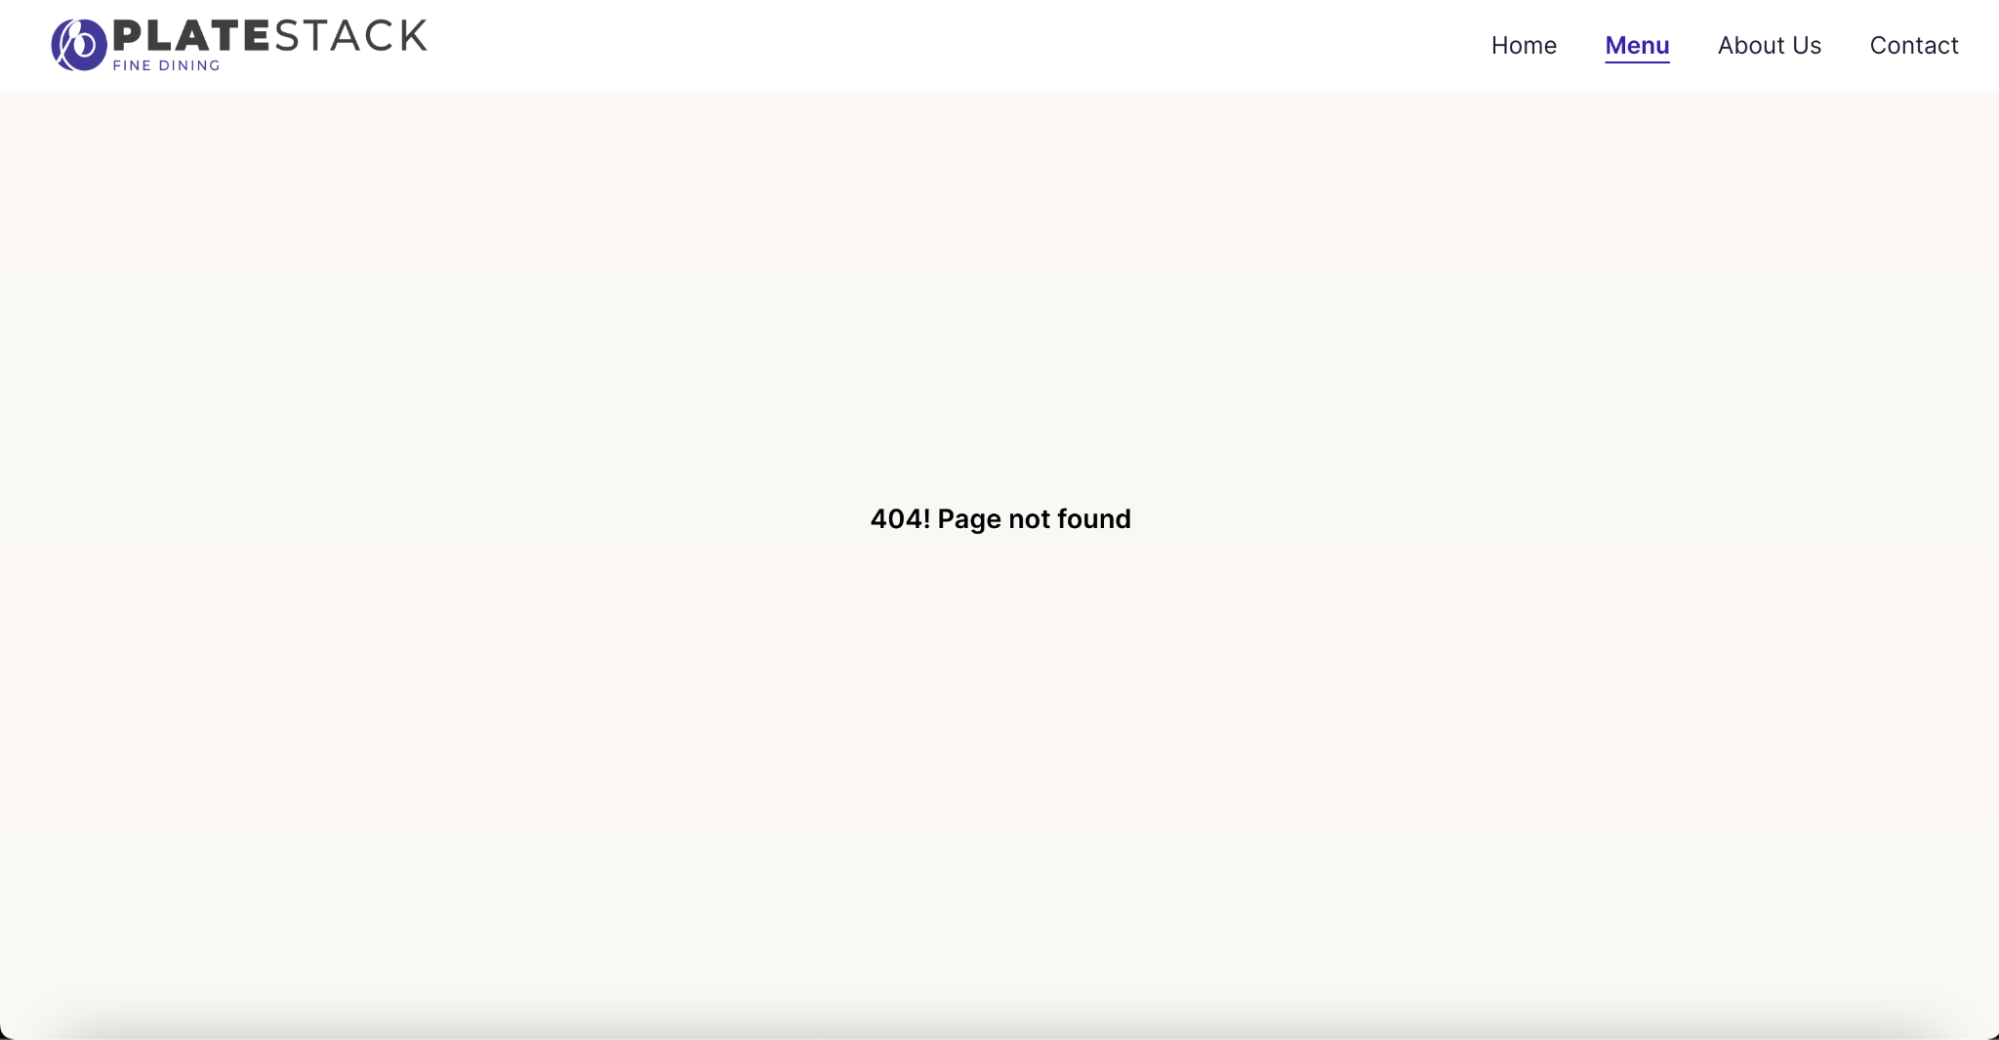
You might have noticed that in our PlateStack Restaurant Site website accessed via browser, clicking the Menu navigation in the header currently leads to 404! Page not found.
Let’s do some code changes to populate the Menu page with the content that was added in the previous section. Open the website source code in VS code and proceed to make the changes that are covered in the following sections.
Note:
- The required code changes are already present in source codefor the Menu page. The following steps will help you to understand how the code structure works.
- The required code changes are commented out in the source files. To activate them, simply uncomment the code wherever you find “COMMENT”, they indicate where changes are needed.
- To uncomment the code, select the commented code and press command + / keys
- You can follow the steps 4.1 to 4.3 to add any new page.
Add Typescript Type Definition For Menu Page
TypeScript type definitions describe the structure and types of data used in your code. They enable static type checking, catch errors early, improve code documentation, and enhance developer productivity by providing better IDE support and refactoring safety.
Type definitions promote clearer communication among team members and enable the use of advanced tooling, ultimately leading to safer, more maintainable code.
The following steps will guide you on how to navigate and update type definitions in your project:
- Go to the src/types/index.ts file. This file has all the type definitions required for our website. You will see THeaderData, TFooterData, THomePageData, and so on, which are all the type definitions of respective components/pages.
- Now, if you scroll to the bottom of the file, you will see TDishes and TMenu commented. These are the type definitions for our “Menu” page. Uncomment this code and save (press command + Skeys) the file.
Redux Changes
Redux is a JavaScript library for managing the website state in a predictable way. It provides a centralized store to hold the state and uses reducers to update it based on dispatched actions. This promotes a clear, single source of truth for your website’s data.
Let's use Redux to maintain the state of our website and implement it with Redux slice to simplify the implementation.
Tip: You can read more about Redux and Redux slice if interested.
To effectively implement Redux in our website, follow these steps:
- Go to the src/reducer/index.ts file. This file has the AppState, initialState, slice, and reducers of our application.
- Now, add TMenu to the import statement in line number 3 as follows:
import{TFooterData,THeaderData,THomePageData, }from"../types"; - Please follow “COMMENT” and uncomment all the commented lines.
Here’s what the above action does:
- Adds TMenu to the typesimport statement
- Adds menuPageData to AppState
- Updates initialState with menuPageData
- Adds setMenuPageData to the mainSlice’s reducers
- Adds setMenuPageData to the named exports of mainSlice’s actions
Finally save the file using the command + S keys
Adding API For Data Fetching
Let's use the Contentstack SDK to fetch data from Contentstack and set it in our redux store to use within our React components.
- Go to the src/api/index.ts file. This has the helper functions and individual methods to fetch data from Contentstack.
- For example - fetchHeaderData is used to fetch Header content type data from Contentstack.
- Please follow “COMMENT” and uncomment the commented lines in the file.
Here’s what the above action does:
- Adds setMenuPageData in the import from reducer
- Adds the fetchMenuPageData method
Finally save the file using command + S keys
Building Menu Page Component
You need a component to render when you go to the Menu page. Let’s build it.
- Go to the src/components/menu/Menu.tsx file. This file contains the component that renders the Menu page.
- Please follow “COMMENT” and uncomment all the commented lines.
Here’s what the above action does:
- Adds two import statements for importing TMenu and fetchMenuPageData
- Uncomments the code from line number 14 to 96
- Deletedreturn <></>;
Let’s understand what’s happening in this component code at a high level.
- This component triggers the API to fetch the “Menu” page data using fetchMenuPageData inside useEffect. Internally fetchMenuPageData fetches the data from Contentstack using SDK and stores it in the redux store.
- The “Menu” page data from the redux store is fetched using useSelector.
- It constructs individual tab data (Breakfast, Lunch, Dinner) and passes them to the Tabs component.
Finally save the file using command + s keys
Adding Typescript Type Definition In MenuCard Component
This file contains the reusable MenuCard component used in our “Restaurant Menu” website. This component is responsible for displaying individual dish cards on the Menu page.
For best coding practices, it's recommended to add type definitions to the component's props and other relevant fields whenever possible. This helps to improve code readability, maintainability, and allows for catching potential errors during development.
- Go to the src/components/menu/MenuCard.tsx file
- Please follow “COMMENT” and uncomment all the commented lines.
Here’s what the above action does:
- Imports TDishes from types
- Replaces any[] with TDishes[]
- Replaces any with TDishes
Add Routing Changes for Menu page
This code uses React Router for routing in your website.
- Go to the src/routes/index.tsx file. This is the file which maintains the routing logic of our website.
- Please follow “COMMENT” and uncomment all the commented lines.
Here’s what the above action does:
- Imports the Menu component
- Replaces <NotFound /> with <Menu /> for the /menu route.
If you note, the <NotFound /> component renders for the /menu path. That’s why you can see 404! Page not found when you click on the Menu page in your website. It’s intentional.
Now, as you have replaced it with the <Menu /> component, it will render the actual “Menu” component when clicking on the Menu page.
Start the server using the npm start command in the terminal if you have not already done so.
Yay! You have successfully completed building the Menu page.
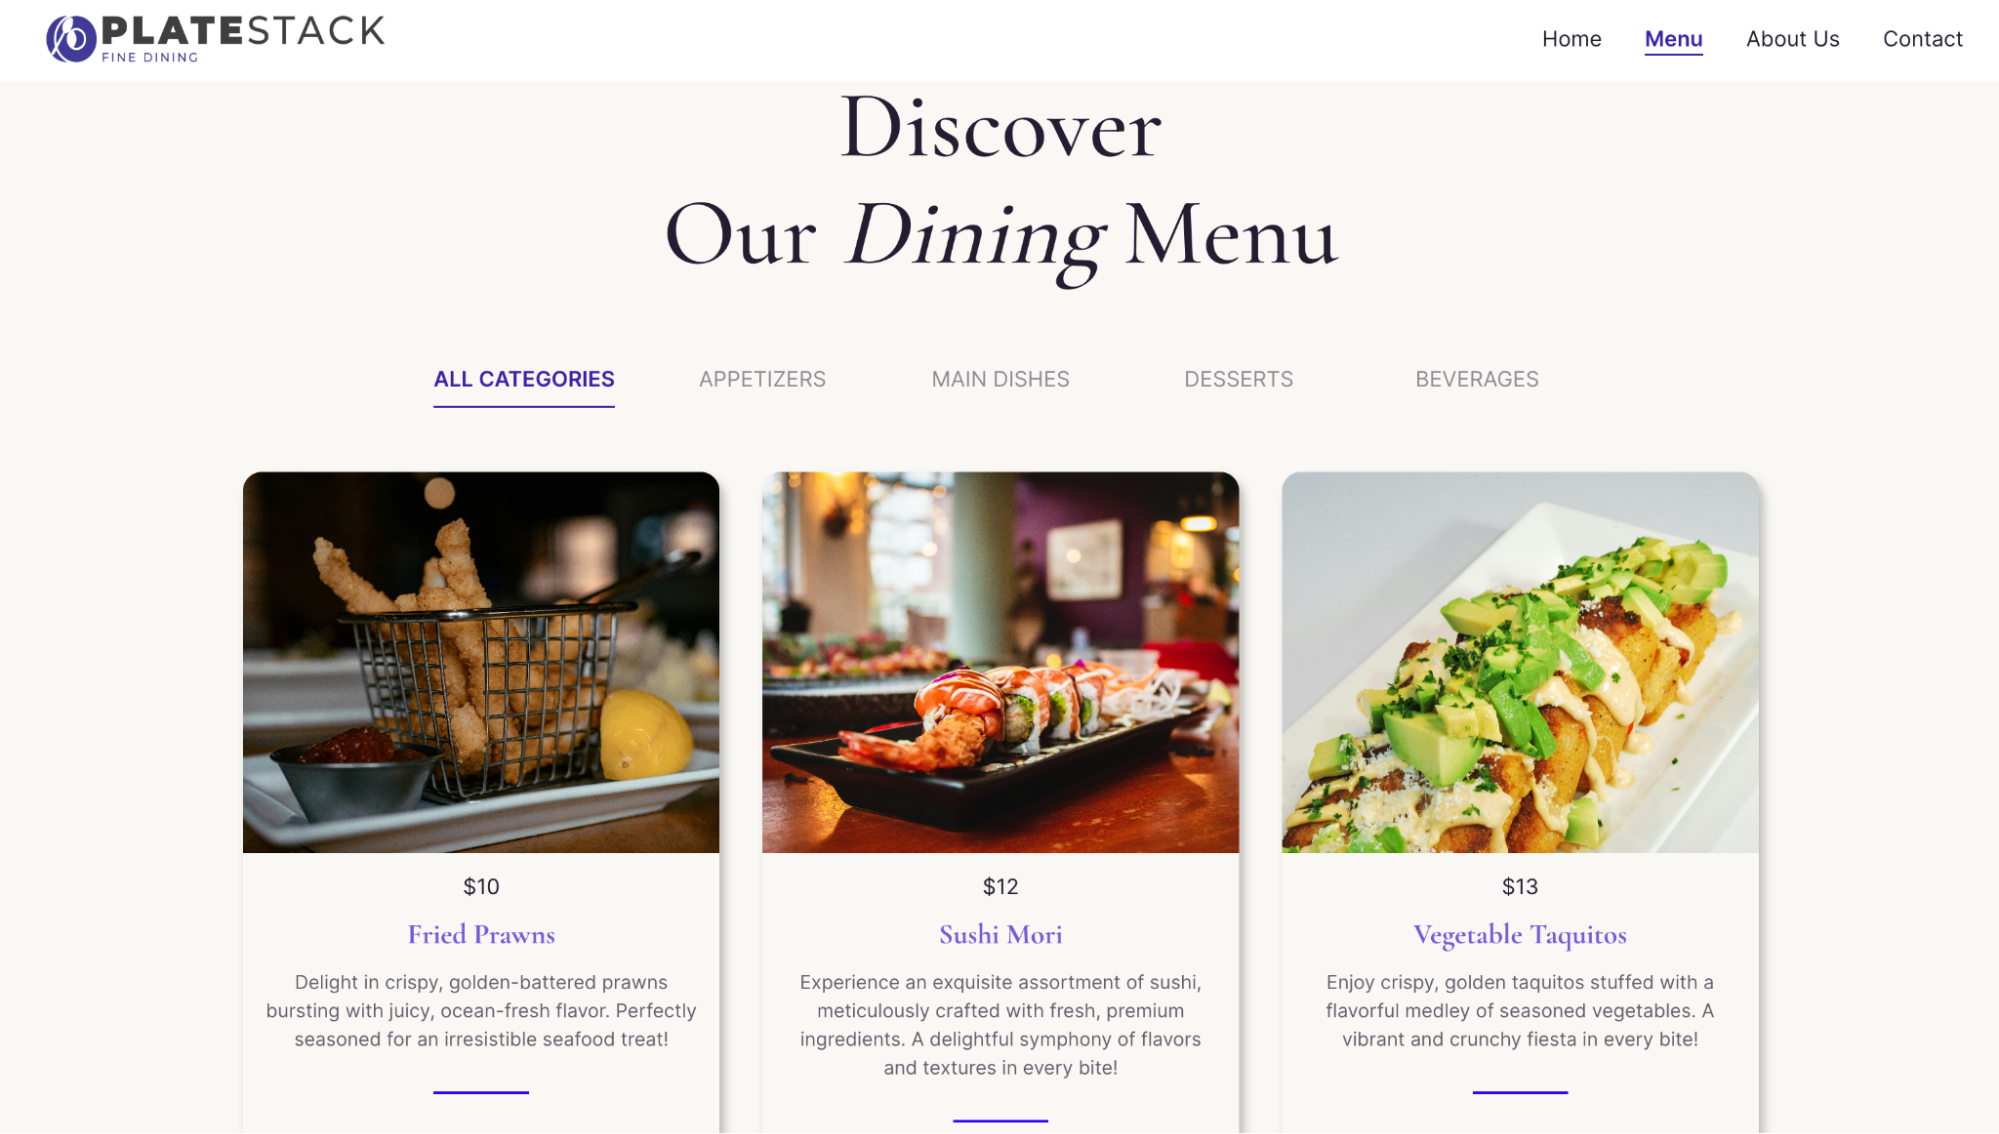
Now, go to http://localhost:3000 and click on the Menu page. You should see the APPETIZERS, MAIN DISHES, DESSERTS, AND BEVERAGES tabs with dishes.
Pushing the Menu page changes to Git repository
Now, the changes done above are in your local machine.
Let’s see how to deploy the website using Launch to take it live.
- Open a new Terminal in VS code. You can simply press control + shift+ ` () or click on Terminal> New Terminal,
- Commit all the changes added in the source code files and push it to Git to deploy.
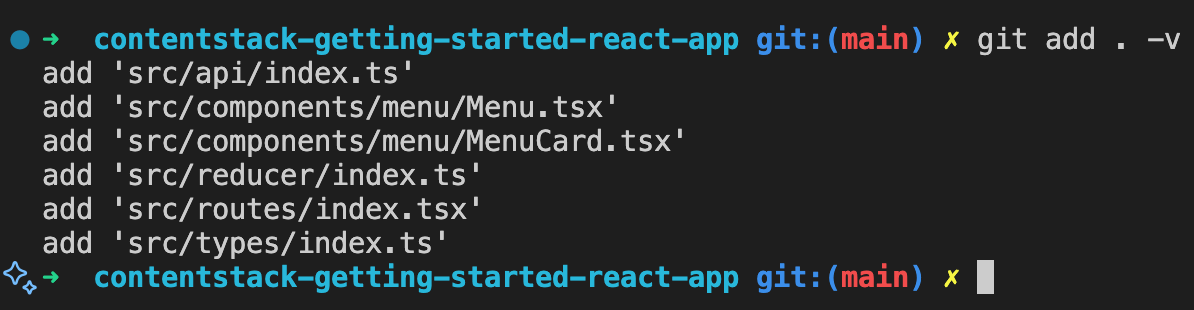
- Now, let’s stage all the files that you need to commit. Run the below command in the terminal. You will see the list of files staged.
git add . -v
- After the changes are staged, you need to commit your staged files to the repository. Run the below command in the terminal. You will see the number of files changed.
git commit -m "Add Menu page changes" NOTE:
NOTE:- Here you can give a commit message “Add Menu page changes” with -m flag. It’s a good practice to provide a commit message whenever you add new changes to the repository.
- Insertions and deletions count may differ for you.
- After the changes are committed, you need to push the changes to the repository. Run the following command in the terminal.
git push origin main
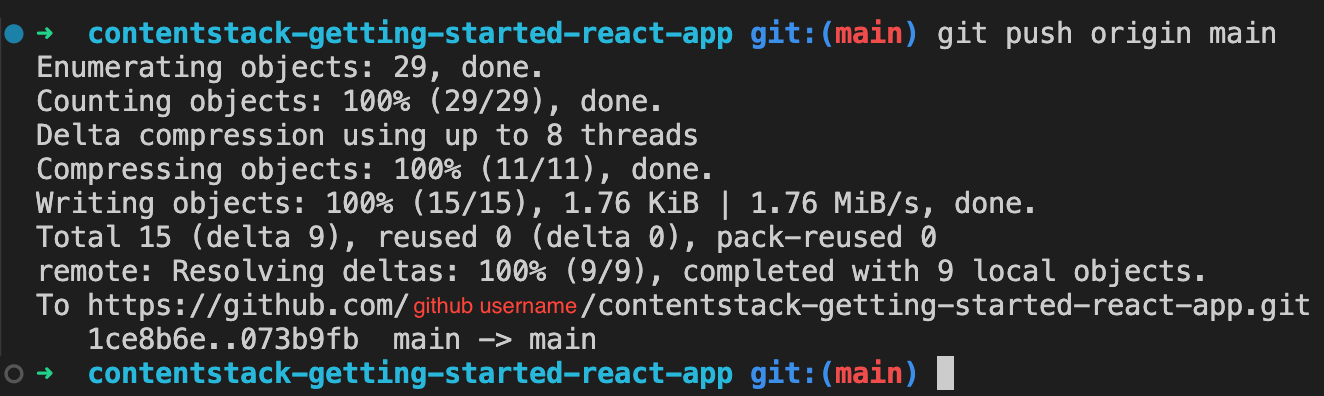
You have successfully pushed your changes to Git. Now, let’s deploy the new changes using Launch.
Deploy New Changes Using Launch
To deploy the changes you added to your website, perform the following set of steps:
- Go to Launch and click the restaurant-menu-react-app project.
- By default, Launch will auto deploy new changes whenever you push code to the main branch of our repository. You would see a status of Deploying in the default Environment as soon as the code is pushed.
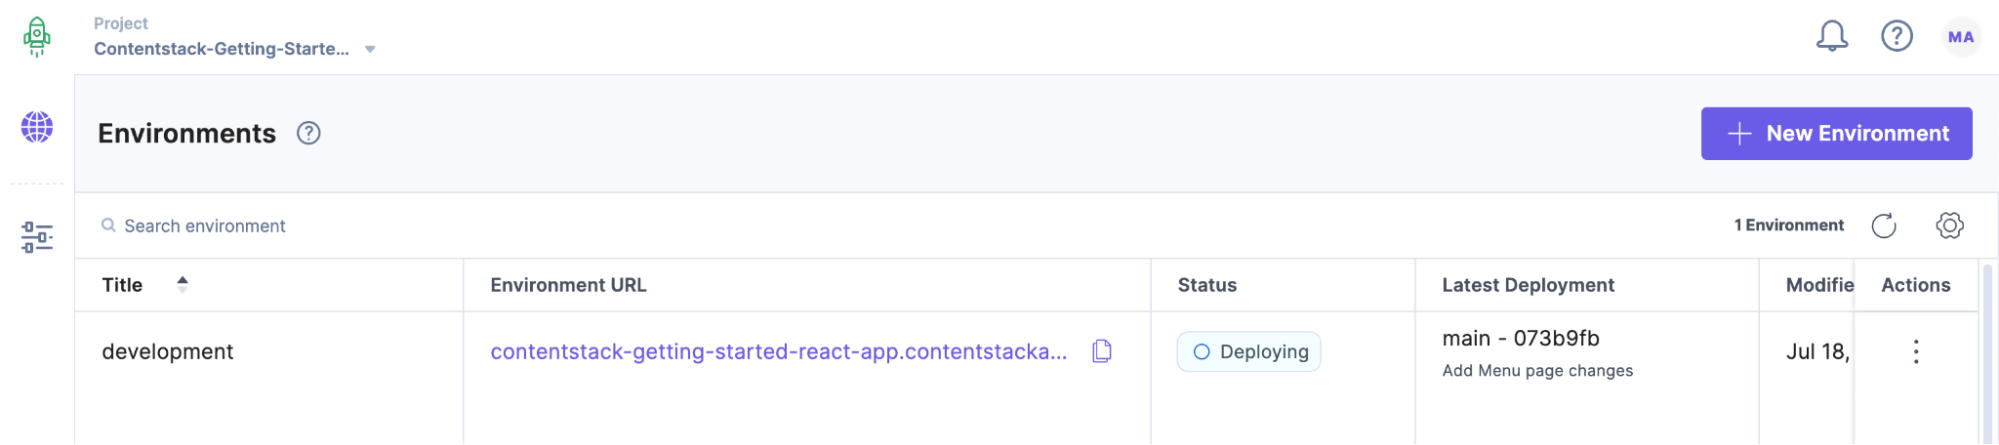
- Once the deployment is completed, the status will be Live, click on the Environment URL to view the website.
- Go to the Menu page and you will see the latest version of the website with dishes in the Menu page.
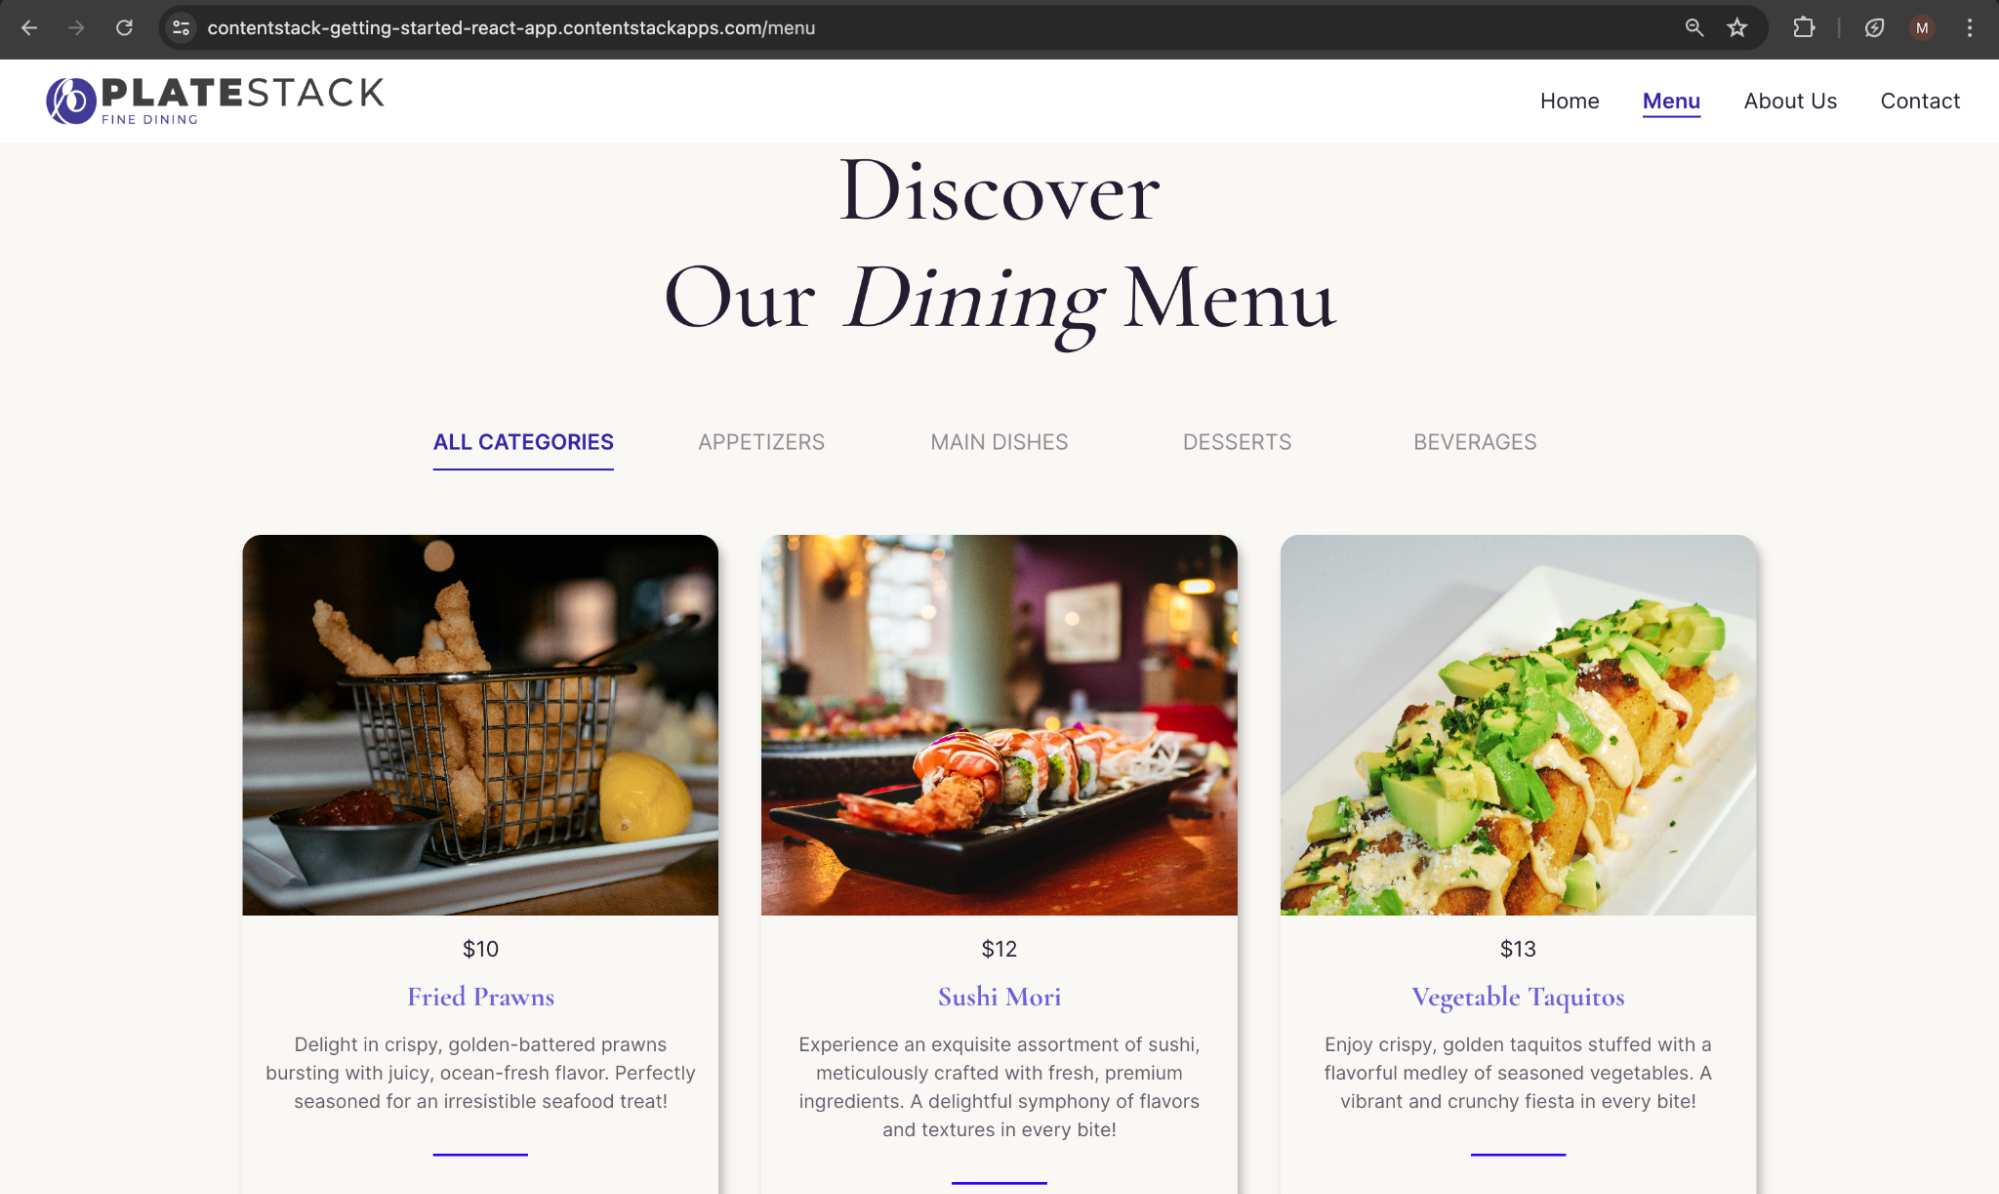
Awesome! You have successfully added a new page to the website and pushed it live.
Next Steps
