Gmail
You can use the Gmail connector to send emails using your own Gmail account.
Set Up Gmail
Perform the following steps to set up the Gmail action connector:
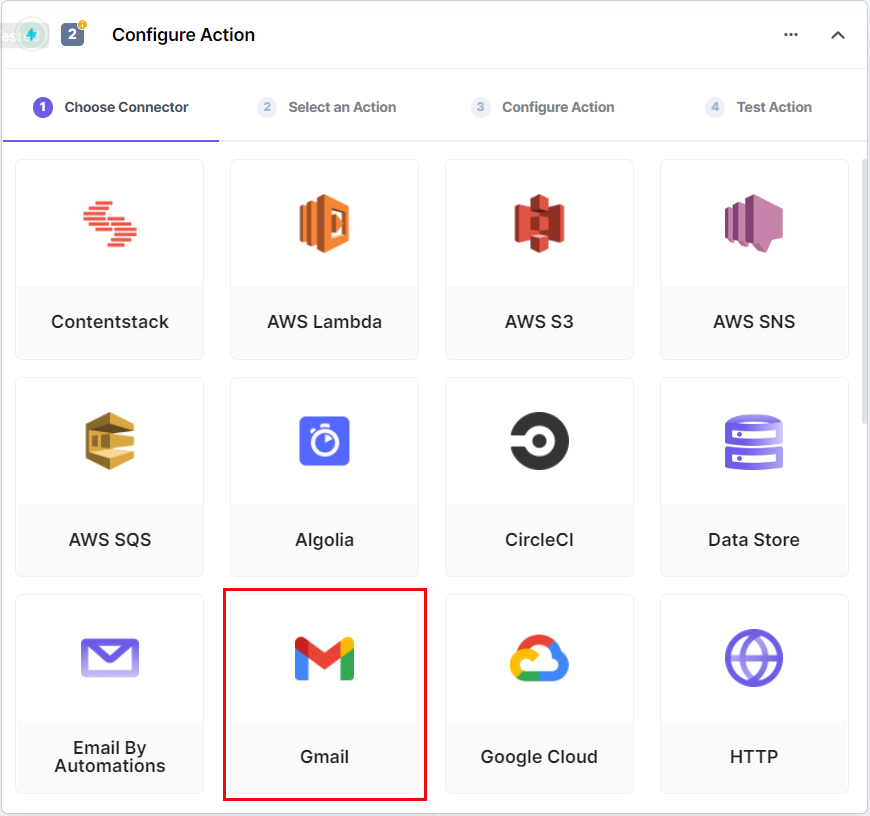
- In the Configure Action section, select the Gmail connector.
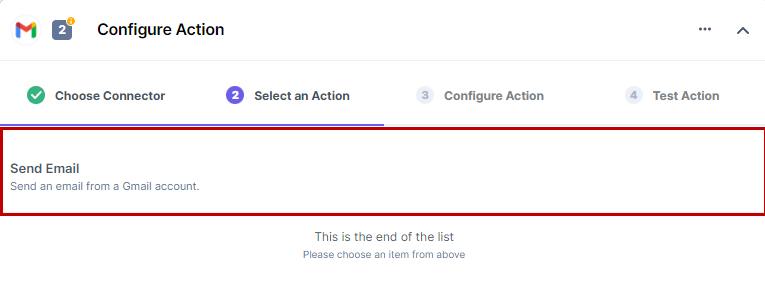
- Select the Send Email action.
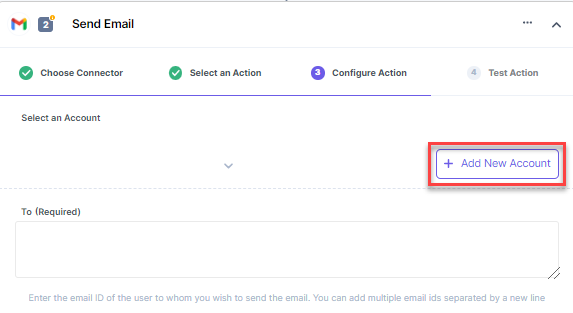
- Click the + Add New Account button to select your Gmail account.
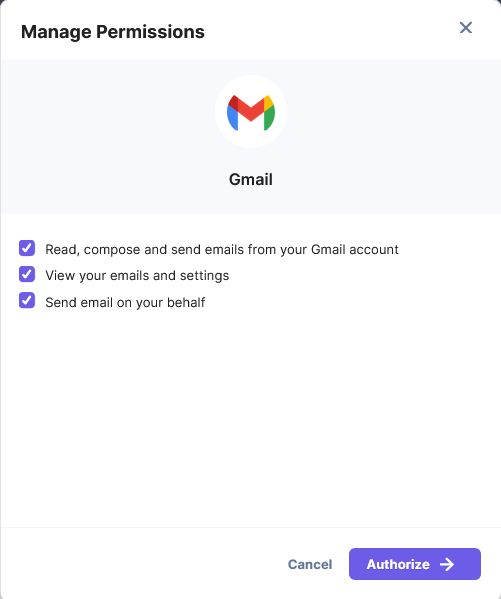
- Select the necessary permissions and click Authorize.
- Select the Gmail address (account) from where you want to send the email.
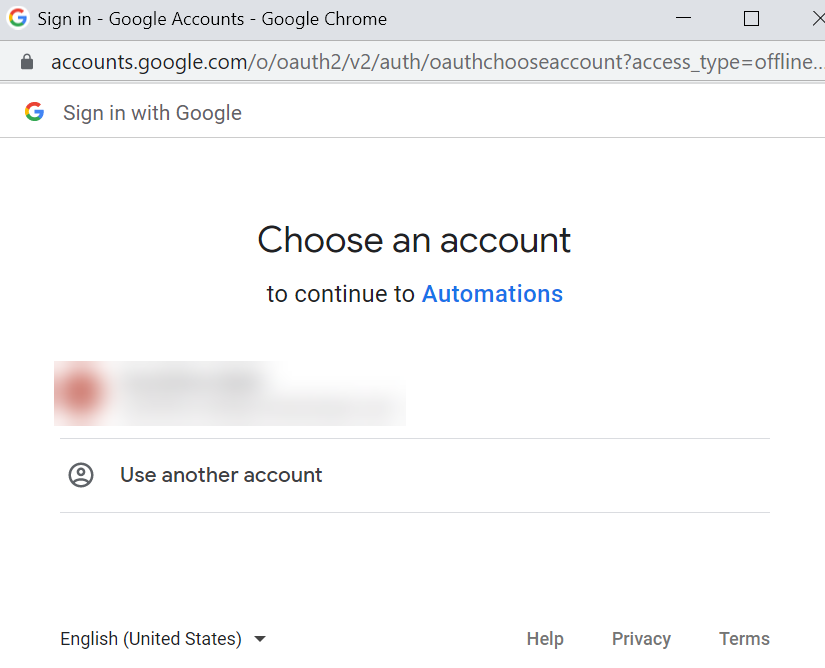
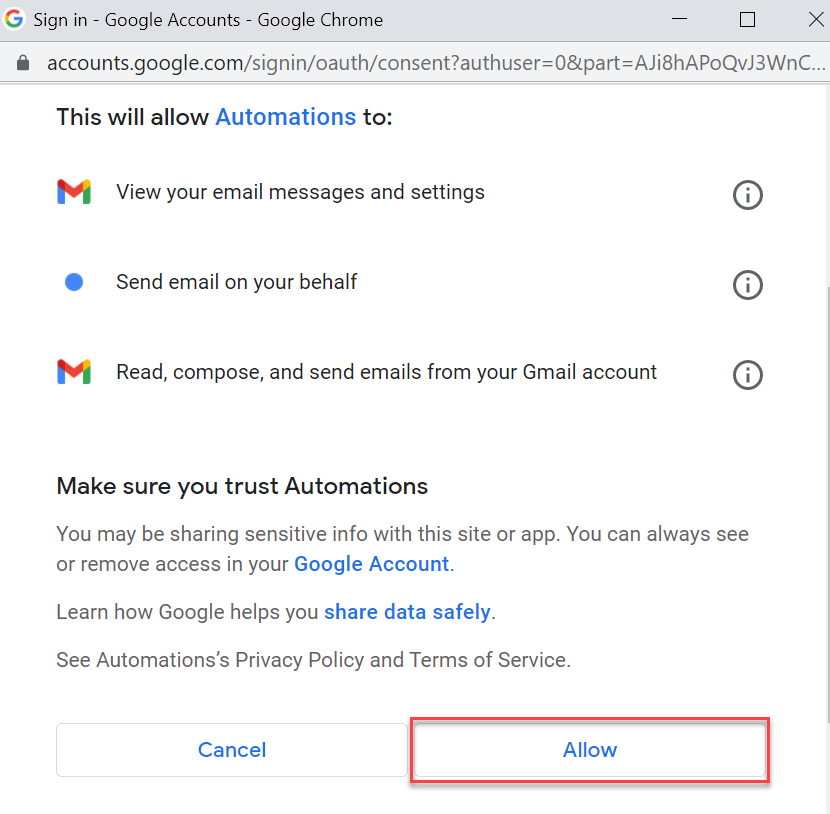
- Click the Allow button to give permissions to the Automations app.
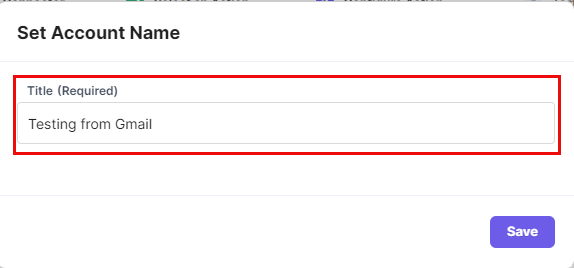
- You can enter an account name in the Automations app (for example, the account name can be “Testing from Gmail”).
- On the actions page, enter the To email address, the Subject line, and the Body of the email. The Show optional fields toggle switch allows you to enter the “CC” and “BCC” email addresses.
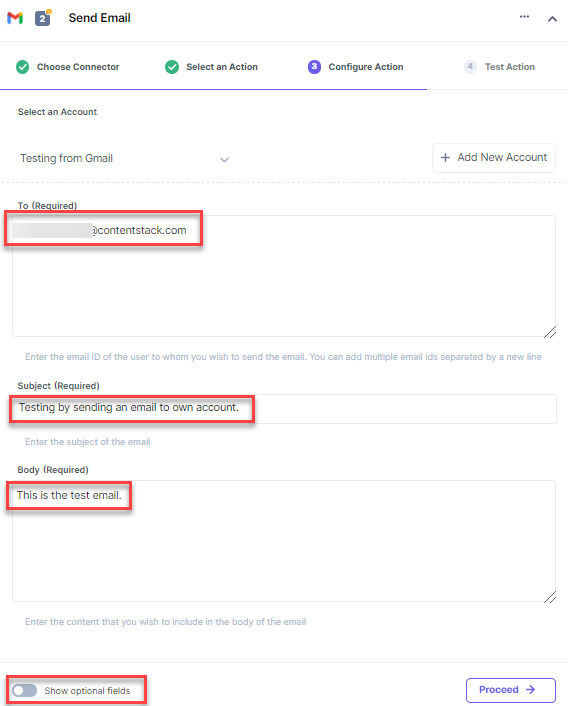
- Click Proceed after entering the details.
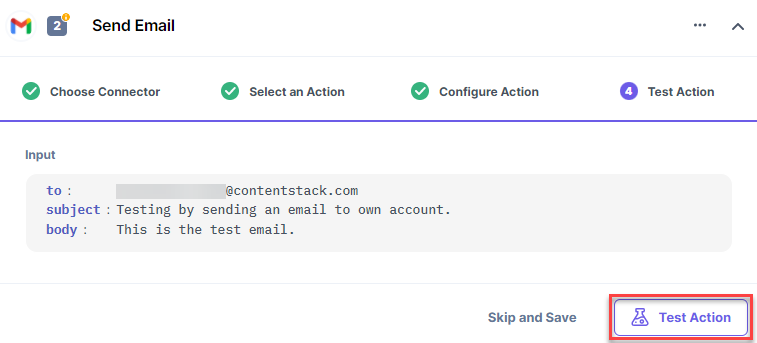
- Click on Test Action to send the email using the Gmail account.
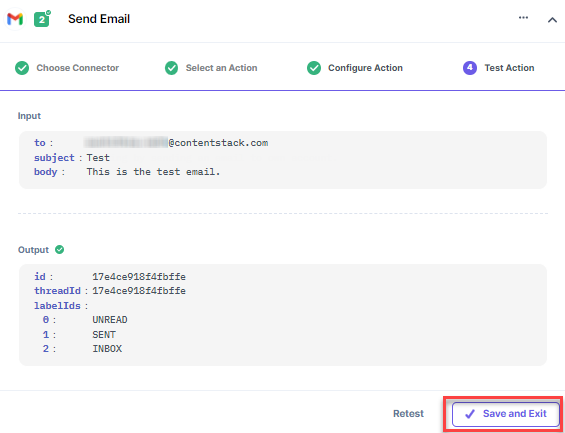
- Once set, click on Save and Exit.
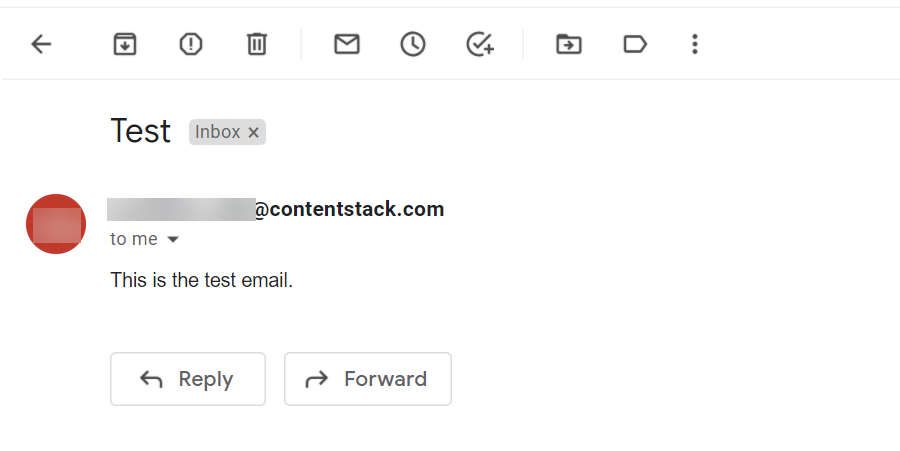
- You can check the email in the receiver’s email account sent by your Gmail email address.
This sets up the Gmail action connector.


.svg?format=pjpg&auto=webp)
.svg?format=pjpg&auto=webp)
.png?format=pjpg&auto=webp)


.png?format=pjpg&auto=webp)