
.svg?format=pjpg&auto=webp)
.svg?format=pjpg&auto=webp)
.png?format=pjpg&auto=webp)


.png?format=pjpg&auto=webp)
Contentstack Management - Assets Actions
Within Contentstack, all uploaded files such as images, videos, PDFs, audio files, and more are stored in your repository for later access. This repository, where uploaded files reside, is referred to as Assets. You can perform asset based operations using the following Contentstack Management Assets actions. 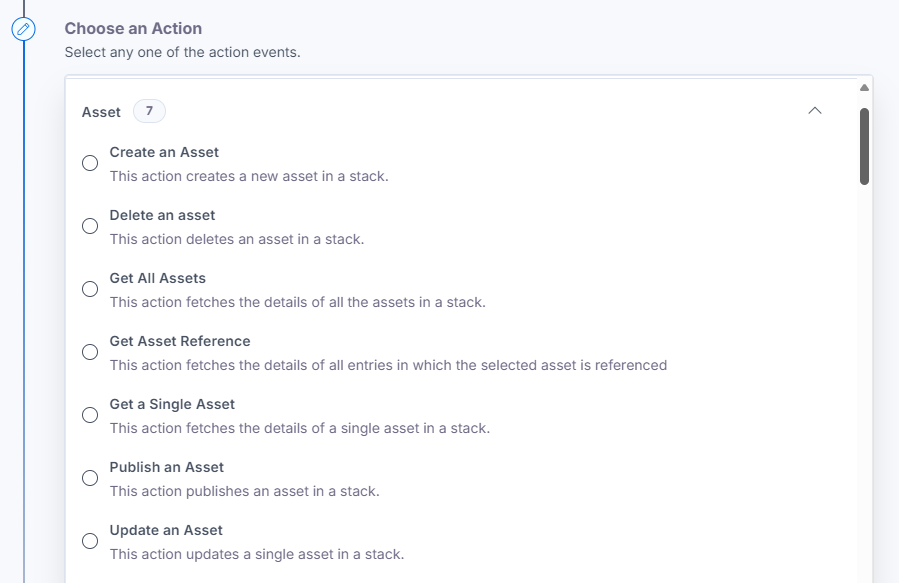
Let’s look at each of them in detail.
Create an Asset
This action lets you create a new asset in Contentstack.
- Under Choose an Action tab, select the Create an Asset action.
- On the Create an Asset Configure Action page, enter the details given below:
- Click + Add New Account button to connect your Contentstack account as shown in the Connect your Contentstack Account to Automate step.
- Select a Stack from the Lookup list and enter a Title for the asset.
- Specify a File Name for the asset, such as ‘NewAsset.png’ or ‘NewAsset.jpeg.’
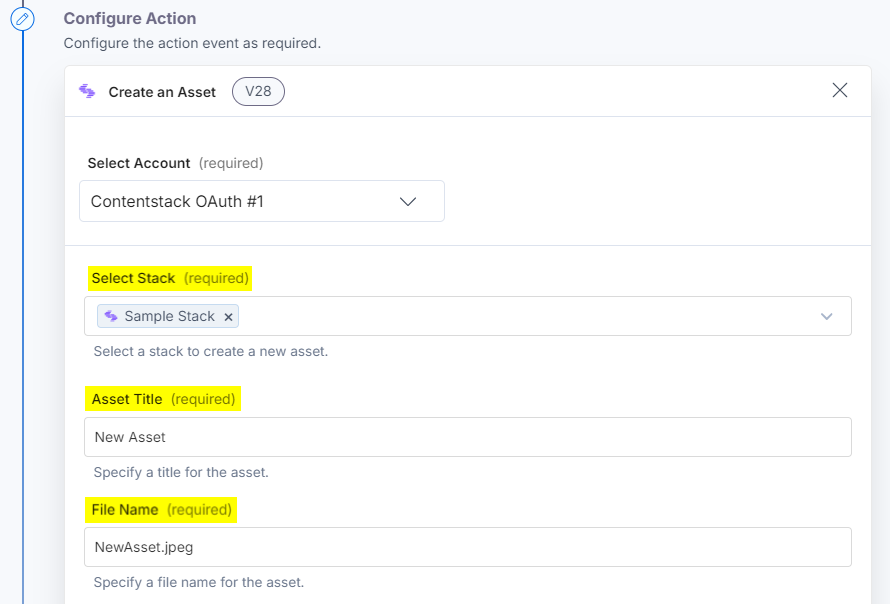
- Enter the Input URL of the image you want to create and specify a suitable Description for the asset.
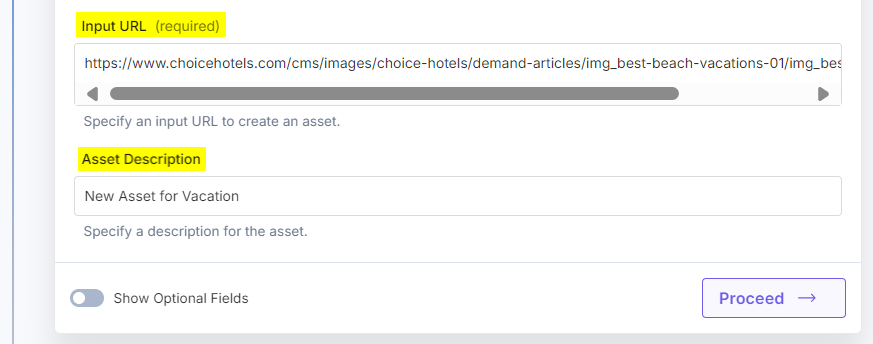
- Optionally, enable the Show Optional Fields toggle button to display the Select Folder field.
- In the Select Folder drop-down, choose a destination folder to store your asset.
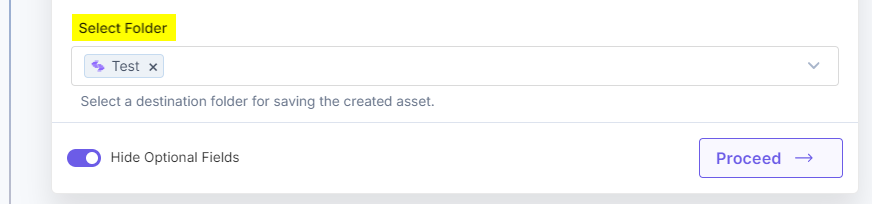
- Once done, click Proceed.
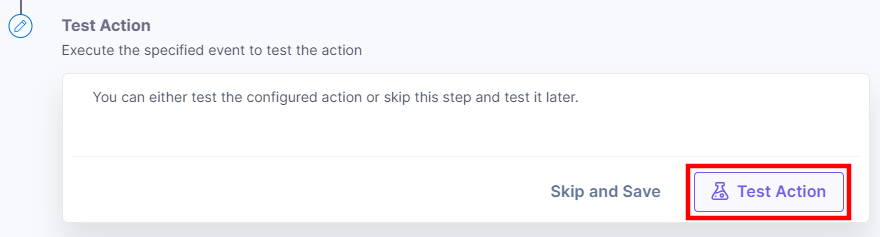
- Click Test Action to test the configured action.
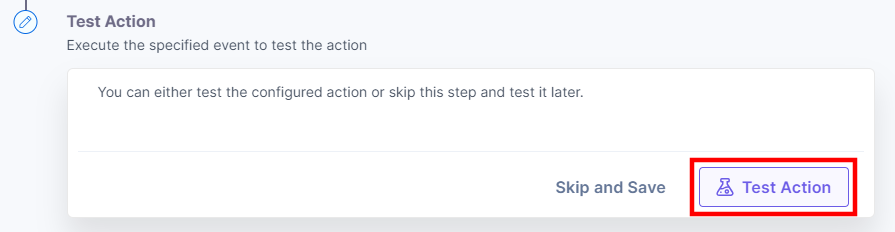
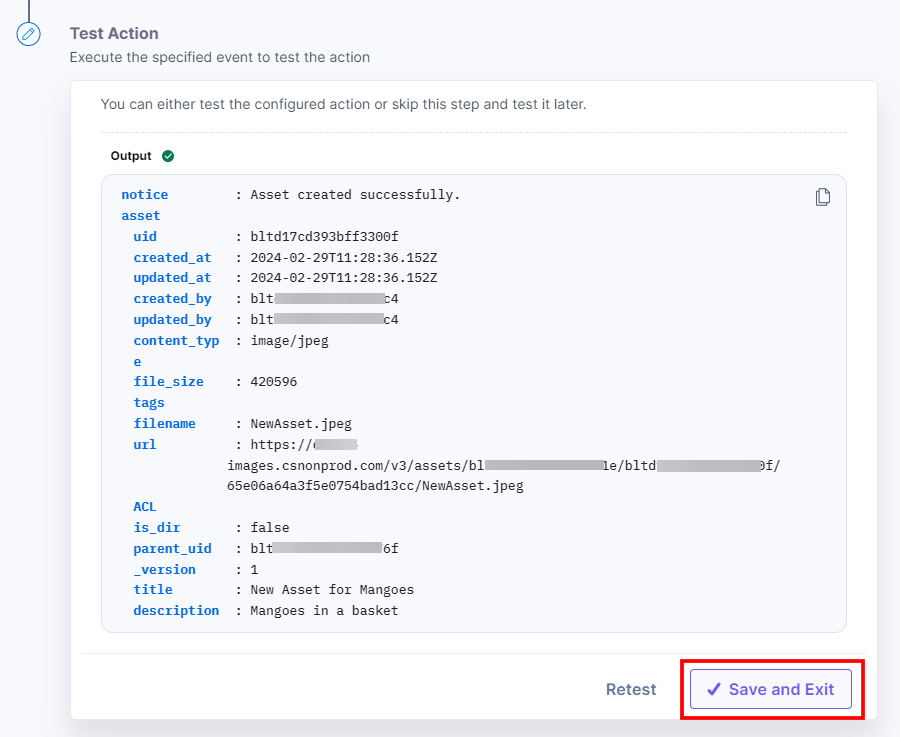
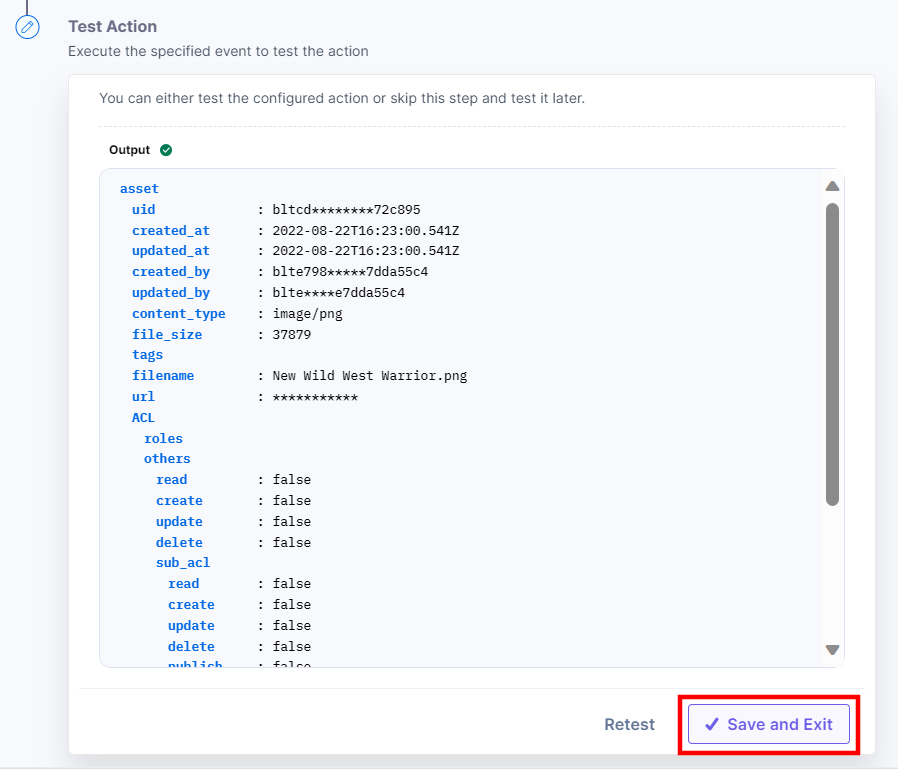
- On successful configuration, you can see the below output. Click Save and Exit.
Delete an Asset
This action lets you delete an asset in Contentstack.
- Under Choose an Action tab, select the Delete an Asset action.
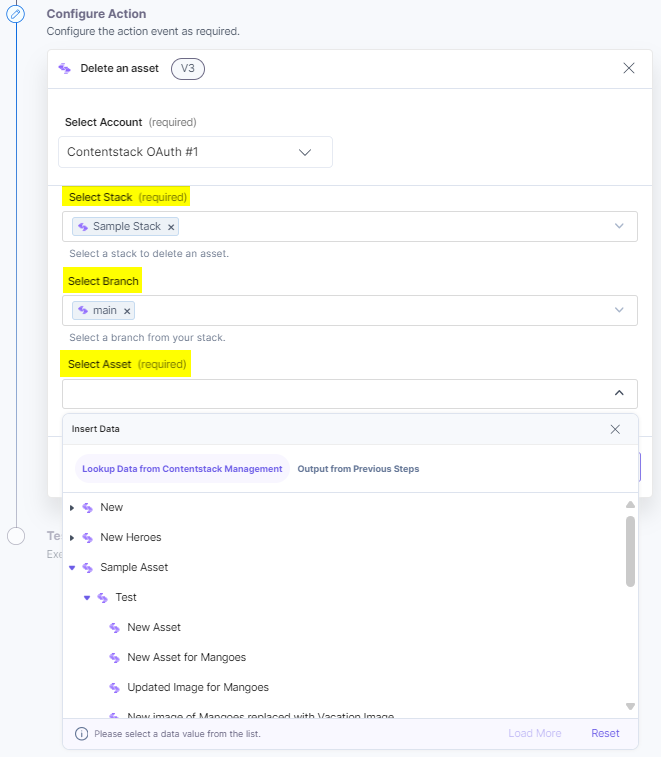
- On the Delete an Asset Configure Action page, enter the details given below:
- Click + Add New Account button to connect your Contentstack account as shown in the Connect your Contentstack Account to Automate step.
- Select a Stack and Branch from the Lookup list.
- In the Select Asset drop-down, select the asset you want to delete.
If you have assets stored in nested folders within your Contentstack CMS, you can select such assets as well for deletion.
- Once done, click Proceed.
- Click Test Action to test the configured action.
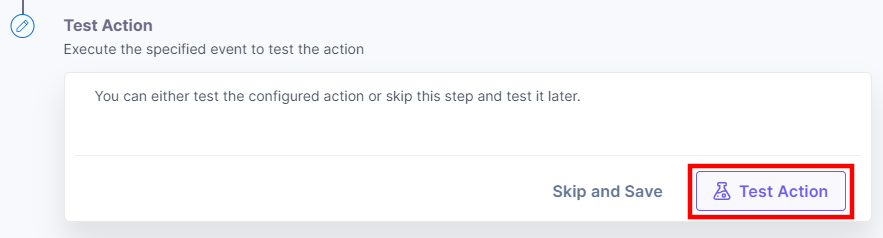
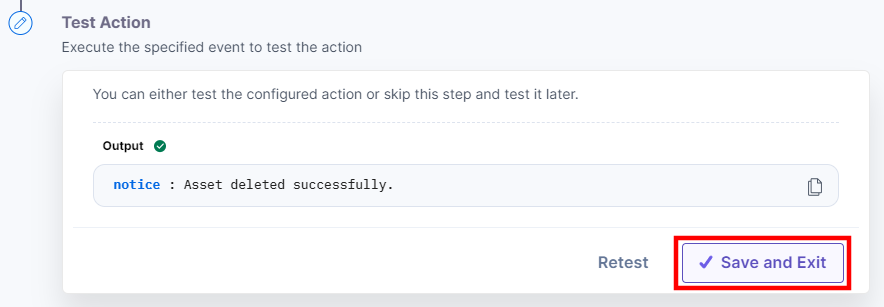
- The output will be shown as follows. Click the Save and Exit button.
Get All Assets
This action lets you fetch details of all the assets in your stack.
- Under Choose an Action tab, select the Get All Assets action.
- On the Get All Assets Configure Action page, enter the details given below:
- Click + Add New Account button to connect your Contentstack account as shown in the Connect your Contentstack Account to Automate step.
- Select a Stack, Environment, and Branch from the Lookup list.

Note: By default, the main branch is selected (even if the Branch field is empty).
- Optionally, enable the Show Optional Fields toggle button to display the Asset Limit, Skip Asset (Pagination) fields.
- In the Select Folder drop-down, select a folder to fetch the details of all the assets present in the folder.
Additionally, you can mark the Include count, Include publish details and Include metadata checkboxes to display the count of the total number of assets, publish and metadata details in the output.
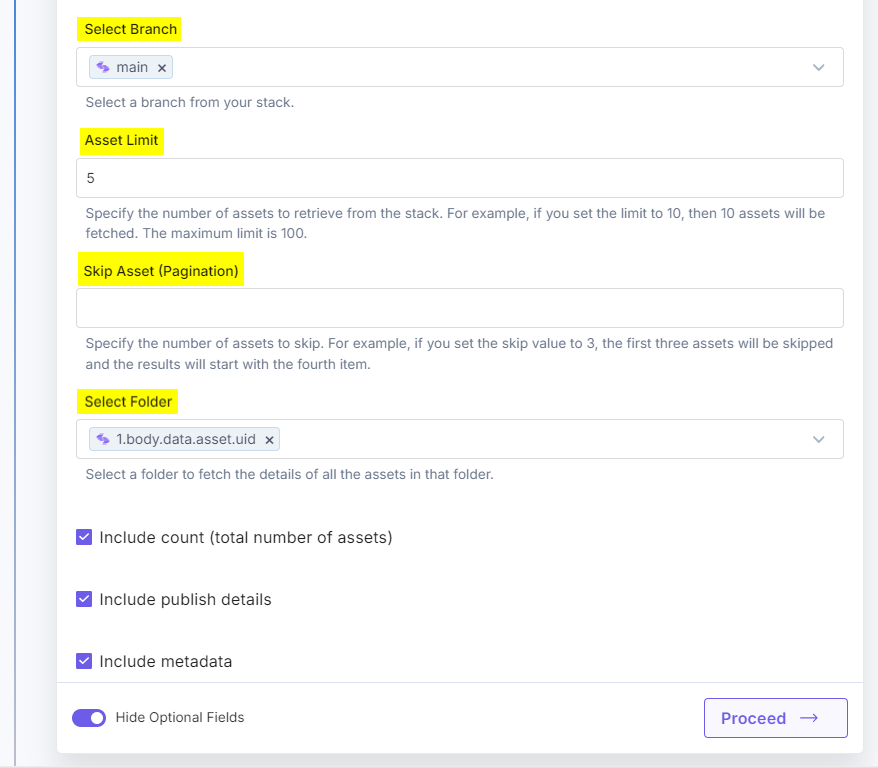
- Once done, click Proceed.
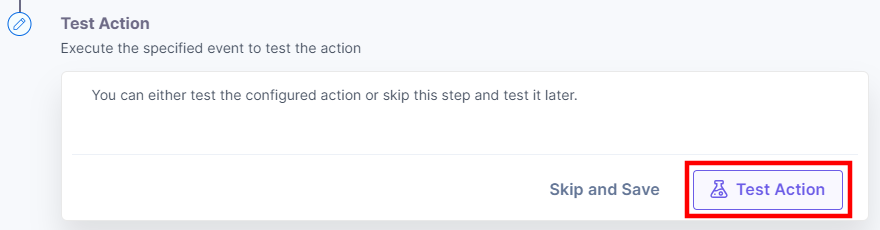
- Click Test Action to test the configured action.
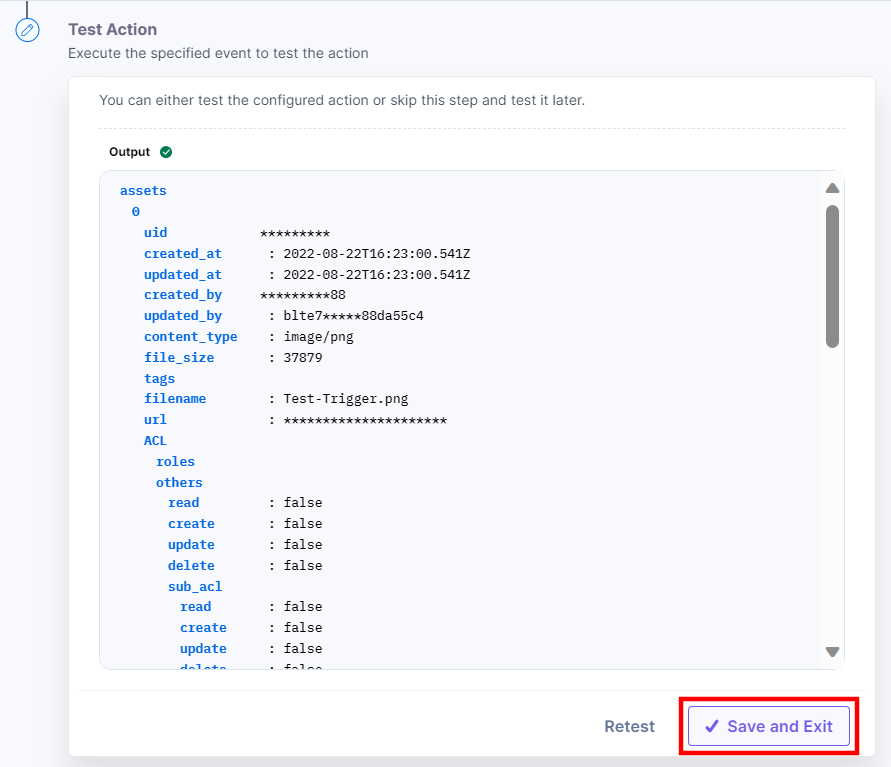
- The output will be shown as follows. Click the Save and Exit button.
Get Asset Reference
This action lets you fetch details of all entries in which the selected asset is referenced.
- Under Choose an Action tab, select the Get Asset Reference action.
- On the Get Asset Reference Configure Action page, enter the details given below:
- Click + Add New Account button to connect your Contentstack account as shown in the Connect your Contentstack Account to Automate step.
- Select a Stack, Asset, and Branch from the Lookup list.
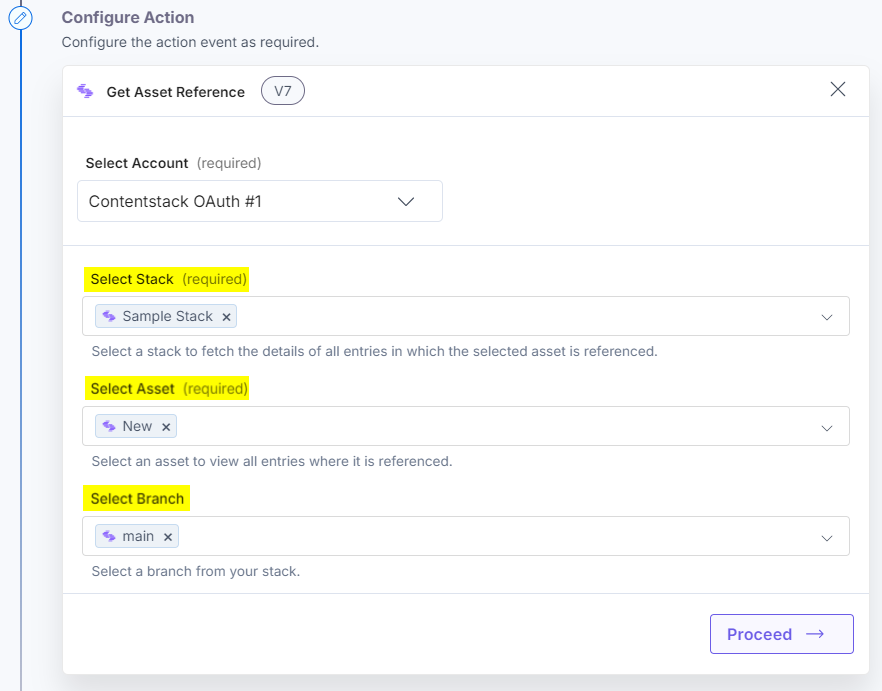
- Once done, click Proceed.
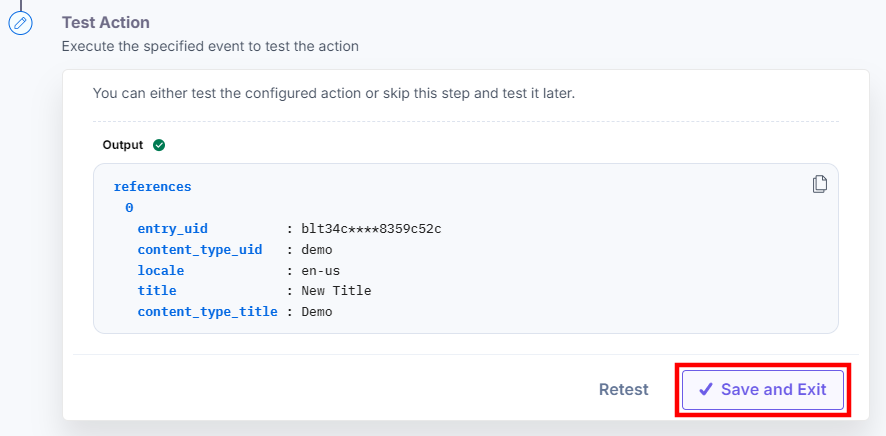
- Click Test Action to test the configured action.
- The output will be shown as follows. Click the Save and Exit button.
Get a Single Asset
- Under Choose an Action tab, select the Get a Single Asset action.
- On the Get a Single Asset Configure Action page, enter the details given below:
- Click + Add New Account button to connect your Contentstack account as shown in the Connect your Contentstack Account to Automate step.
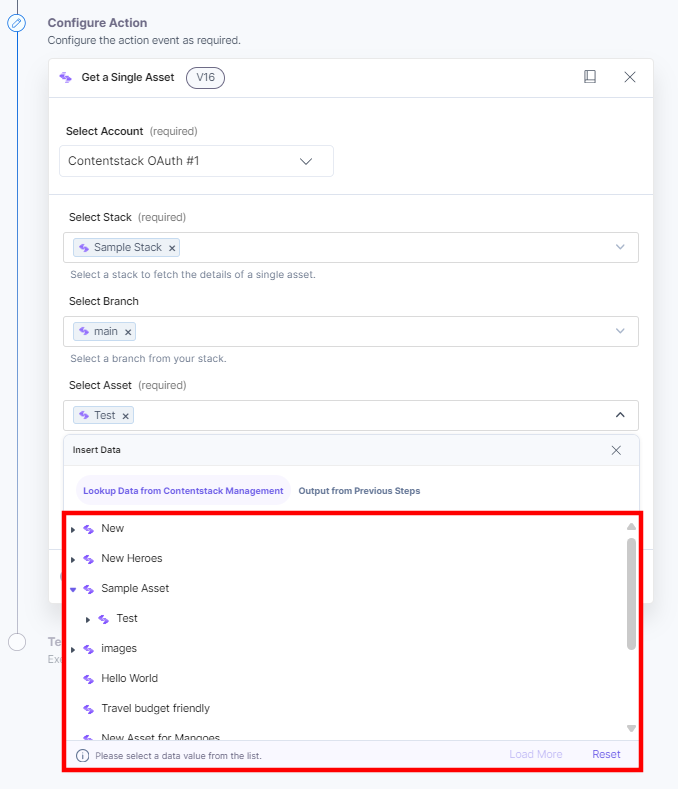
- Select a Stack, Branch, Asset, and Environment from the Lookup list.
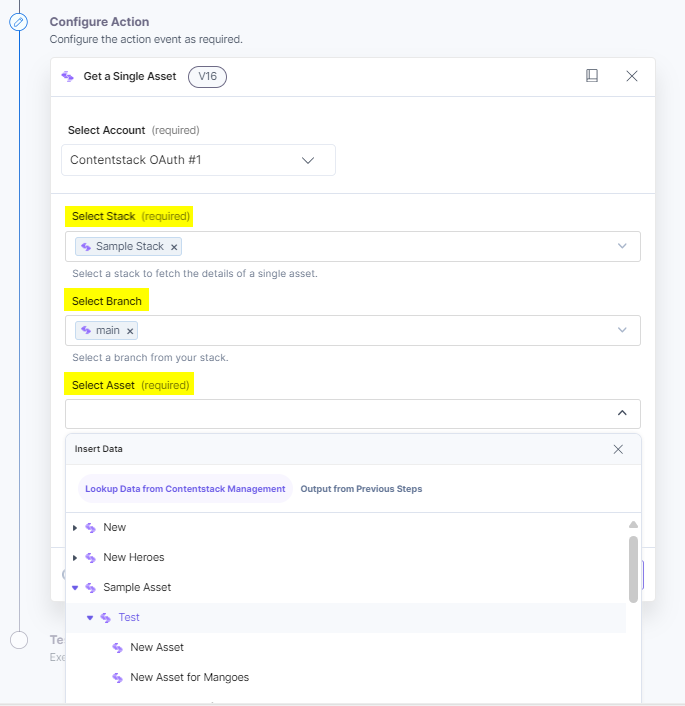
If you have assets stored in nested folders within your Contentstack CMS, you can also select those assets.
Note: By default, the main branch is selected (even if the Branch field is empty).
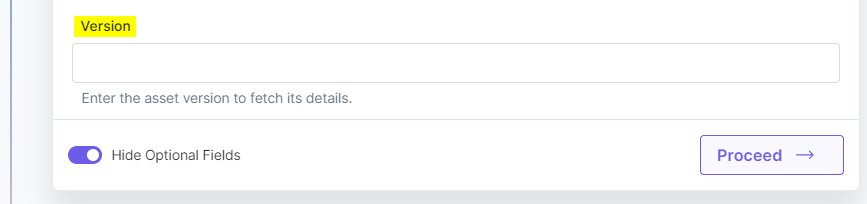
- Optionally, enable the Show Optional Fields toggle button to display the Version field. Here, you can enter the asset Version to fetch the details of the asset.
- Once done, click Proceed.
- Click Test Action to test the configured action.
- The output will be shown as follows. Click the Save and Exit button.
Publish an Asset
This action lets you publish an asset automatically in your stack. To know more, visit publish assets.
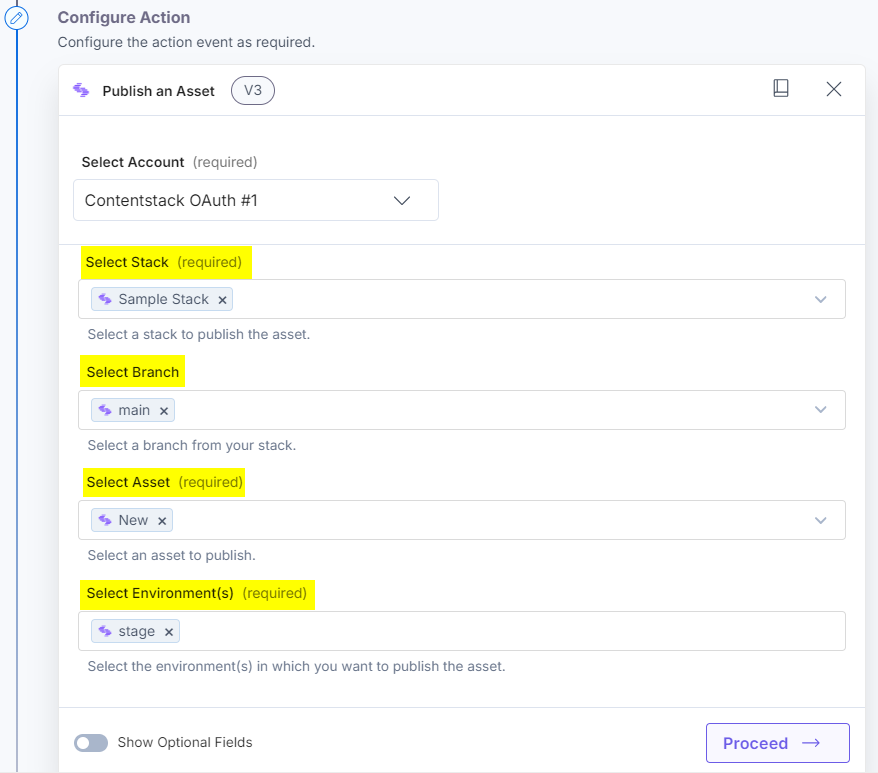
- Under Choose an Action tab, select the Publish an Asset action.
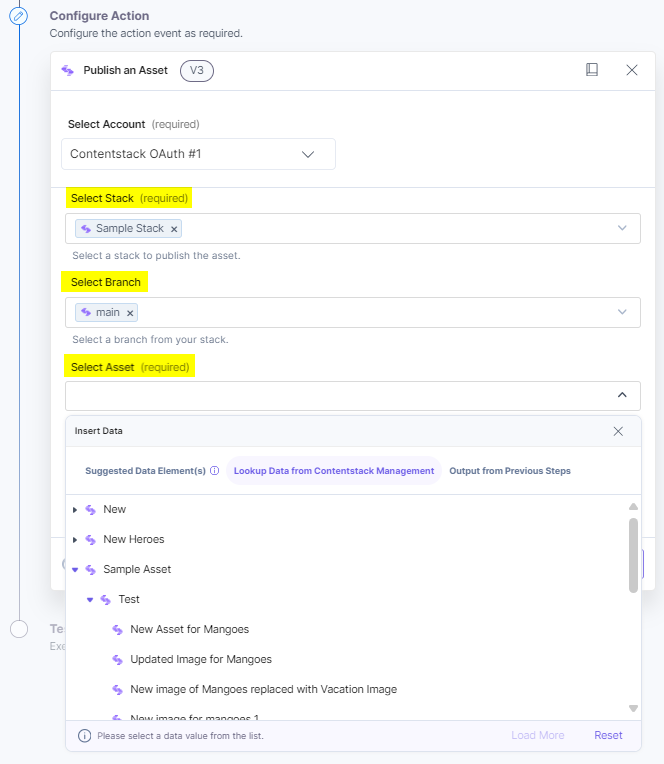
- On the Publish an Asset Configure Action page, enter the details given below:
- Click + Add New Account button to connect your Contentstack account as shown in the Connect your Contentstack Account to Automate step.
- Select a Stack, Branch, and an Asset from the Lookup list.
If you have assets stored in nested folders within your Contentstack CMS, you can select such assets as well for publishing.
 You can fetch the UID for all the previously configured automation steps directly from the Lookup list.
Note: To dynamically fetch assets, configure the Asset Trigger and fetch the asset UID.
- Select the Environment(s) from the Lookup list where you want to publish the asset.
Note: By default, the main branch is selected (even if the Branch field is empty).
- [Optional] Enable the Show Optional Fields toggle button to display the Select Locale(s) and Publish Schedule fields.
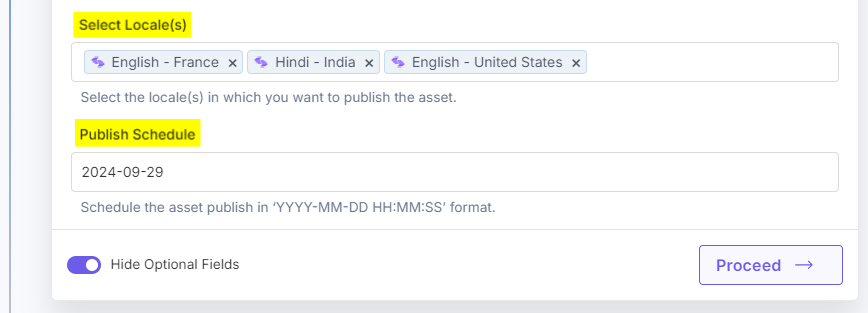
Note: You can select multiple Environment(s) and Locale(s) to publish the asset.
- Once done, click Proceed.
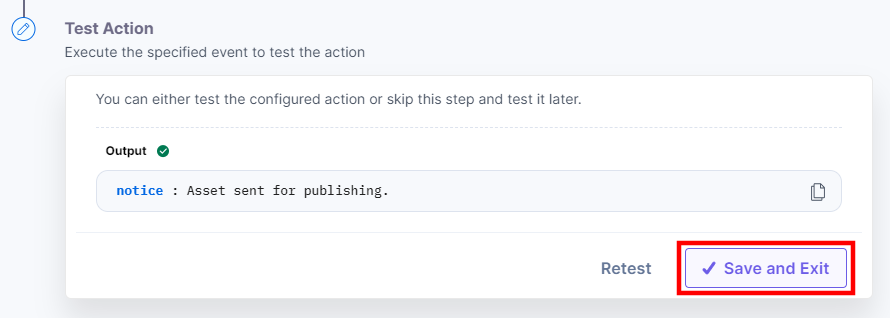
- Click Test Action to test the configured action.

- On successful configuration, you can see the below output. Click Save and Exit. A publish and unpublish icon will appear for the asset on the entry page.
Update an Asset
This action lets you update an existing asset in Contentstack.
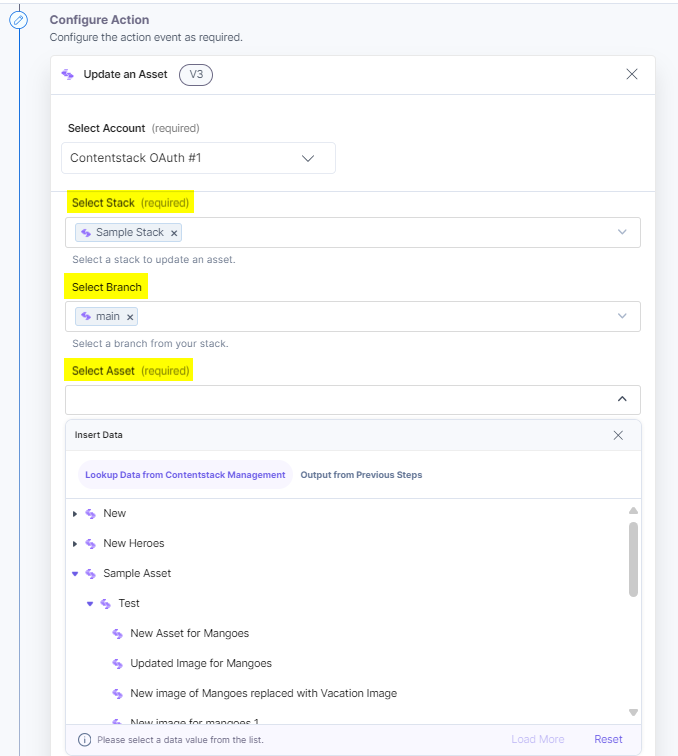
- Under Choose an Action tab, select the Update an Asset action.
- On the Update an Asset Configure Action page, enter the details given below:
- Click + Add New Account button to connect your Contentstack account as shown in the Connect your Contentstack Account to Automate step.
- Select a Stack and an Asset from the Lookup list.
If you have assets stored in nested folders within your Contentstack CMS, you can select such assets as well for updating their details.
- Enter a Title and a suitable Description for the asset to update.
- Specify a File Name for the asset, such as ‘Travel_Friendly.png’ or ‘Travel_Friendly.jpeg.’ Enter the Input URL of the image you want to update.
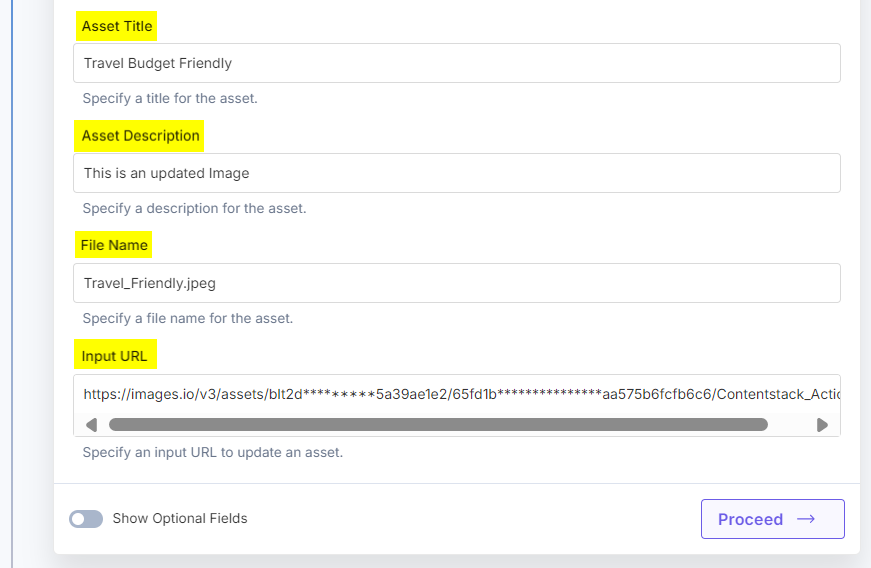
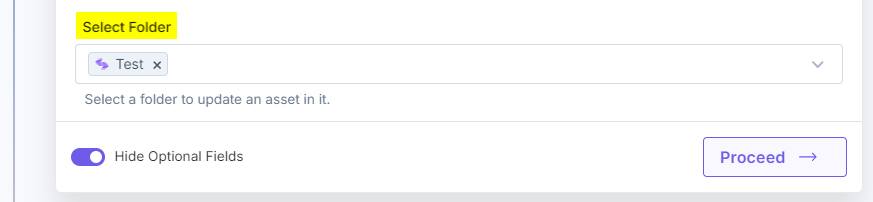
- Optionally, enable the Show Optional Fields toggle button to display the Select Folder field.
- In the Select Folder drop-down, choose a destination folder to update an asset in it.
- Once done, click Proceed.
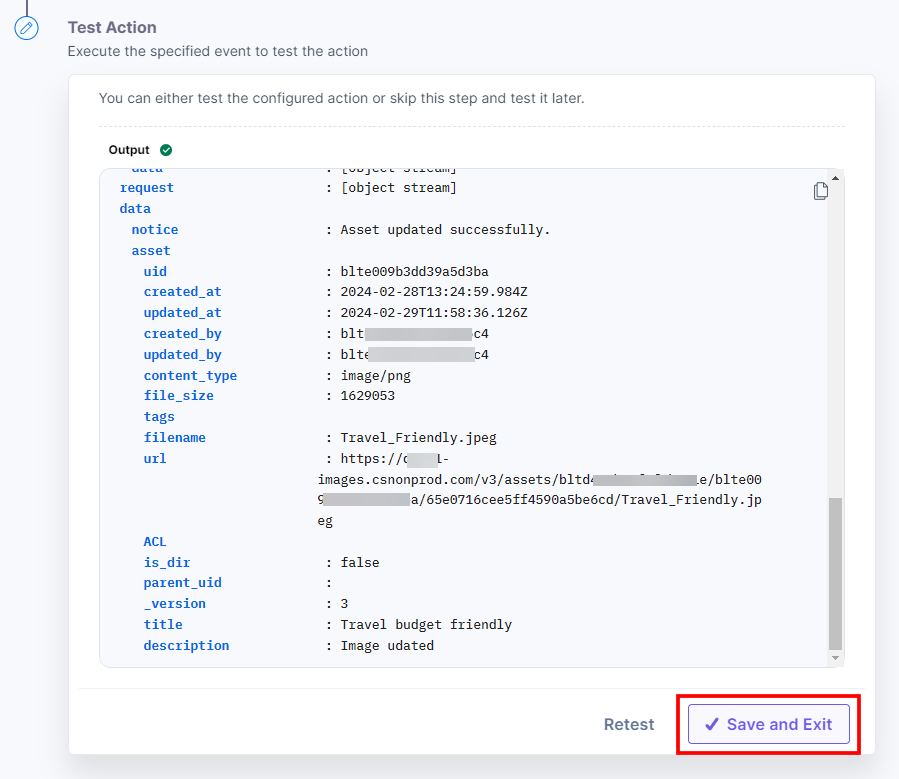
- Click Test Action to test the configured action.
- On successful configuration, you can see the below output. Click Save and Exit.
More articles in "Contentstack Management"
