Airtable
The Airtable connector lets you create/update/delete and fetch the records in Airtable.
Set up Airtable Connector
The Airtable connector lets you perform the following actions:
Let’s look at each of them in detail.
Create Record
This action lets you create a record(s) in a table.
- Click Configure Action Step from the left navigation panel.
- Click Action Step to configure third-party services.
- Within the Configure Action Step, click the Airtable connector.
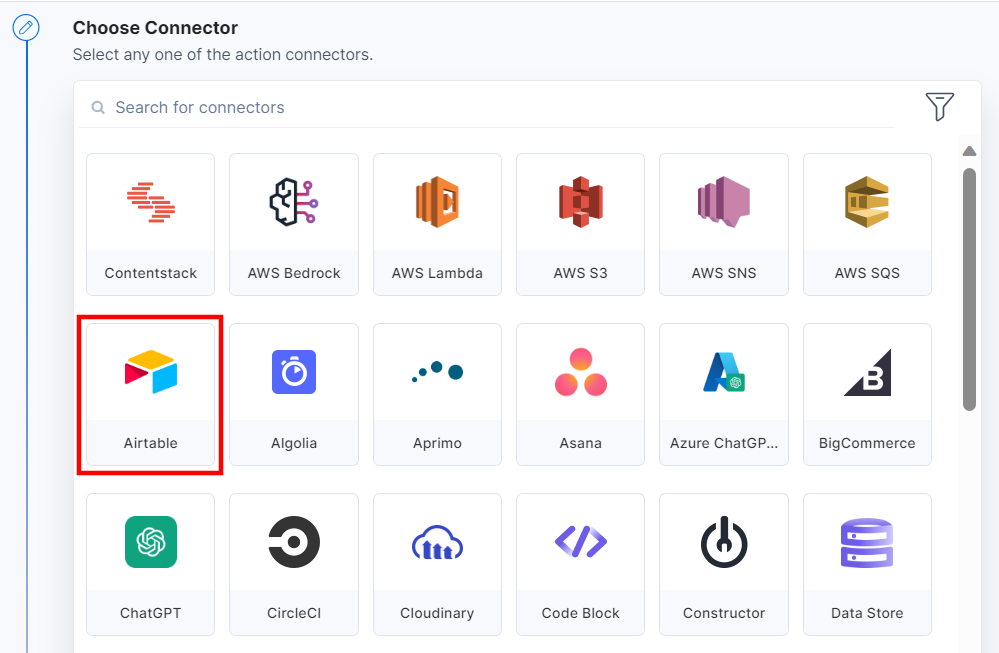
- Under Choose an Action tab, select the Create Record action.
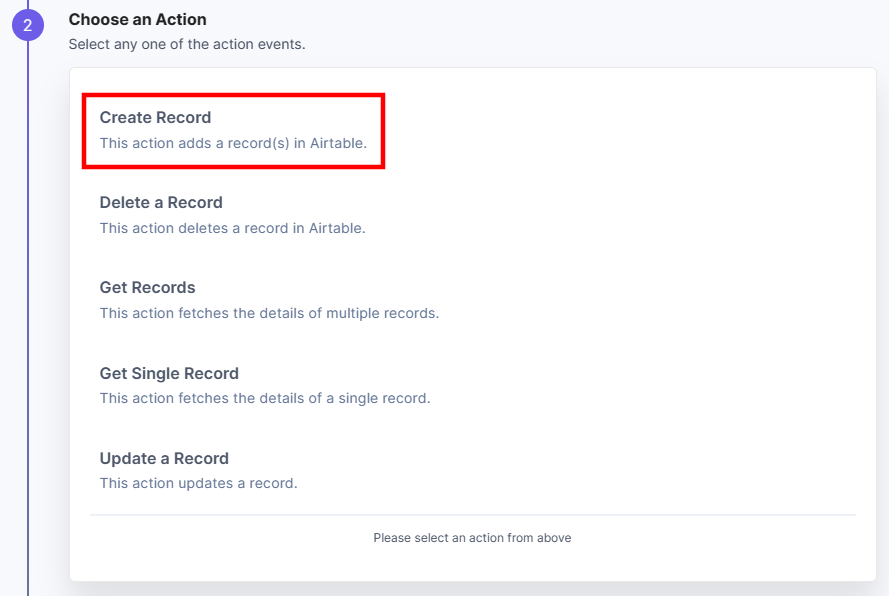
- Click the + Add New Account button to add your Airtable account.
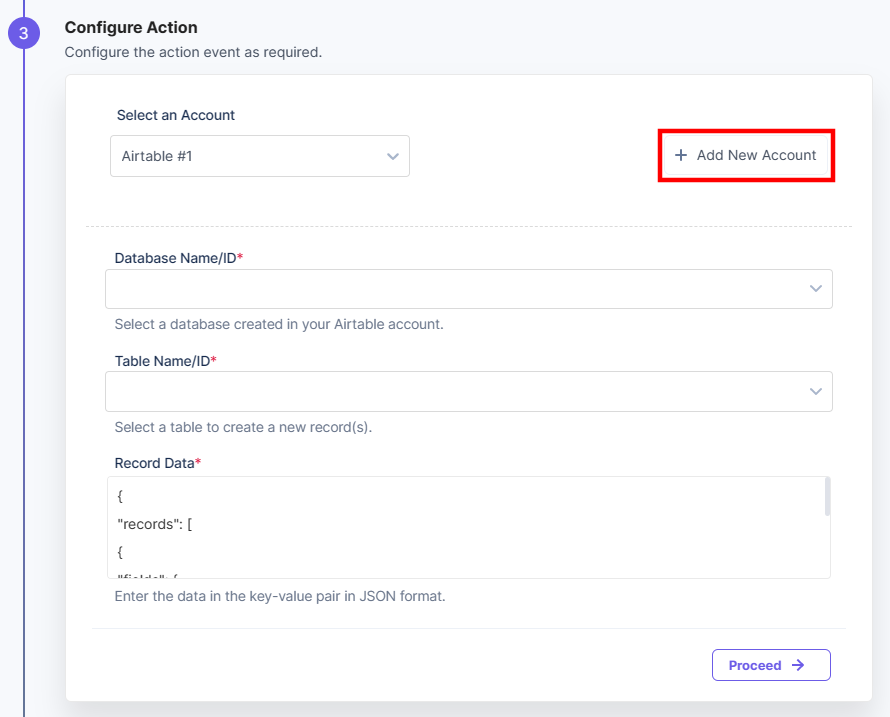
- In the pop-up window, mark the checkboxes for all the OAuth permissions and then click the Authorize button.
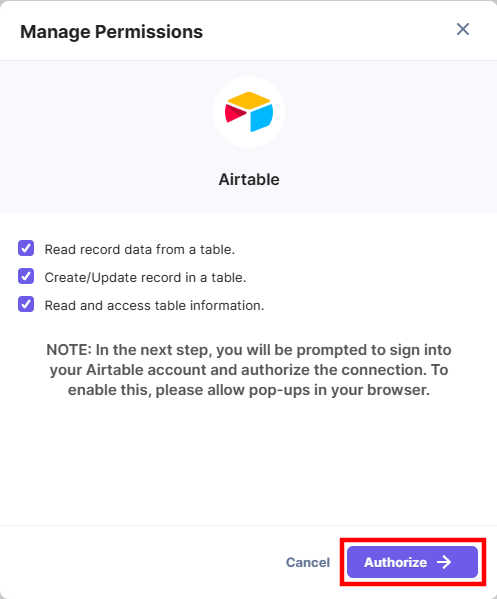
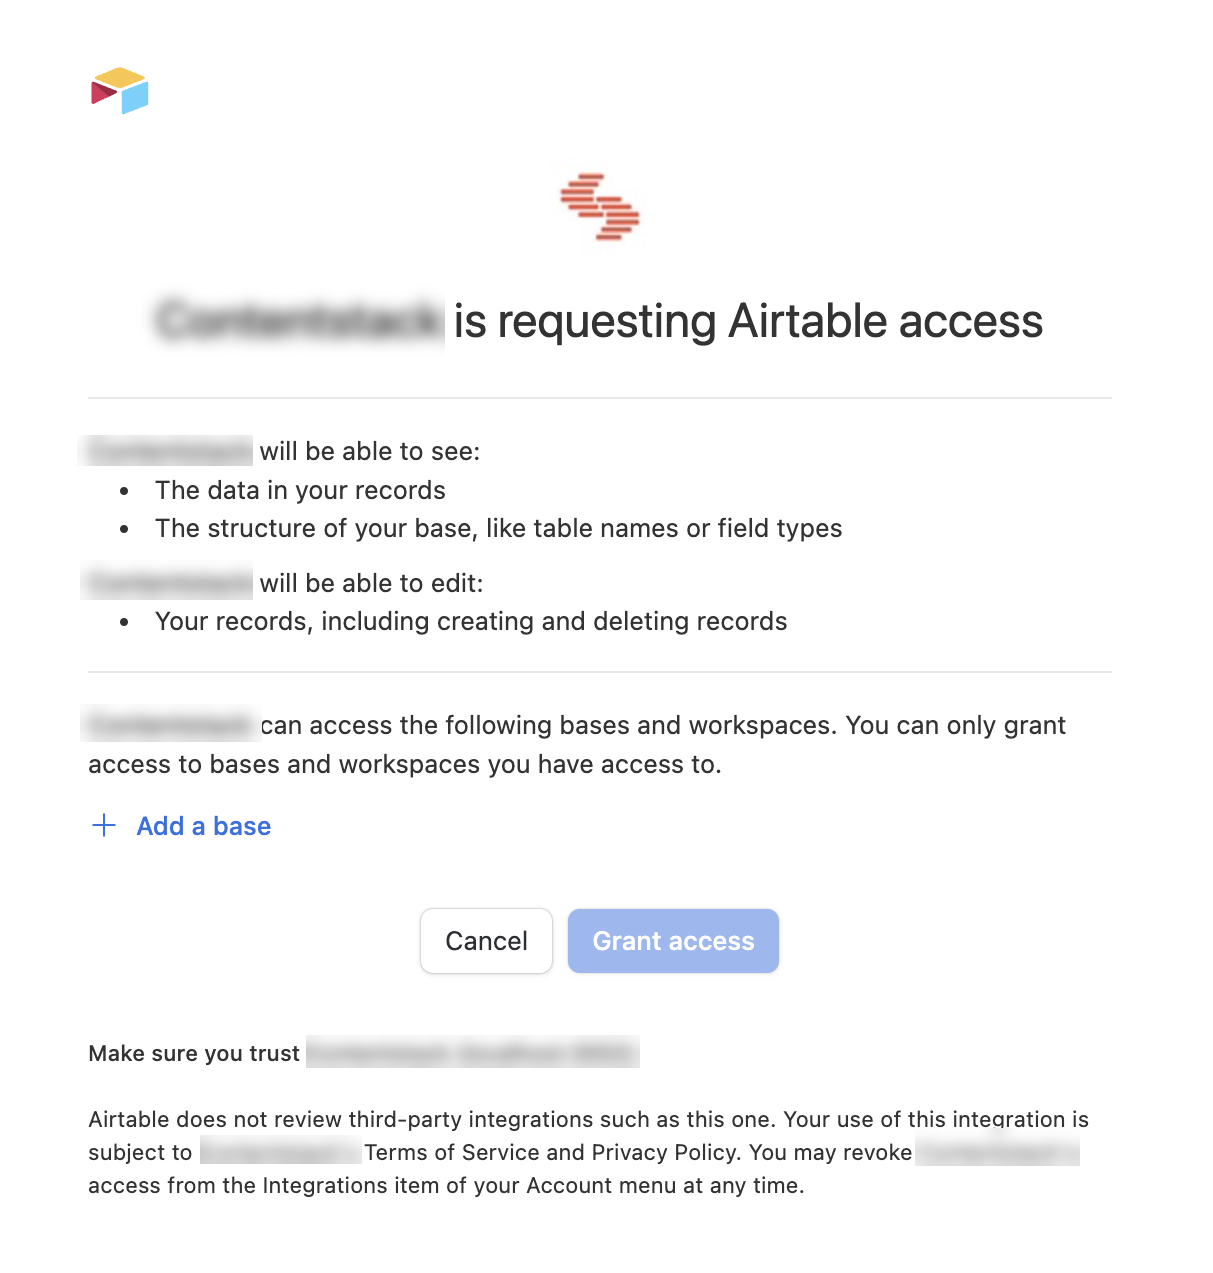
- Click + Add a base to add a new database or select an existing one. Click Grant access to allow access to Airtable.
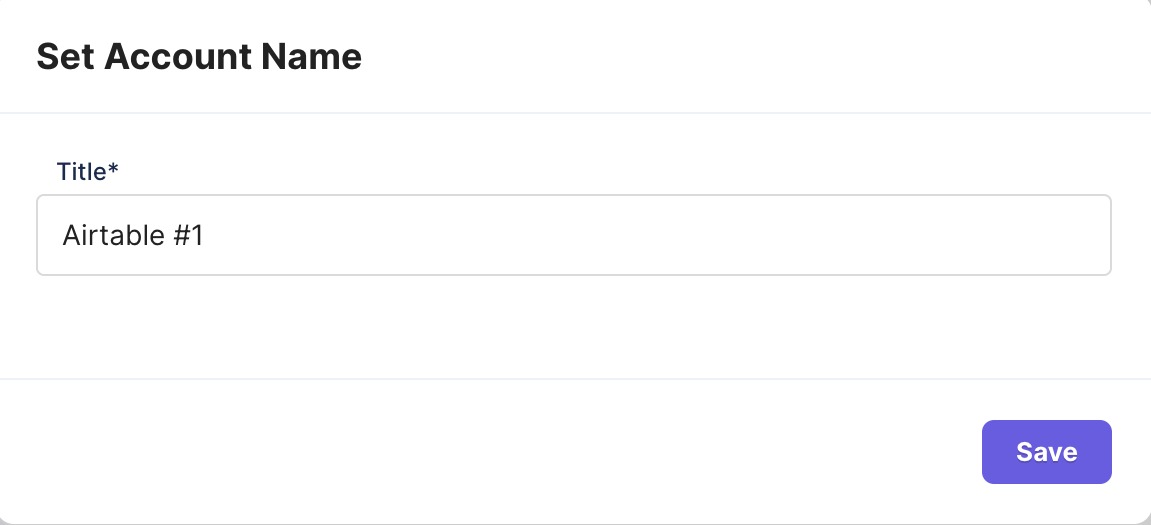
- Enter an Account Name and then click Save.
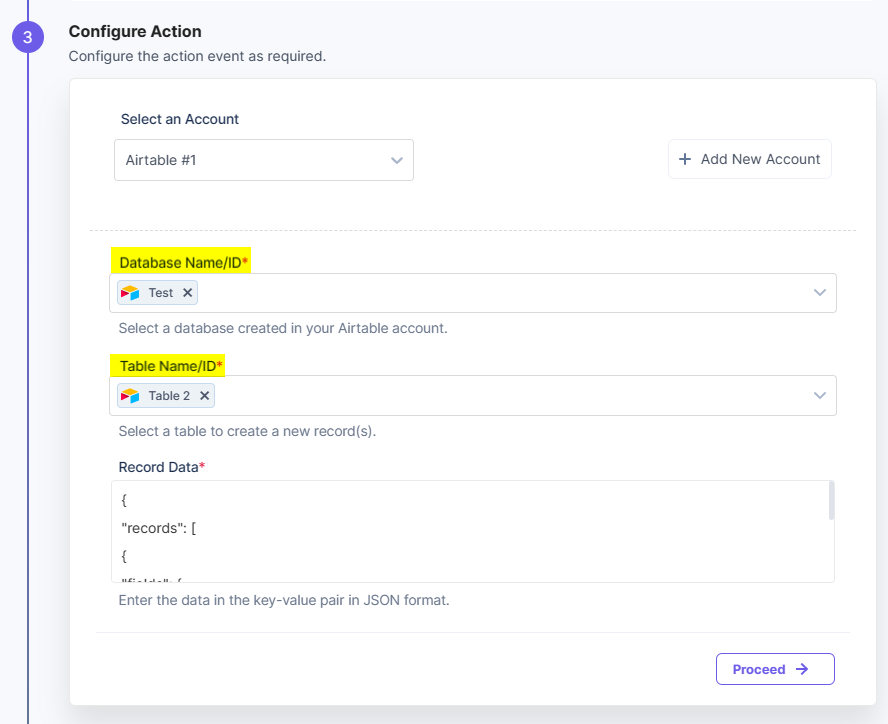
- Select a Database Name/ID present in the Airtable account.
- Select a Table Name/ID to create a new record(s) in the selected table.
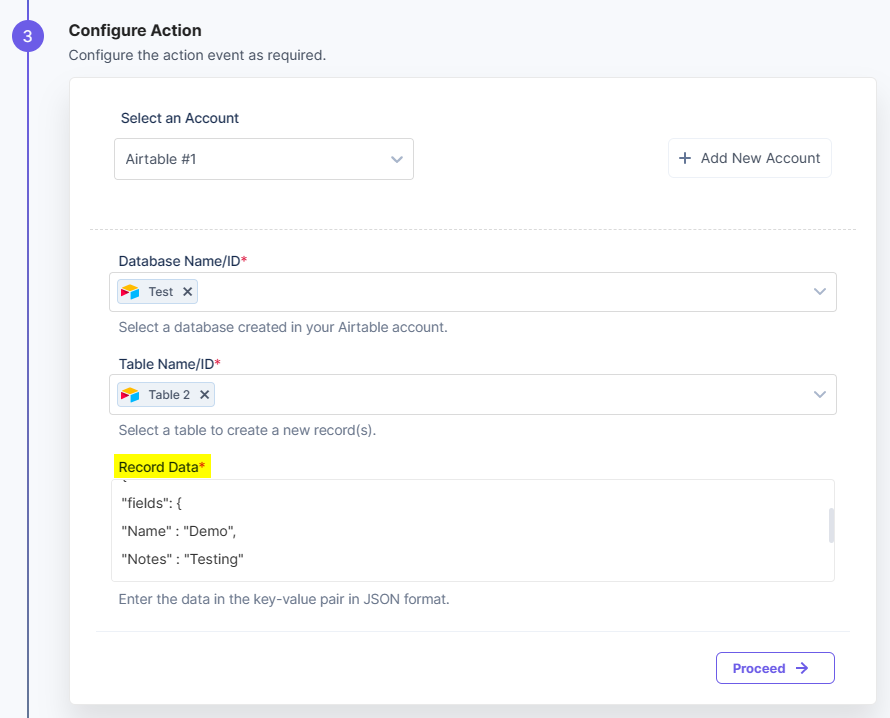
- In the Record Data field, provide the value for the record(s) you want to create.
Note: Below is a sample format to create the records. Here Name, Notes, and Status are column names of the table. You must provide values in key-value pairs.
{
        "records" : [
            "fields": {
                "Name" : "Demo",
                "Notes" : "Demo notes",
                "Status" : "Done"
            }
        ]
    }
- Click the Proceed button.
- Click the Test Action button to test the configured action.

- Once set, click the Save and Exit button.
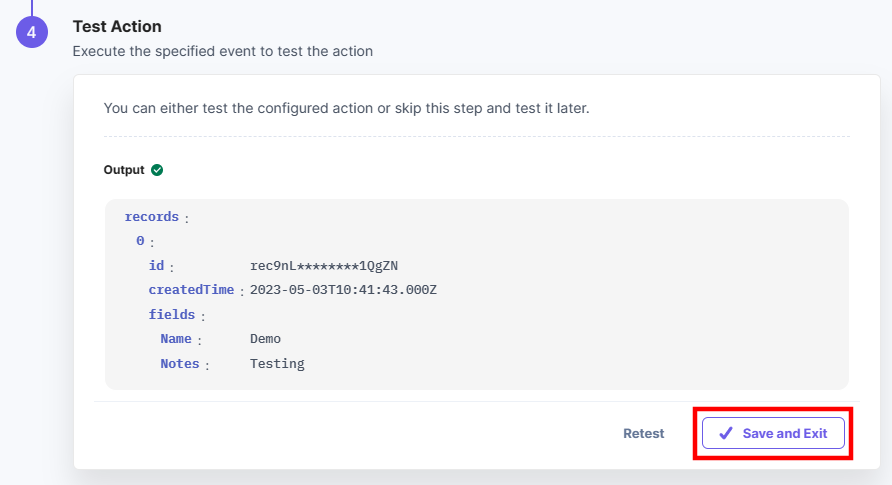
You have successfully created a record(s) in the selected table in Airtable.
Delete a Record
This action lets you delete a single record in a table.
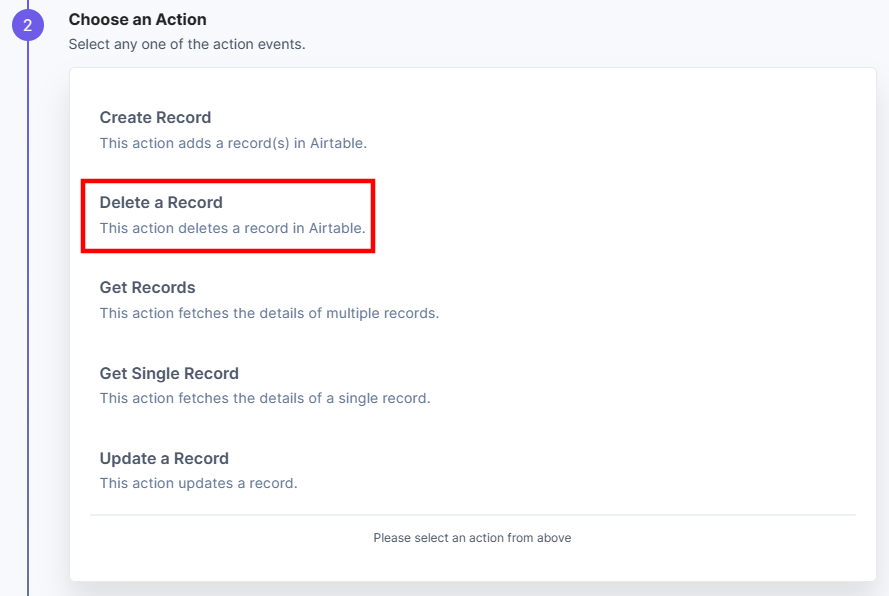
- Under Choose an Action tab, select the Delete a Record action.
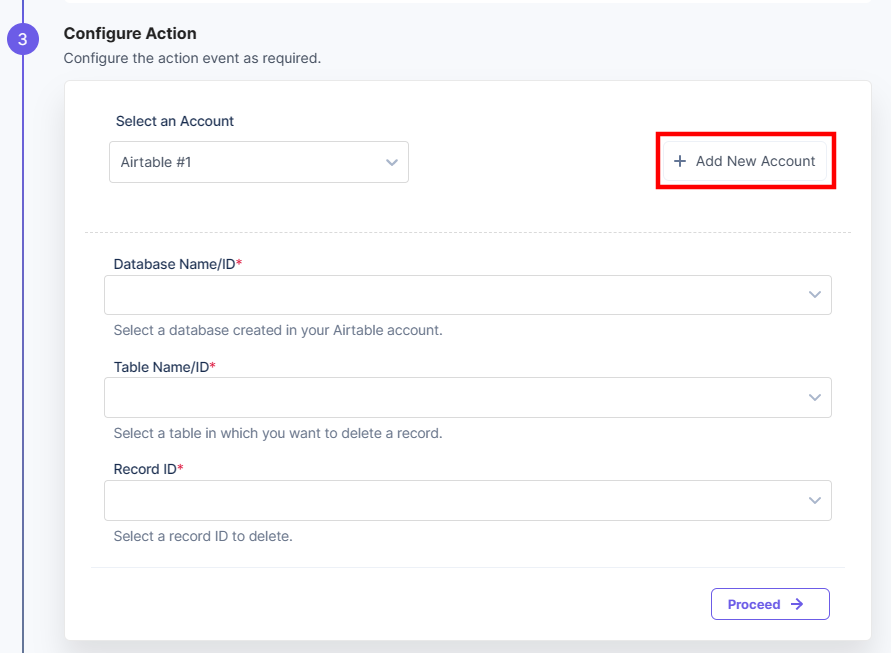
- Click the + Add New Account button to add your Airtable account.
- In the pop-up window, mark the checkboxes for all the OAuth permissions and then click the Authorize button.

- Click + Add a base to add a new database or select an existing one. Click Grant access to allow access to Airtable.

- Enter an Account Name and then click Save.

- Select a Database Name/ID present in the Airtable account.
- Select a Table Name/ID to delete a record.
- In the Record ID field, select the ID of the record you want to delete from the Lookup dropdown.
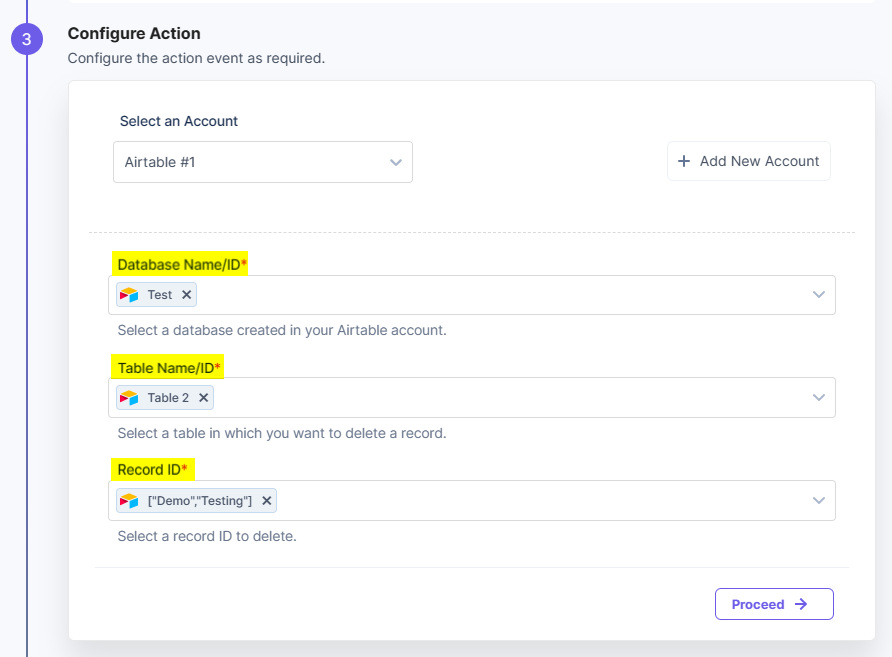
- Click the Proceed button.
- Click the Test Action button to test the configured action.

- Once set, click the Save and Exit button.
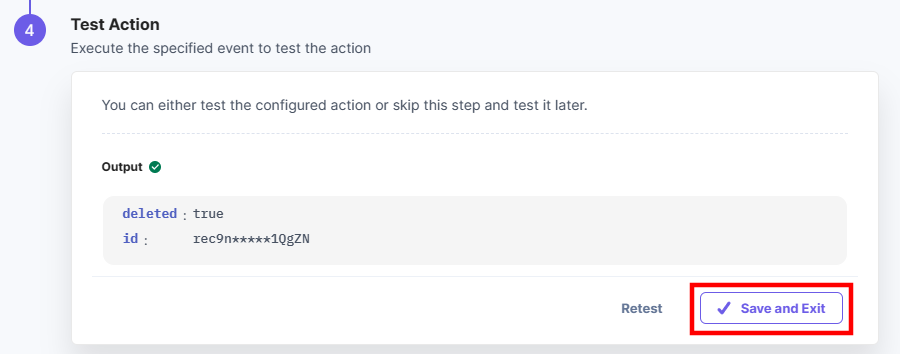
You have successfully deleted a record in the selected table in Airtable.
Get Single Record
This action lets you fetch the details of a single record from a table.
- Under Choose an Action tab, select the Get Single Record action.
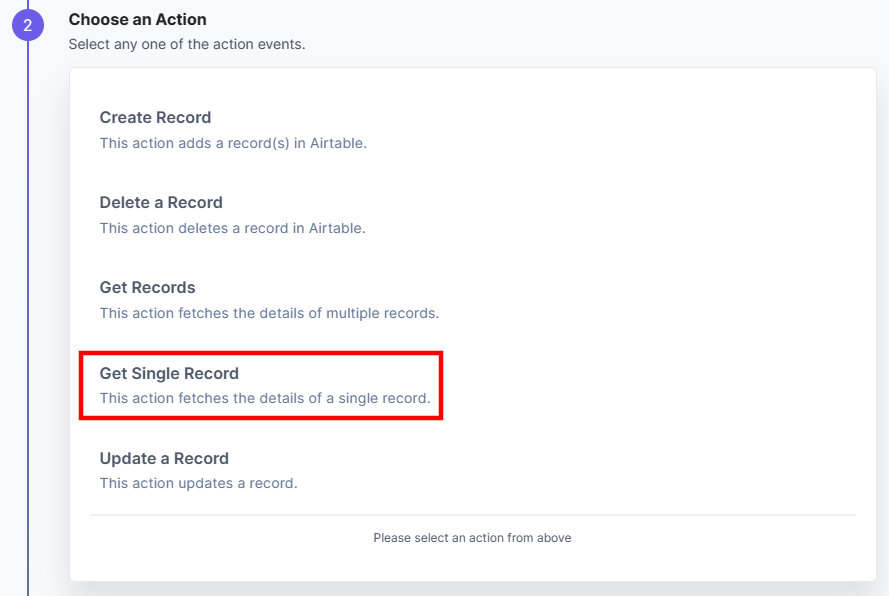
- Click the + Add New Account button to add your Airtable account.
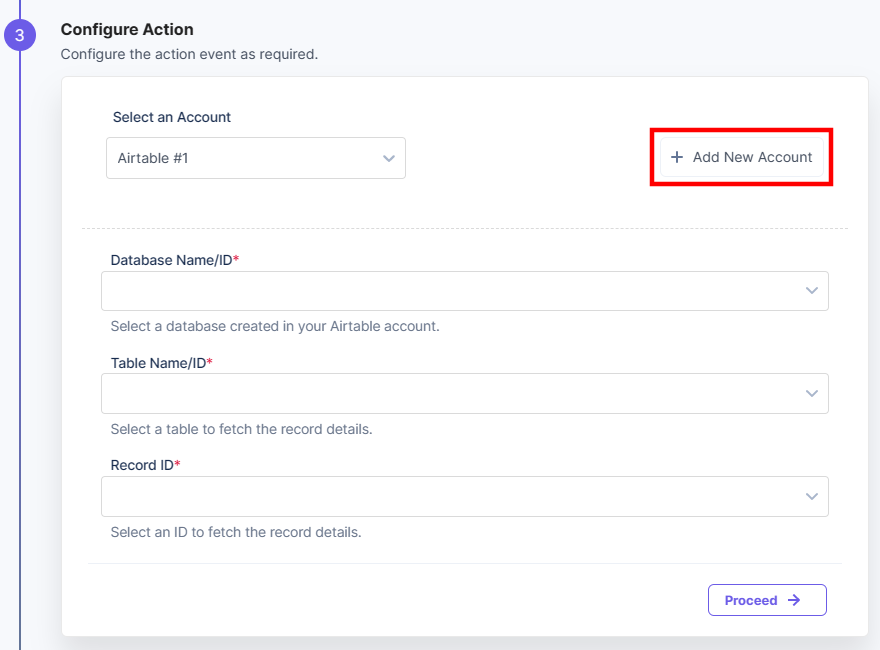
- In the pop-up window, mark the checkboxes for all the OAuth permissions and then click the Authorize button.

- Click + Add a base to add a new database or select an existing one. Click Grant access to allow access to Airtable.

- Enter an Account Name and then click Save.

- Select a Database Name/ID present in the Airtable account.
- Select a Table Name/ID to fetch details of a record from the selected table.
- In the Record ID field, select the ID of the record you want to fetch from the Lookup dropdown.
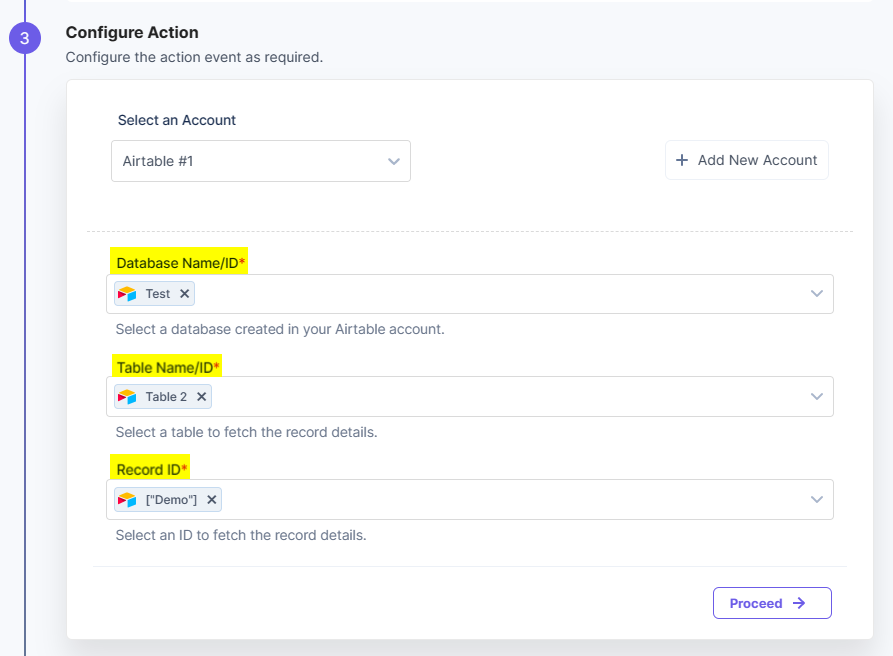
- Click the Proceed button.
- Click the Test Action button to test the configured action.

- Once set, click the Save and Exit button.
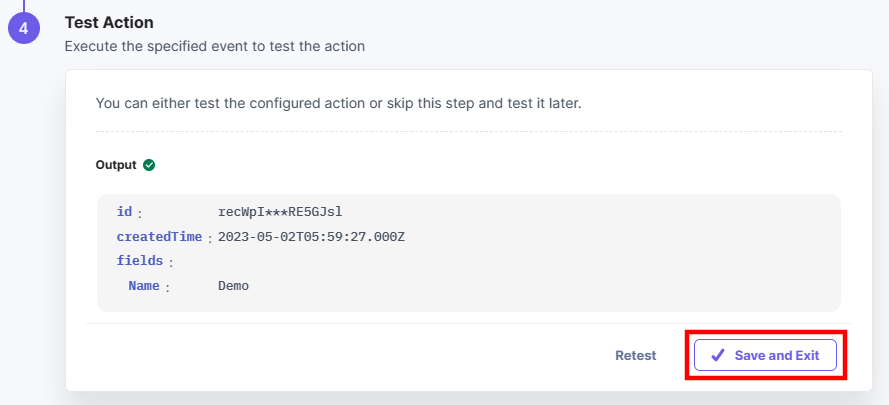
You have successfully fetched the details of a single record from the selected table.
Get Records
This action lets you fetch the details of multiple records in a table.
- Under Choose an Action tab, select the Get Records action.
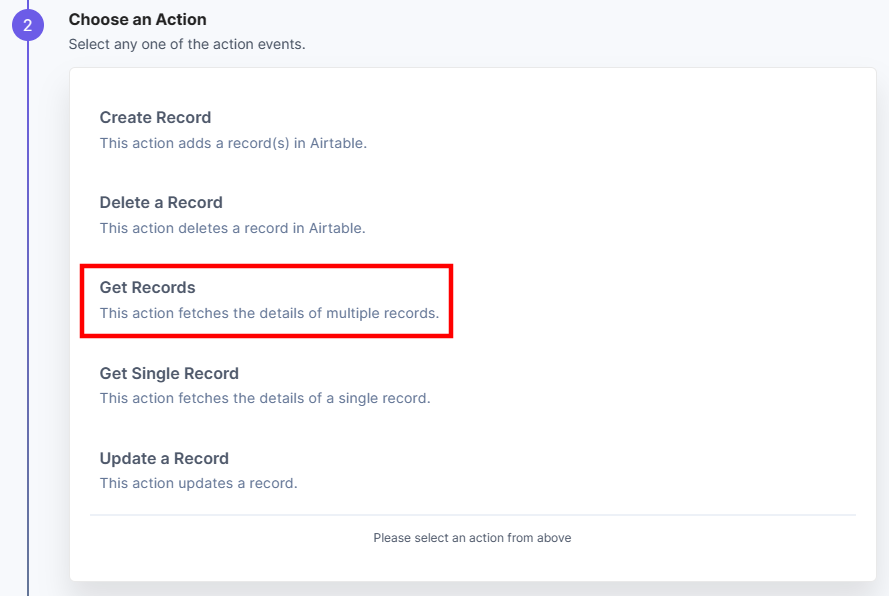
- Click the + Add New Account button to add your Airtable account.
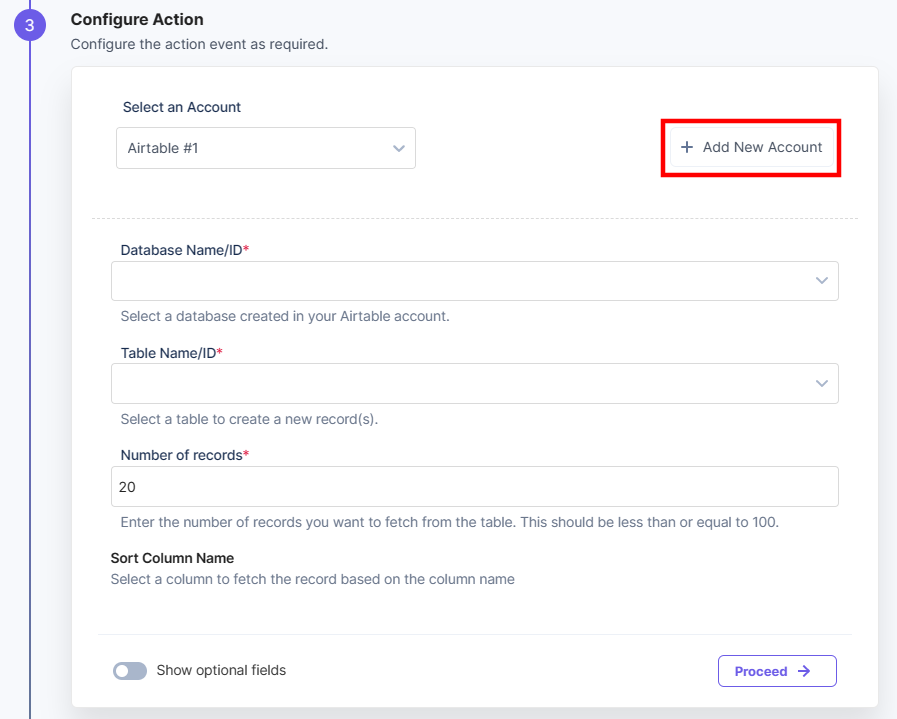
- In the pop-up window, mark the checkboxes for all the OAuth permissions and then click the Authorize button.

- Click + Add a base to add a new database or select an existing one. Click Grant access to allow access to Airtable.

- Enter an Account Name and then click Save.

- Select a Database Name/ID present in the Airtable account.
- Select a Table Name/ID to fetch details of a record(s) present in the table.
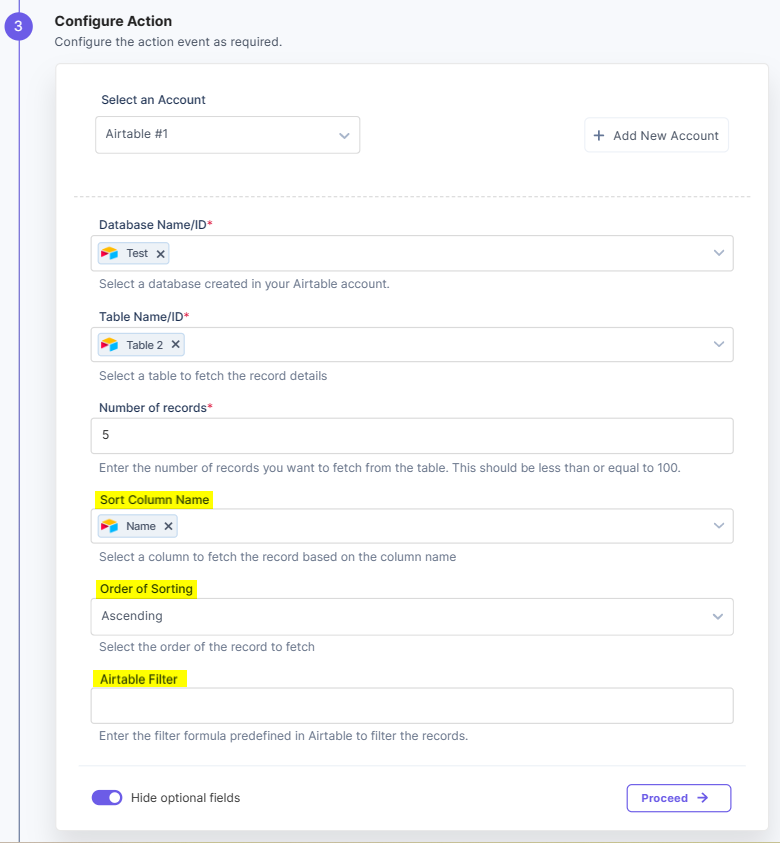
- In the Number of records field, enter the number of records you want to fetch from the selected table.
Note: You can fetch up to 100 records.
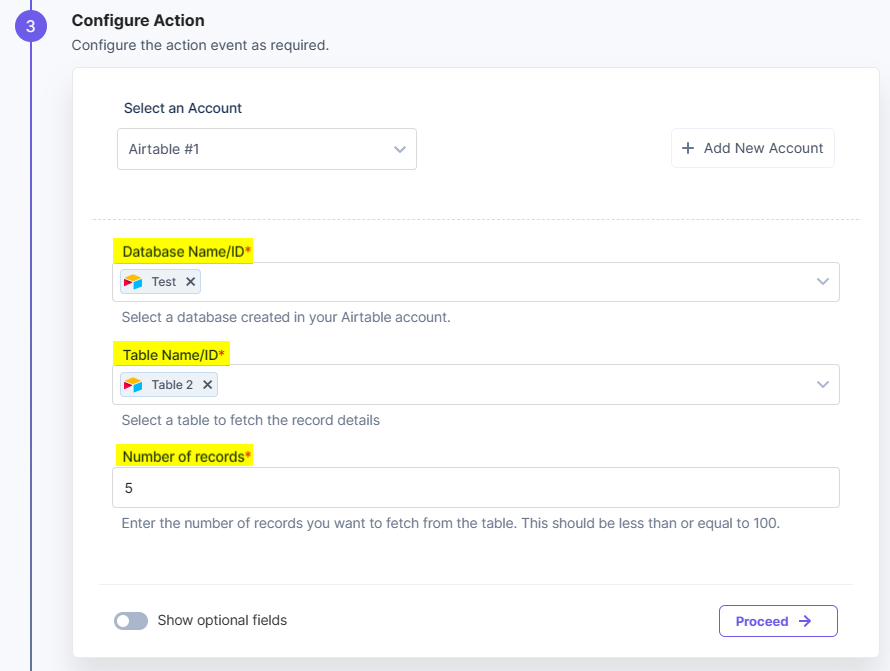
- [Optional] Enable the Show optional fields toggle button to display the Sort Column Name, Order of Sorting, and Airtable Filter field.
Column Name sorts the records based on the column names. The Order of Sorting field sorts the records in Ascending or Descending order. You can add a filter formula to fetch the record.Additional Resource: To learn more, refer to the Formula field reference document.
- Click the Proceed button.
- Click the Test Action button to test the configured action.

- Once set, click the Save and Exit button.
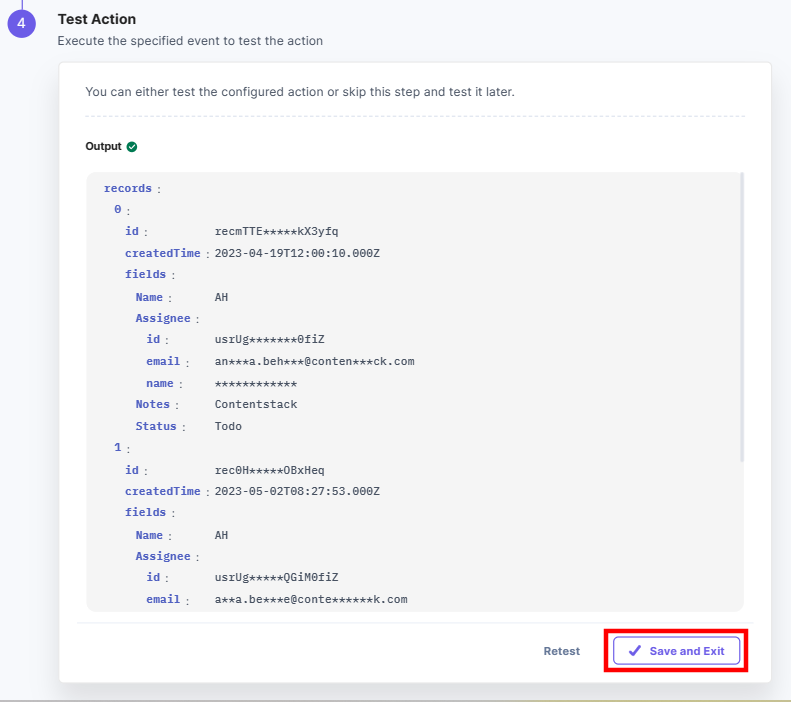
You have successfully fetched the details of multiple records from the selected table.
Update a Record
This action lets you update a record in a table.
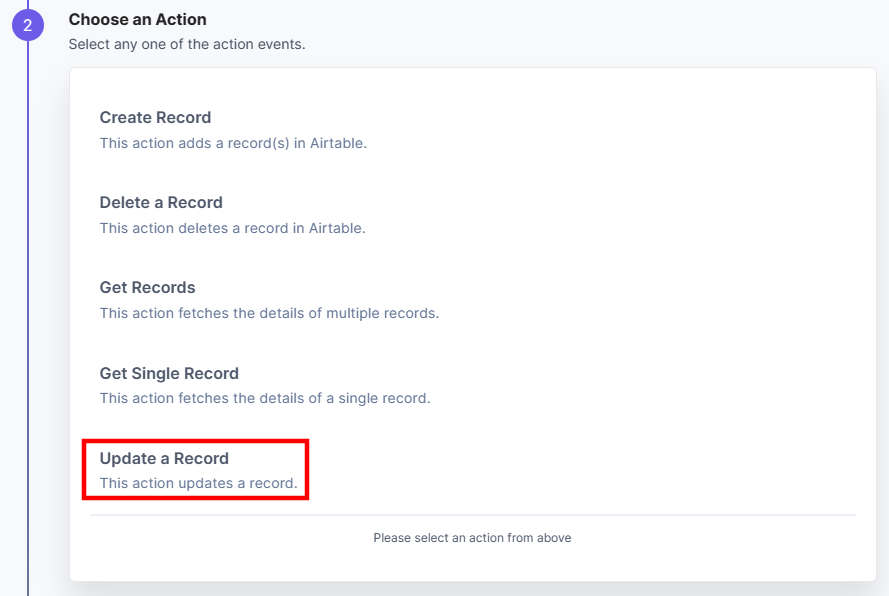
- Under Choose an Action tab, select the Update a Record action.
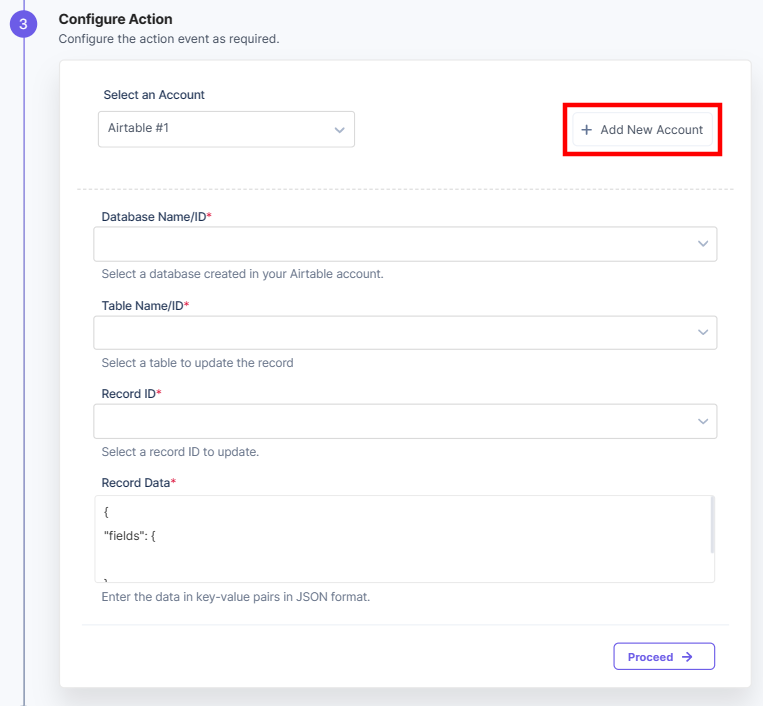
- Click the + Add New Account button to add your Airtable account.
- In the pop-up window, mark the checkboxes for all the OAuth permissions and then click the Authorize button.

- Click + Add a base to add a new database or select an existing one. Click Grant access to allow access to Airtable.

-
Enter an Account Name and then click Save.

- Select a Database Name/ID present in the Airtable account.
- Select a Table Name/ID to update a new record in the table.
- In the Record ID field, select the ID of the record you want to update from the Lookup dropdown.
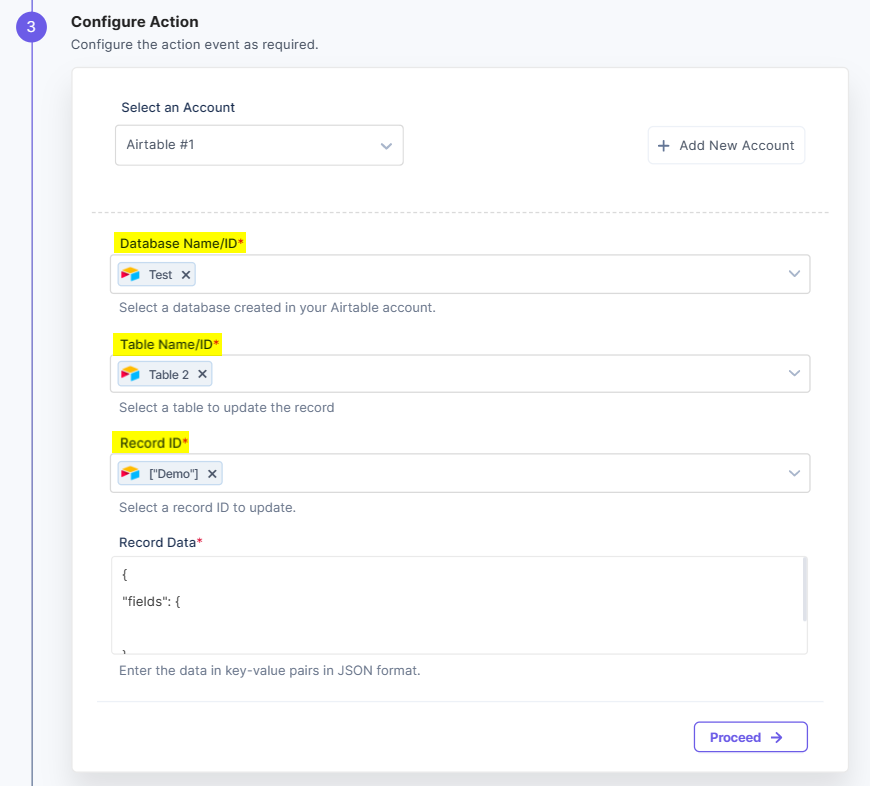
- In the Record Data field, provide the value for the record you want to update.
Note: You need to add the values for each column to update the record. If any column value is not updated, then it will remain empty
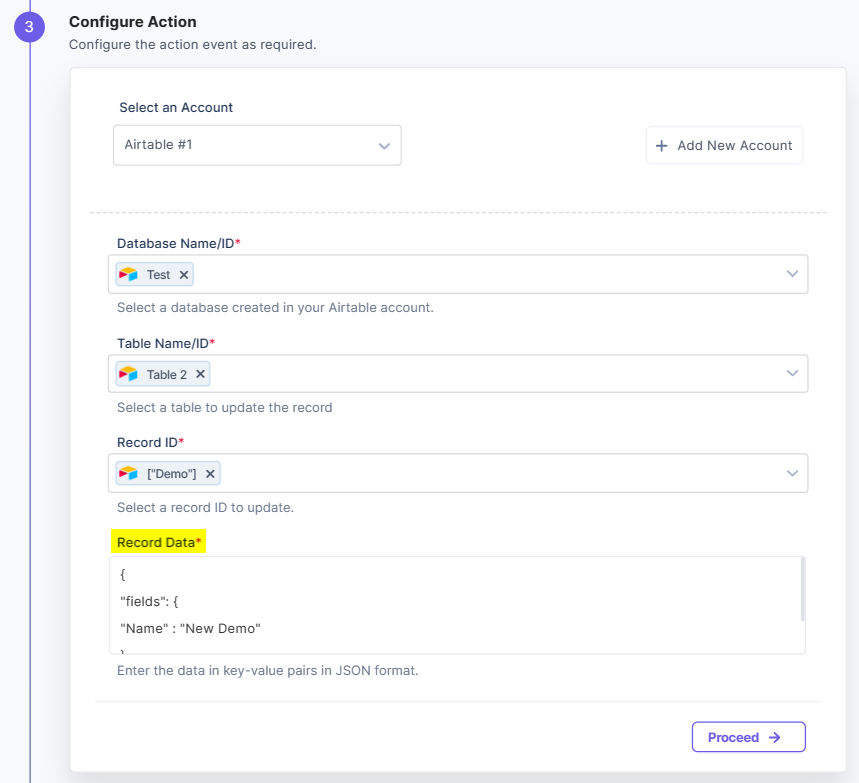
- Click the Proceed button.
- Click the Test Action button to test the configured action.

- Once set, click the Save and Exit button.
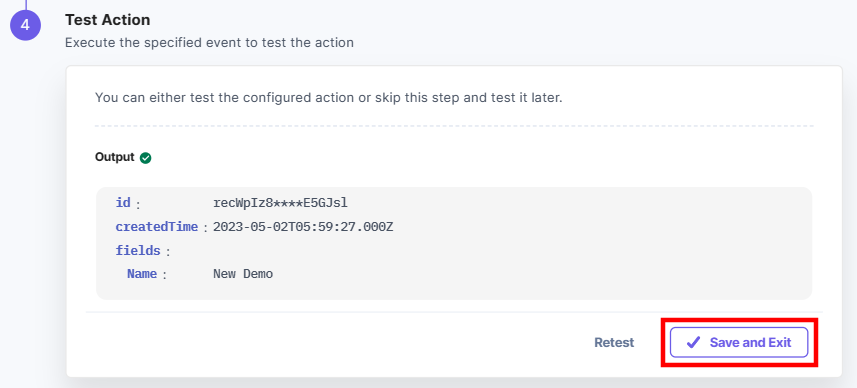
You have successfully updated a record in the selected table.


.svg?format=pjpg&auto=webp)
.svg?format=pjpg&auto=webp)
.png?format=pjpg&auto=webp)


.png?format=pjpg&auto=webp)