
.svg?format=pjpg&auto=webp)
.svg?format=pjpg&auto=webp)
.png?format=pjpg&auto=webp)


.png?format=pjpg&auto=webp)
Table App Installation Guide
Contentstack’s Table app enables you to add a table as a custom field in your content type, allowing Content Managers to input data in a tabular format within entries. The Table app lets you add table headings in rows and subsequent data in columns. You can perform various operations such as sorting, inserting, and deleting rows and columns.
Note: The number of rows and columns in a table depends on the size of the JSON data to be stored. Currently, only 10 KB of JSON data can be stored via the Custom Field. For more details, refer to our Custom Field Limitation documentation.
Prerequisites
- Contentstack account
- Access to the Contentstack Organization/Stack as the Owner/Admin
Let's follow this step-by-step guide to install and configure the Table app within your stack.
Steps for Execution
Install and Configure the Table App in Marketplace
To install the app, log in to your Contentstack account and follow the steps below:
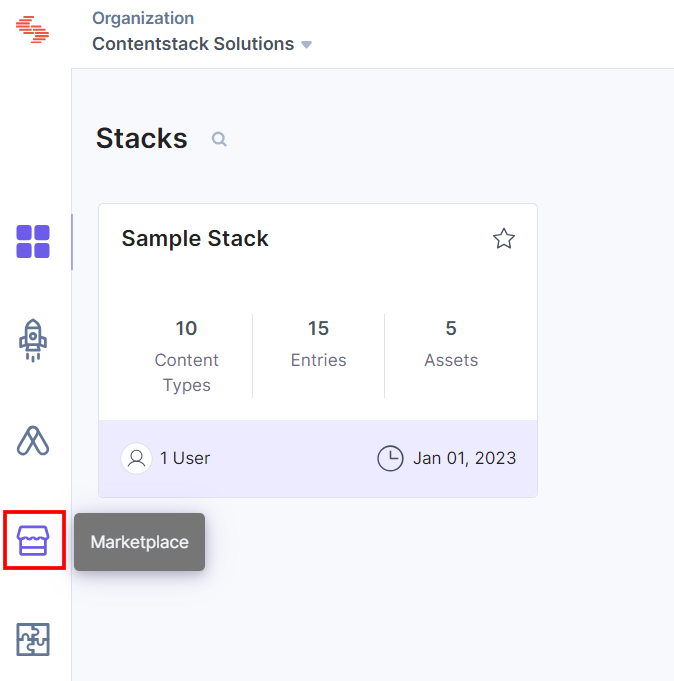
- From the left-hand side primary navigation, click the Marketplace icon.
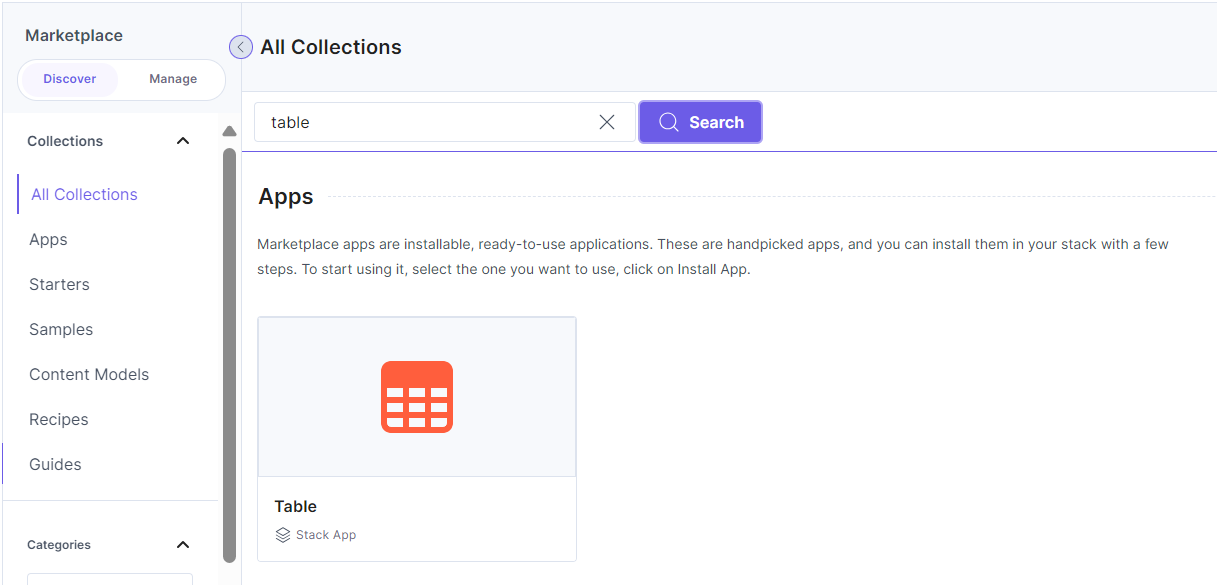
- Click Apps from the left panel.
- Within the Marketplace, you can see all the available apps. Hover over the Table app and click Install.
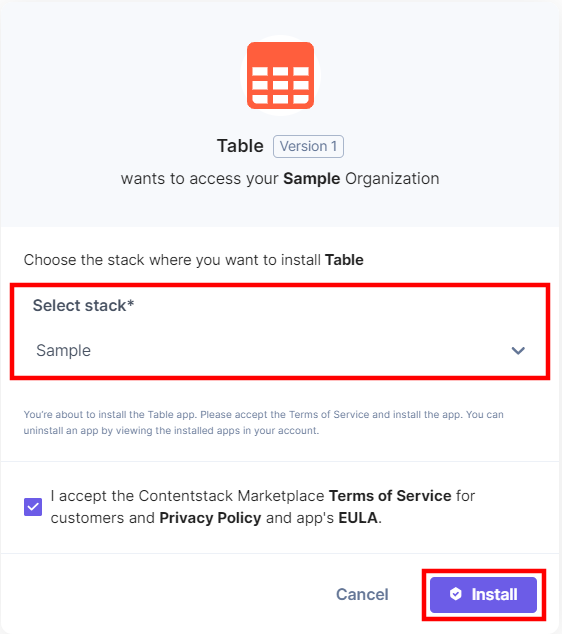
- In the pop-up window, select the stack where you want to install the Table app, accept the Terms of Service, and click the Install button.
- On the UI Locations tab, you can see the predefined app location. The only available UI location for the Table app is the Custom Field. If you disable this UI location, you will not be able to save the configuration as it requires at least one UI location to be enabled.
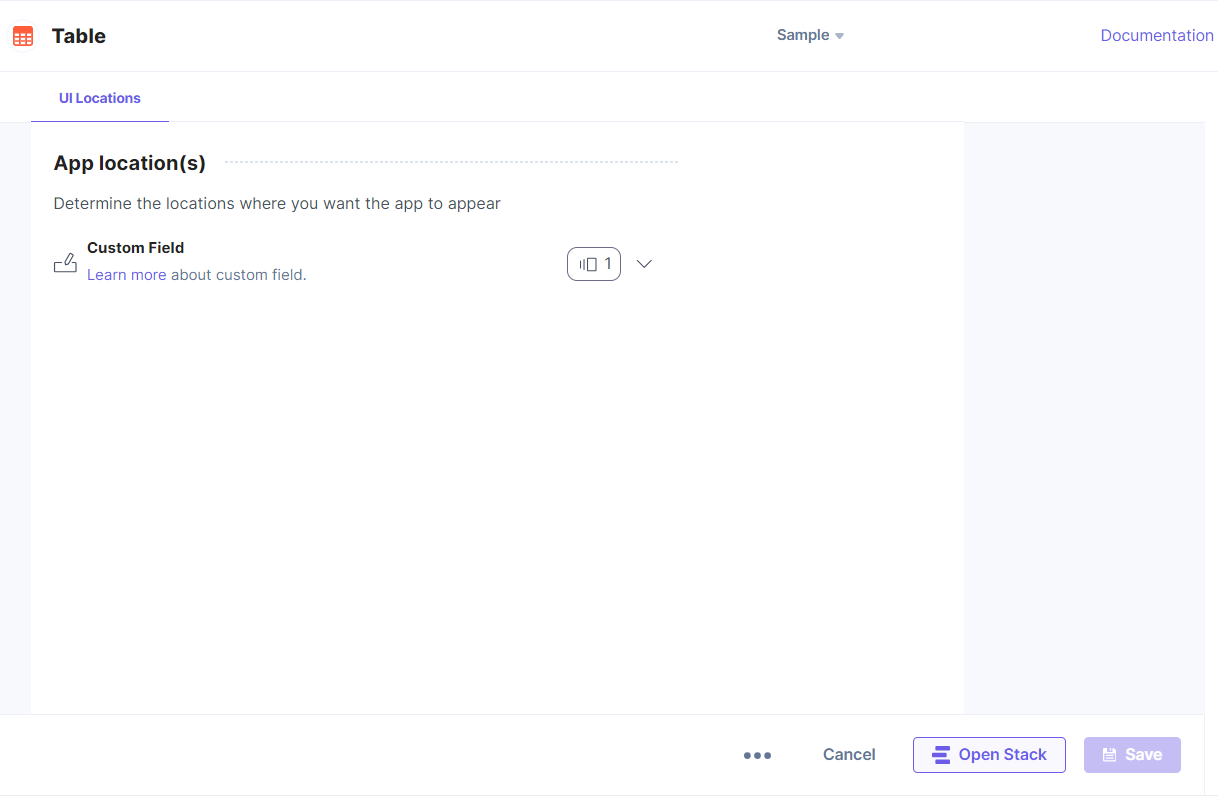
Additional Resource: For more information on UI locations, please refer to the Installed Apps guide.
- Click Open Stack to start using the Table application.
Use the Table App within your Entry
To use the Table app within an entry of your stack, follow the steps given below:
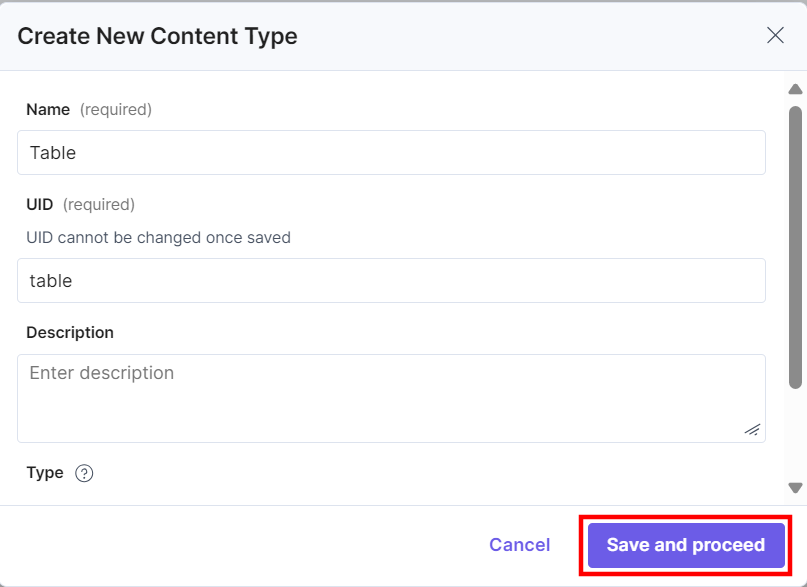
- Go to your stack, click the Content Models icon in the left navigation panel, and click the + New Content Type button.
- Create a content type by adding relevant details as displayed below:
- In the Content Type Builder page, add a Custom field in your content type by clicking the Insert a field link represented by a + sign.
- On the Custom Field Editor Properties modal:
- Enter a Display Name for the field, for example Table.
- (Optional) Enter an Instruction Value and Help Text for the field.
- Click inside the Select Extension/App field.
- The Select Extensions or App modal will open. From this modal, select Table from the list of plugins, and then click Proceed.
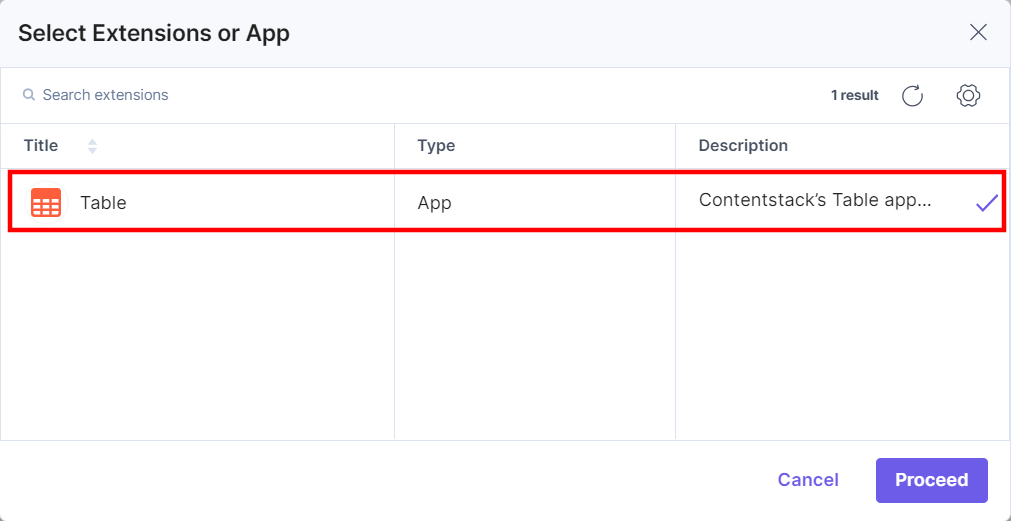
This adds Table to the custom field.

- After adding the app in a custom field, click Save or Save and Close to save your changes.
- To use the Table app, create an entry for this content type. In the left navigation panel, go to the Entries page and click + New Entry.
- In the Select Content Type modal, select the content type that we created above and click the Proceed button.
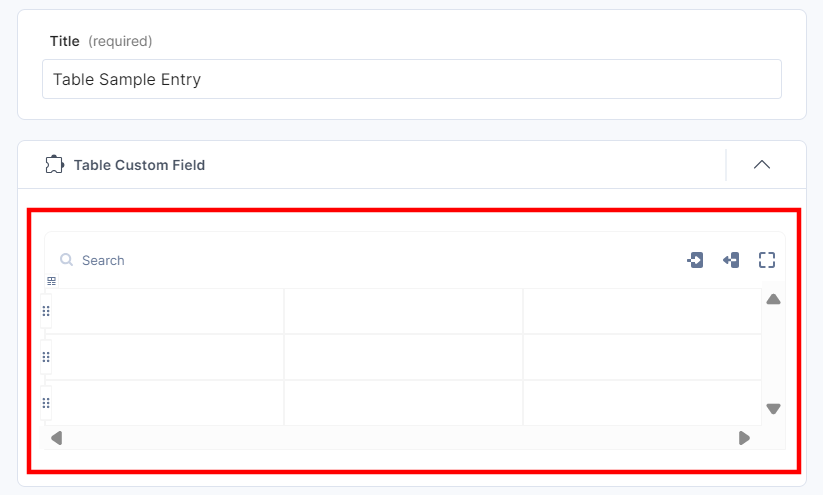
- The entry opens. You will see the custom field with the + Add Table button. Click on it to add the new table.

You can see the Table in the Custom field on your entry page, as shown below:
Note: You can use the keyboard shortcuts to perform certain actions such as bold, italics, etc. to highlight a particular table item.
- Here's how you can work with the available options:
- Click the icon as shown below. If you want to add a header row or a column, you can simply enable the respective toggle. If you want to delete the entire table, click the Delete Table option.
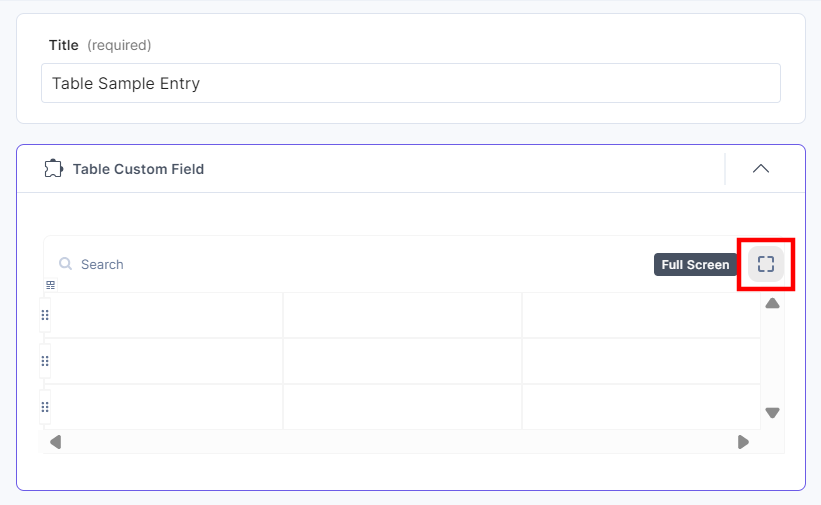
- If you want to view the table in full-screen, click the Full Screen icon as shown below:
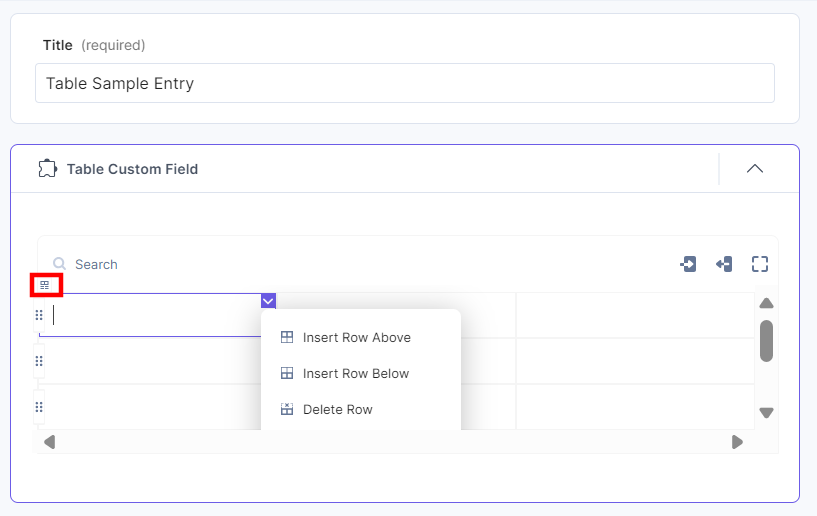
- You can then start entering the data in the table. Once you have entered the data in the table, click the icon (as shown below) and select the respective options if you want to add or delete a row or a column.

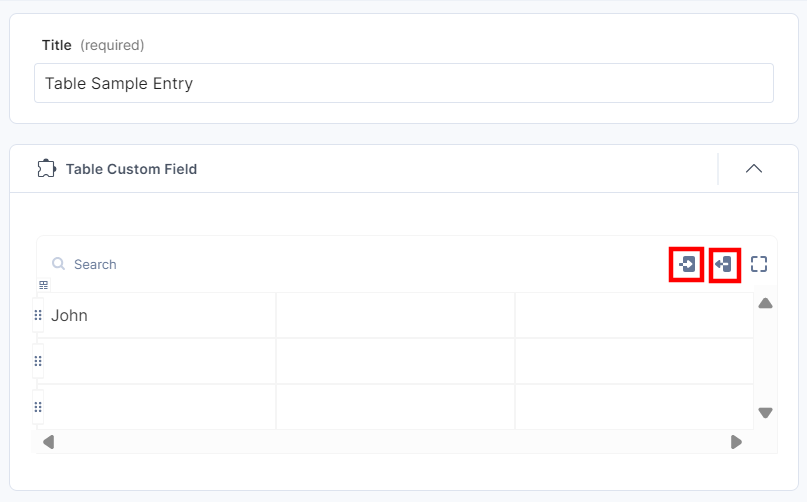
- To import or export the table data in a CSV file, click the Import CSV File and Export CSV File icons respectively.
- You can also search for a particular item in the table by using the Search option.

- Using the drag handle, you can drag and drop the rows to change the sequence.

- Click the icon as shown below. If you want to add a header row or a column, you can simply enable the respective toggle. If you want to delete the entire table, click the Delete Table option.
- After adding your table, Save and Publish your entry.
More articles in "Editor Productivity"
