Create a Project using File Upload
Launch allows you to create a project by directly uploading a project folder or a .zip file.
This document guides you through the process of creating a project in Launch by uploading a project zip file. The zip file can be a build zip or a source code zip.
Prerequisites
- Contentstack account
- Access to Launch for your organization
Upload a file and deploy a project
Note: Only the Organization Admin/Owner has the right to create projects in a stack for Launch.
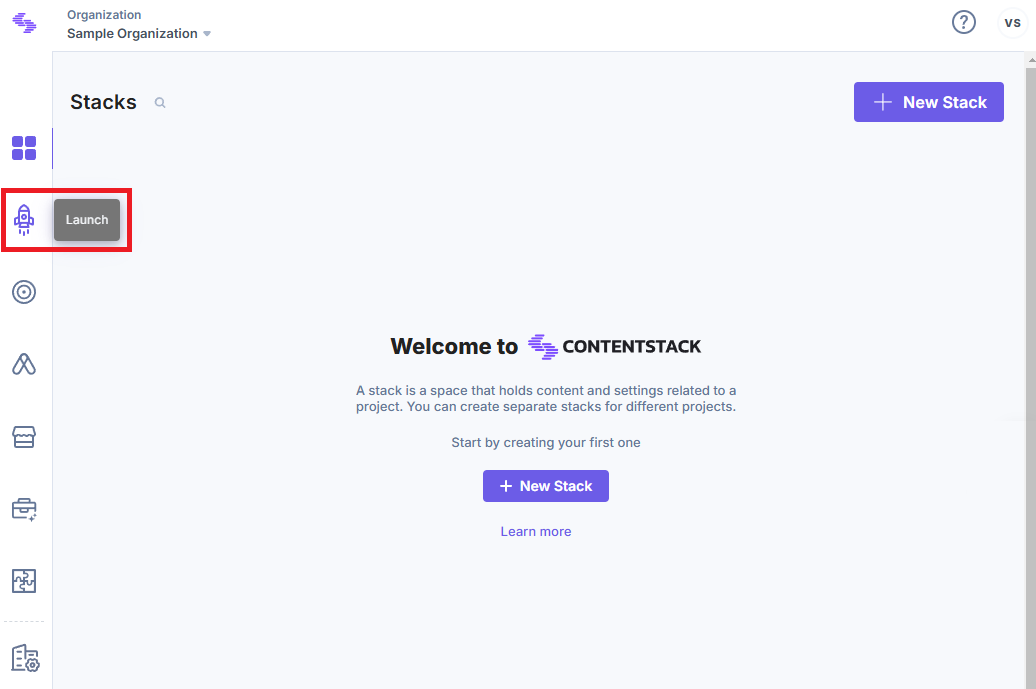
- Click the Launch option from the left navigation panel, as shown below.
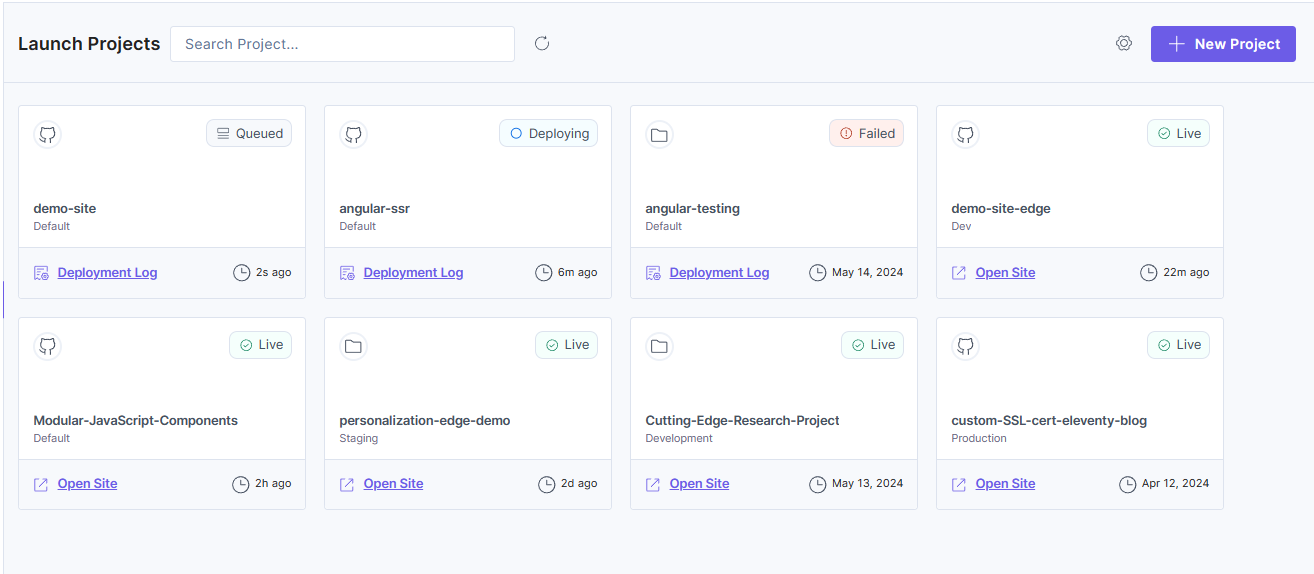
- Click + New Project.
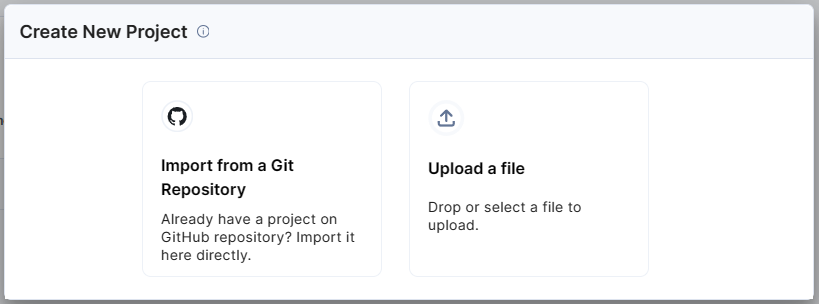
- From the Create New Project modal, click Upload a file.
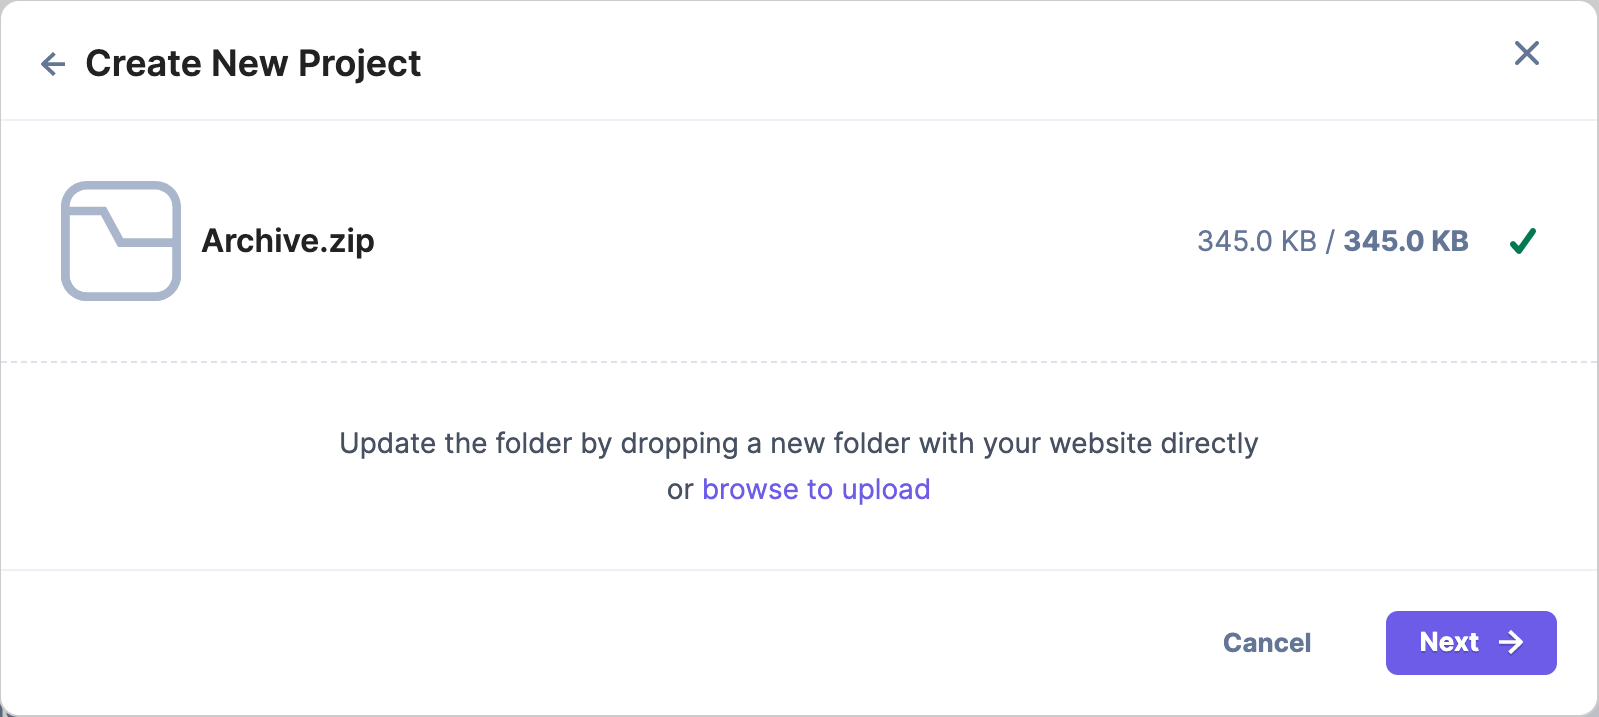
- You can either drag and drop a .zip file or click the browse to upload link to upload a .zip file.
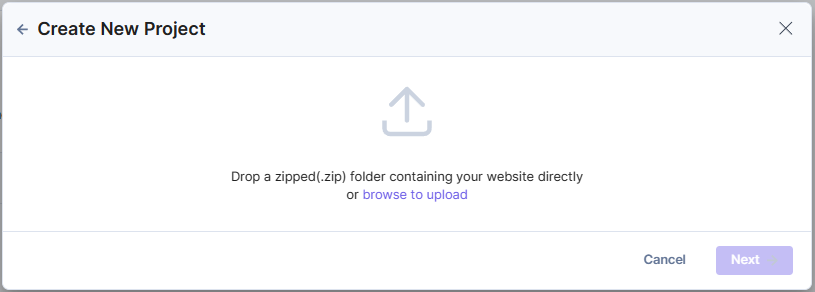
Note: When uploading the project's source code, ensure that the node_modules folder is excluded.
- Click Next to proceed with the deployment steps.Note:
- You can re-upload a .zip file after uploading one.
- You can also Cancel an ongoing file upload and re-upload a new file.
- In the Deploy step, fill the following fields:
- Project Name (Mandatory): The project name is auto-populated with the uploaded file name.
- To use a different project name, enter a project name without exceeding 200 characters.
- Environment Name (Mandatory): By default, the environment name is populated as Default. You can change the environment name as per your requirement.
- Build and Output Settings (Mandatory): The fields in this section get populated based on the detected framework.
- Framework Preset(Mandatory): Framework of the selected project.
- Build Command (Mandatory): Command to build the project.
- Output Directory (Mandatory): Directory path where the project’s build output files get stored.
- Environment Variables (Optional)
- Enter the key and value of your environment variable.
- Click the + Add Environment Variable button to add more environment variables.
- Once all the fields are filled with appropriate values, click the Deploy button.
- Project Name (Mandatory): The project name is auto-populated with the uploaded file name.
You have successfully deployed a project!
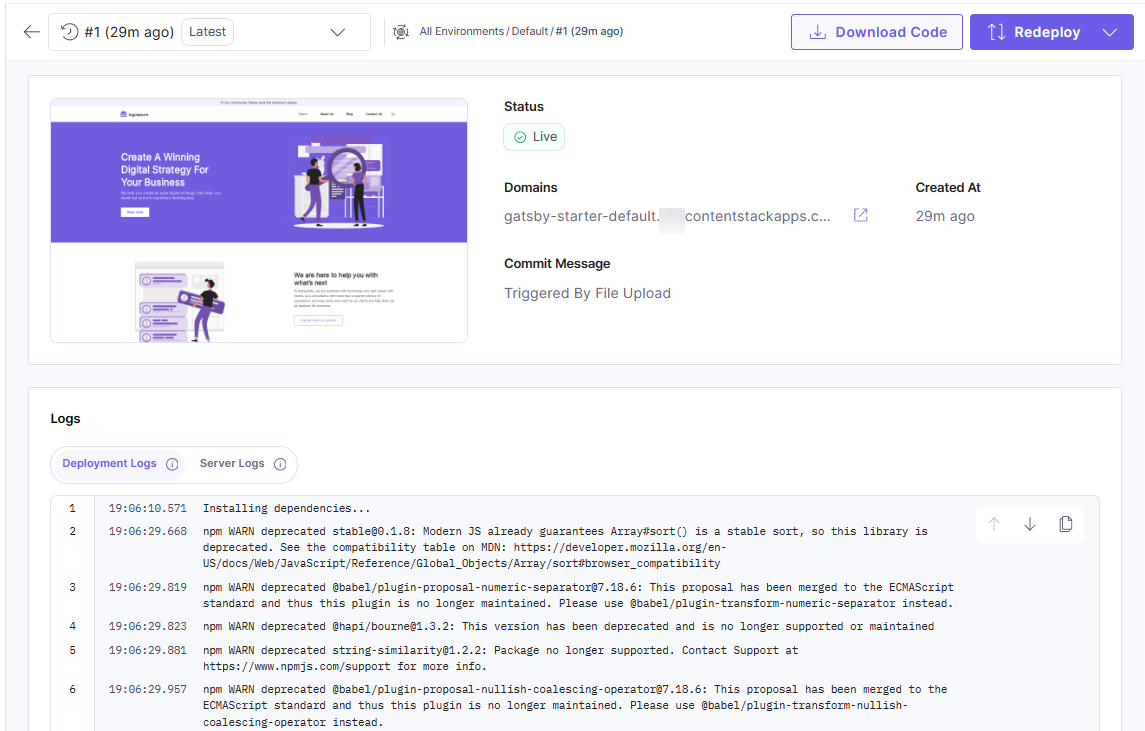
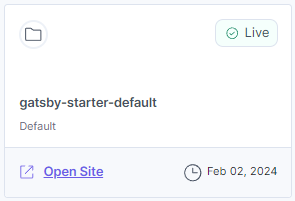
The project card displays as given below in the Projects screen:
To delete the project:
- Click the Settings icon.
- In the General section, click the Delete Project button under Delete Project.
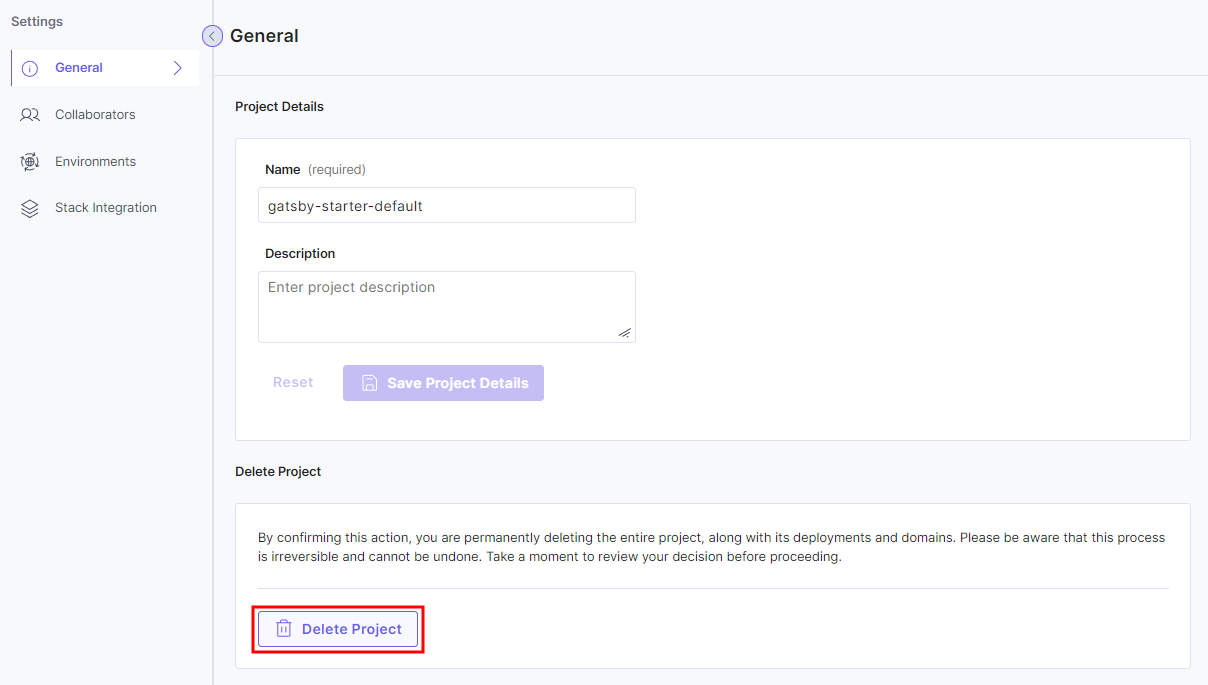
- In the modal that appears, enter DELETE and then click the Yes, Delete button.
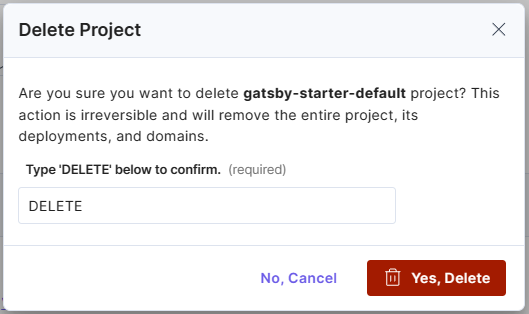
This deletes your project successfully.


.svg?format=pjpg&auto=webp)
.svg?format=pjpg&auto=webp)
.png?format=pjpg&auto=webp)


.png?format=pjpg&auto=webp)